


With the appearance of the Swordsoul card line, which has been making waves on many TCG, OCG, and Master Duel platforms (Duel Links is not yet :v), it seems that the Duelist brothers at OCG are not too unfamiliar with this archetype. However, OCG is still ahead of TCG in terms of support items, but there are still no significant changes in the build and combos of the card line. So, if you want details on how to play Swordsoul for both OCG and TCG platforms, this will be a great article for you!
Sections covered in this guide:
overview
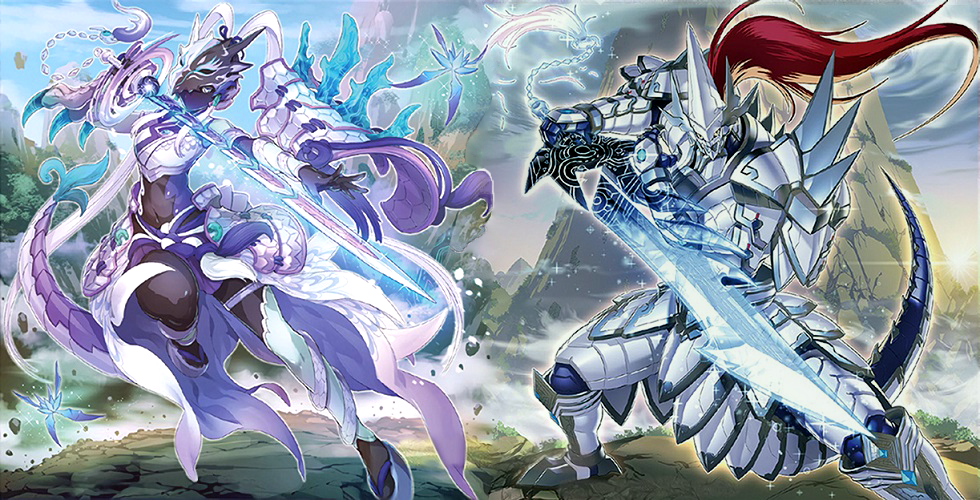
Swordsoul is a Synchro Summon based archetype with mostly Wyrm monsters introduced in the Dawn of Majesty Set, although the majority of early supports were released in Burst of Destiny .
Swordsoul is the first line of cards, instead of using normal Tuner monsters to Synchro Summon, here, the line focuses more on summoning Tuner Tokens to the field. More or less, it also created a significant change in the meta of OCG and TCG at that time.
But why is the deck considered so strong, one may ask, in this guide I hope to provide a good explanation as to why this is so, as I will look at the cards article and explains the basics of how Swordsoul works, along with a sample decklist and a brief combo guide.
In addition, the article is compiled and referenced from many reliable sources, such asygoguidance ; masterduelmeta ,...
Core
Main Deck
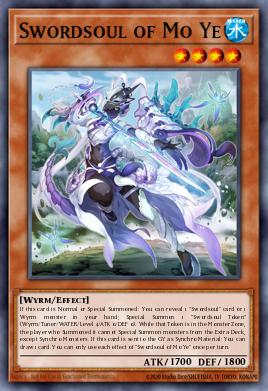
Swordsoul of Mo Ye (3x)
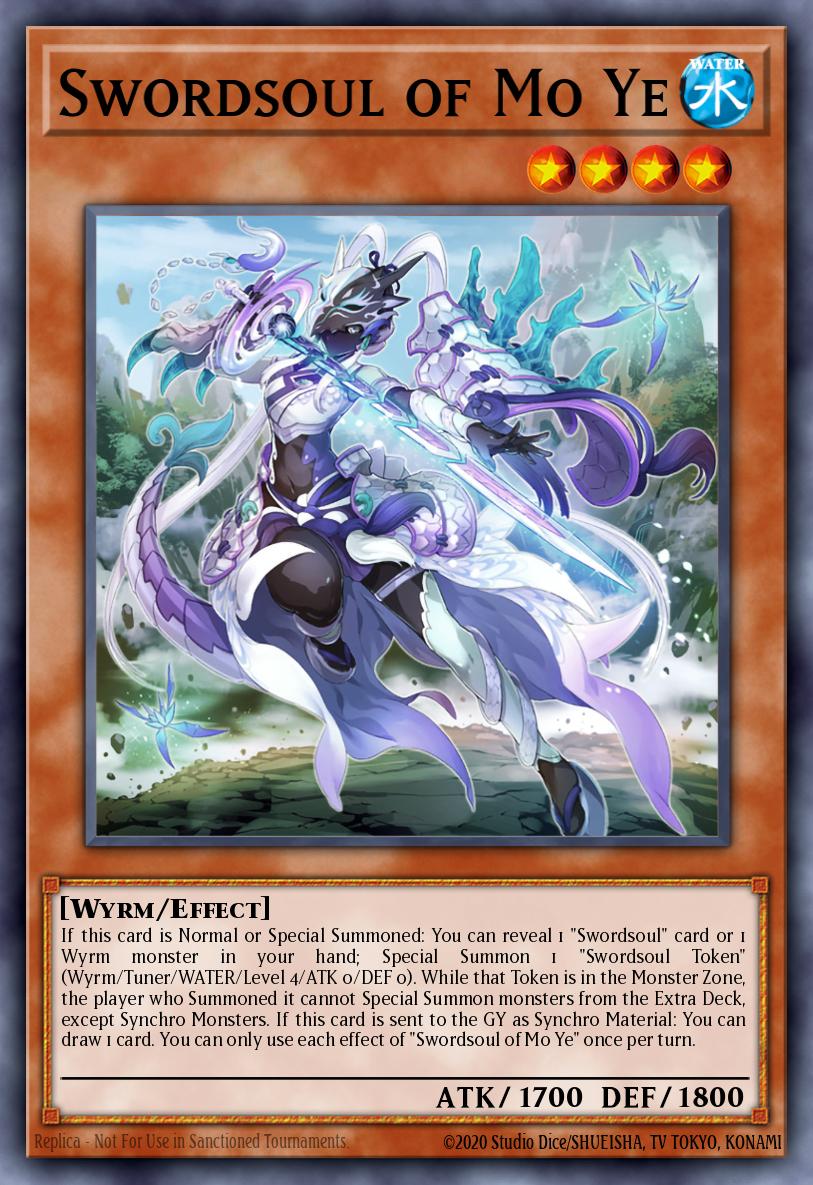
Your most basic starter, Mo Ye serves as an introduction to Swordsoul's main theme: Token Generation. Especially Tuner Token, which up to this point has never existed.
Mo Ye is the Swordsoul you'll want to see most often due to its Token spawn effect being the easiest way to get into your level 8 Synchro plays, requiring virtually no setup and also having a strong GY effect Best among all Swordsoul monsters. Never go with less than 3 copies.
Mo Ye is the Swordsoul you'll want to see most often due to its Token spawn effect being the easiest way to get into your level 8 Synchro plays, requiring virtually no setup and also having a strong GY effect Best among all Swordsoul monsters. Never go with less than 3 copies.
From Mo Ye alone, you can immediately get level 8 Synchro, at the beginning of the match it is usually Chixiao, from there you will continue to perform your combo. In addition, when using this card as a Synchro material, you are allowed to draw 1 more card, supporting the stock after summoning Synchro.
Note : When you have a Tuner Token on the field, you can ONLY call Synchro from the Extra Deck onto the field. Please pay attention to this when playing on Duelingbook or playing real!
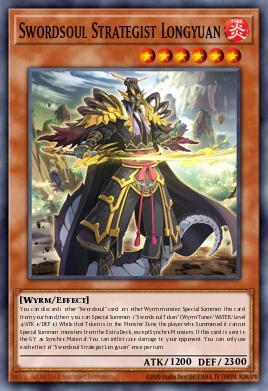
Swordsoul Strategist Longyuan (3x)
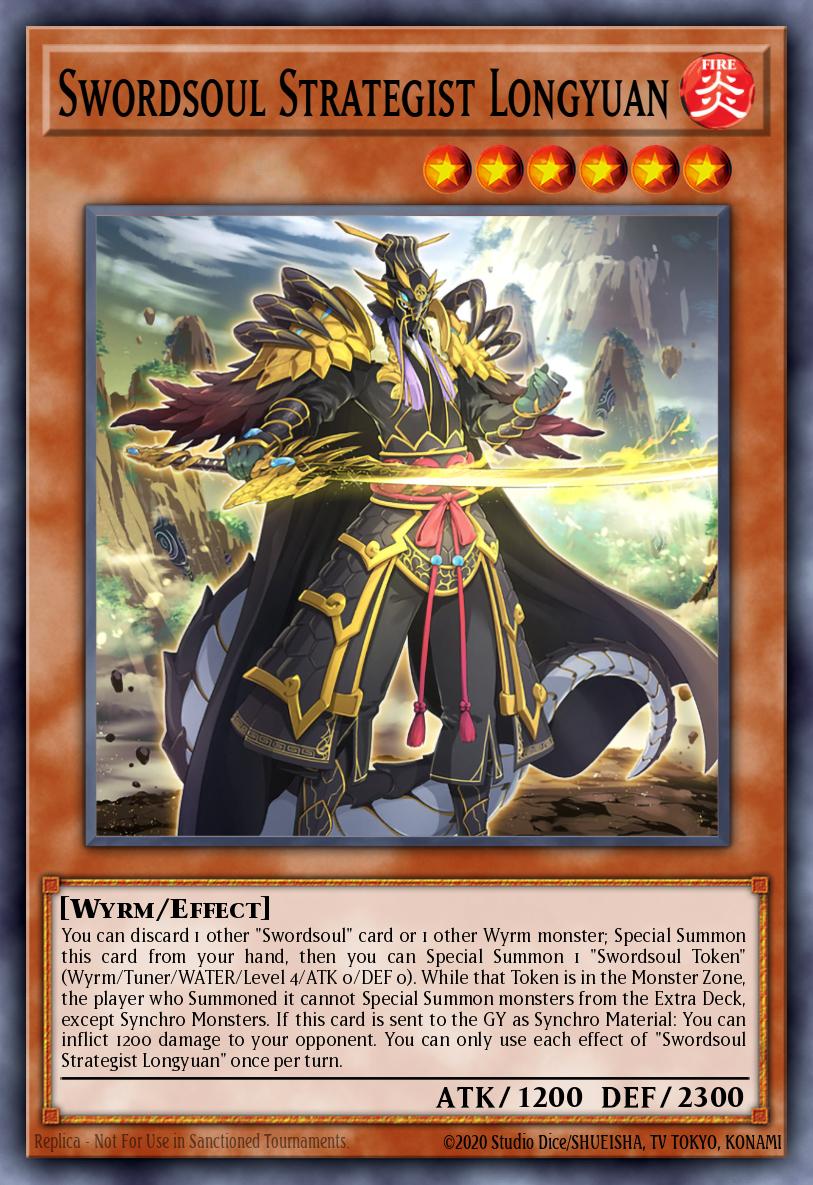
If Mo Ye is your most basic starter, then Longyuan is your most basic extender. The discard effect is basically pretty harmless since you'll be sending something that has a GY effect or can be taken back from it, and that effect itself combined with Longyuan's level makes for a very simple Baronne de Fleur Or any Level 10 Synchro Monster in the game, giving you ample space for a flexible toolbox.
In addition, Longyuan will help you "ask" for 1200 life points from your opponent when using this card as a material. This card will help you end the board more strongly, as well as easily finish off your opponents.
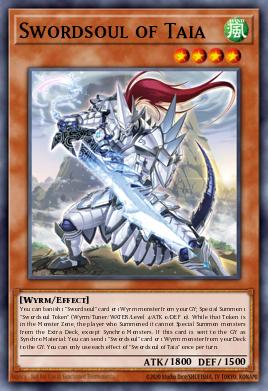
Swordsoul of Taia (1-2x)
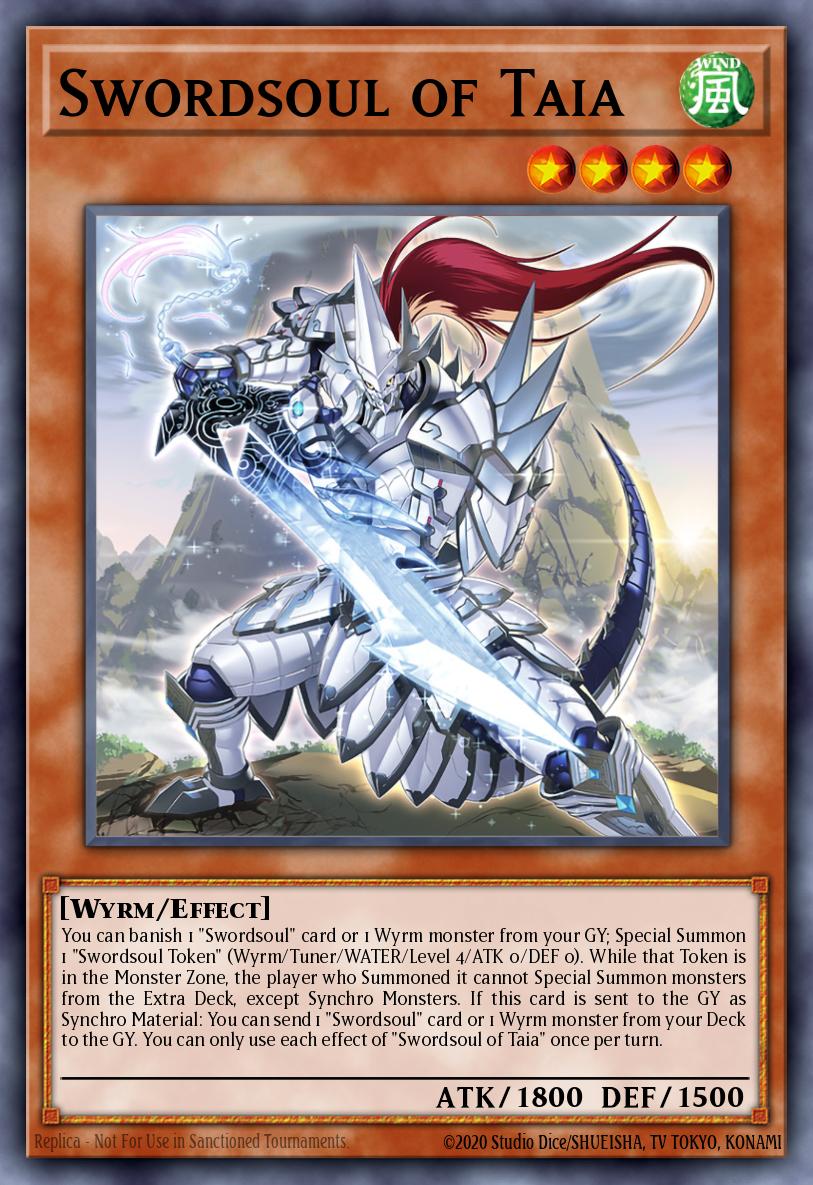
While less desirable as a drawn card than any of your other cards, Taia is a good card and a potential trigger the longer you play, especially since it can be searched. is (like anything in the Deck) and the special GY effect plays very well with the effects of the Tenyi Monster, Taia. Generally 1 or 2 copies can be used in the Main Deck.
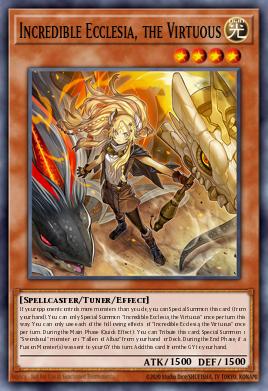
Incredible Ecclesia the Virtuous (2-3x)
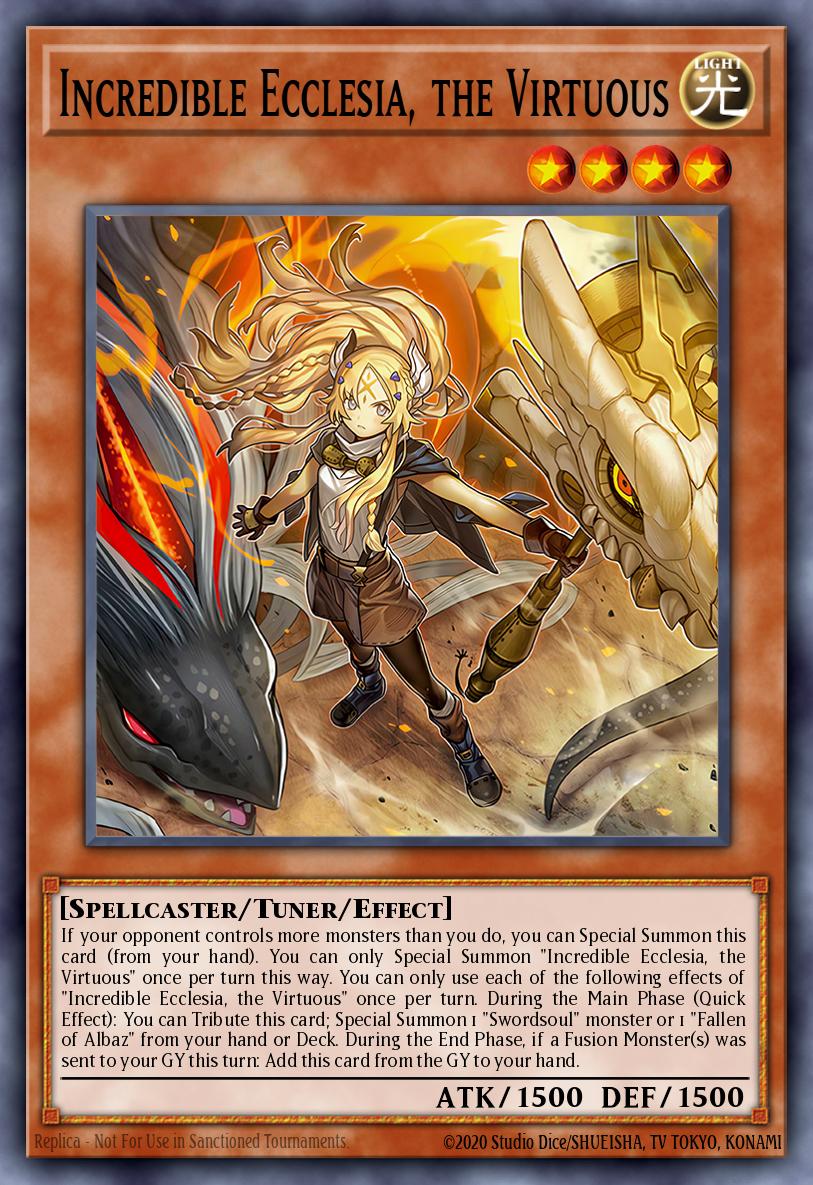
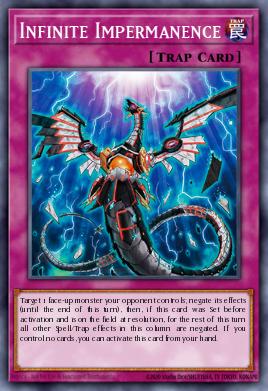
Giving you more ways to access Mo Ye, in addition to having a pretty versatile Special Summon condition AND a Tuner, makes Ecclesia a pretty good card. If in case, you get Infinite Impermanence / Effect Veiler on any Level 4 Swordsoul, Ecclesia will act as a support Tuner for you to immediately summon level 8 Synchro without breaking the circuit.
The only downside is that she is neither a Swordsoul nor a Wyrm Monster, making her completely unsearchable and unusable because of the effects of your other Swordsoul monsters, which can sometimes be a problem. topic, but that doesn't really cost you maximum Deck space .
The Golden Swordsoul, Swordsoul Auspice Chunjun and The Iris Swordsoul (Usually play 0-1x because it is not available)
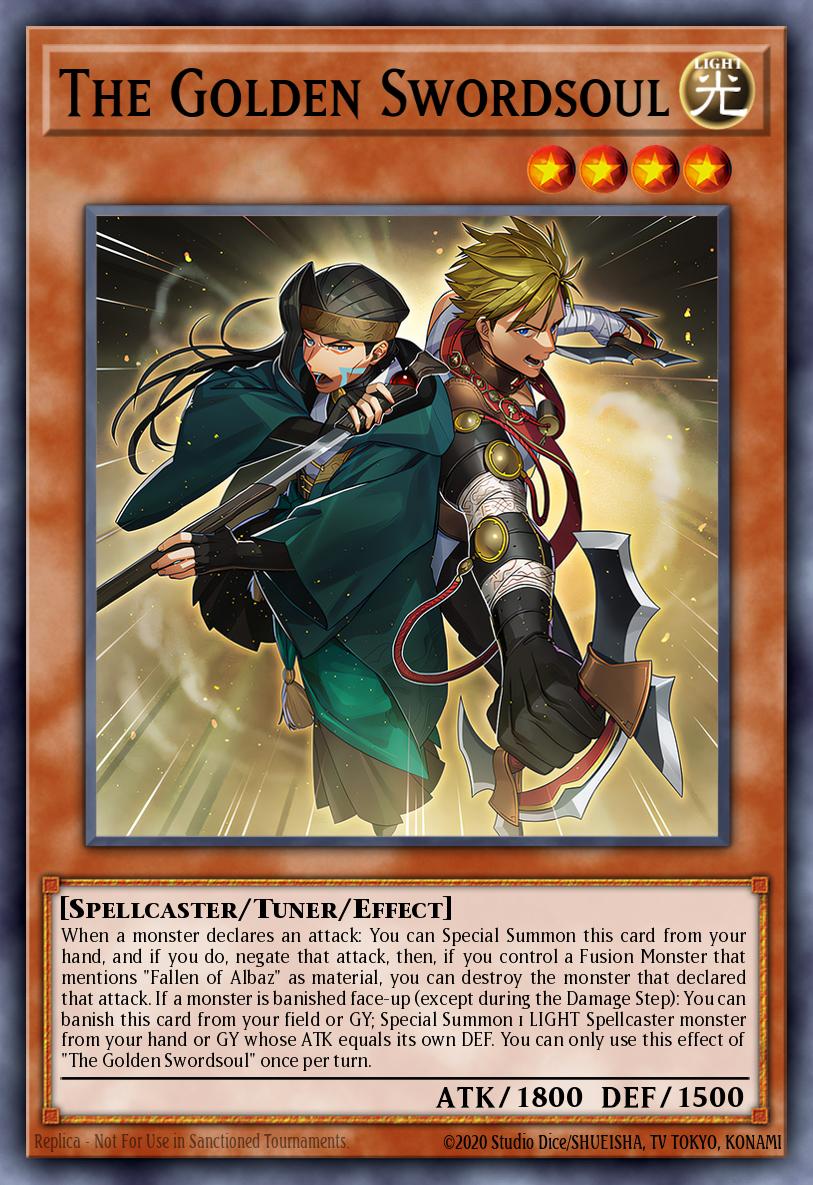
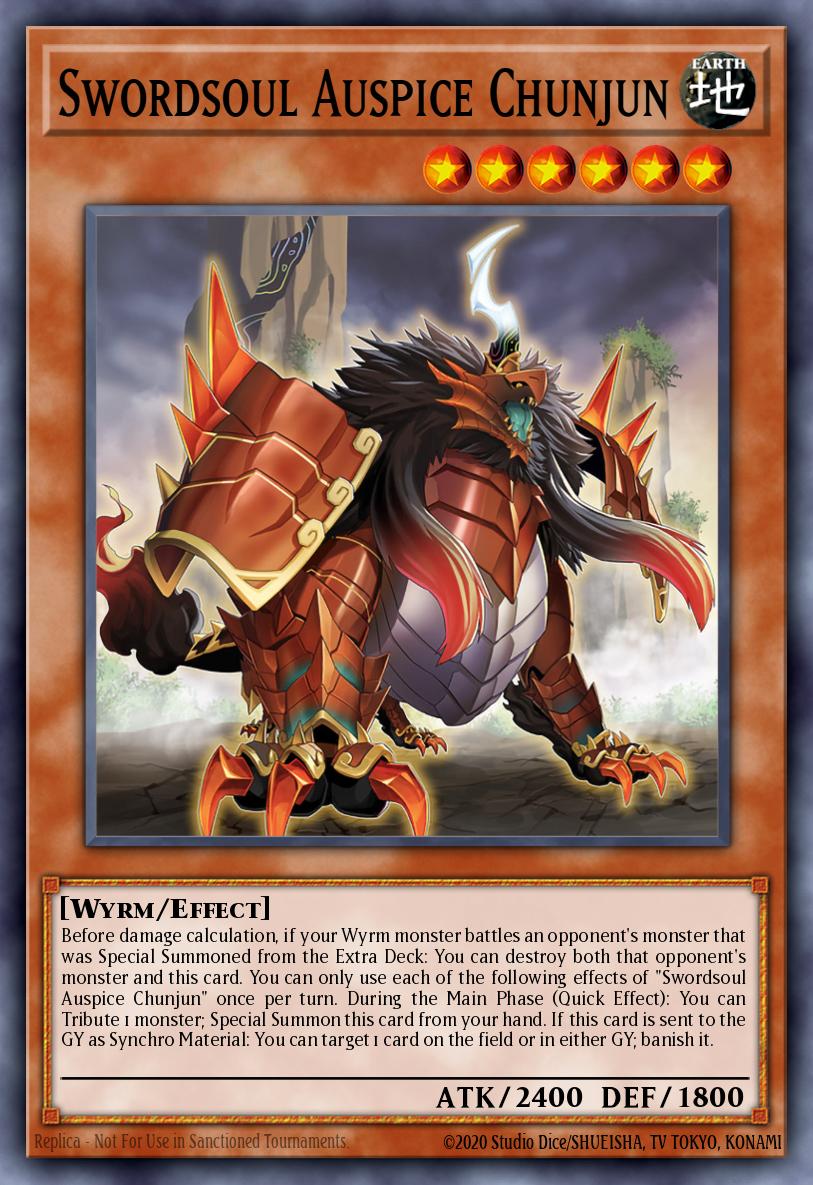
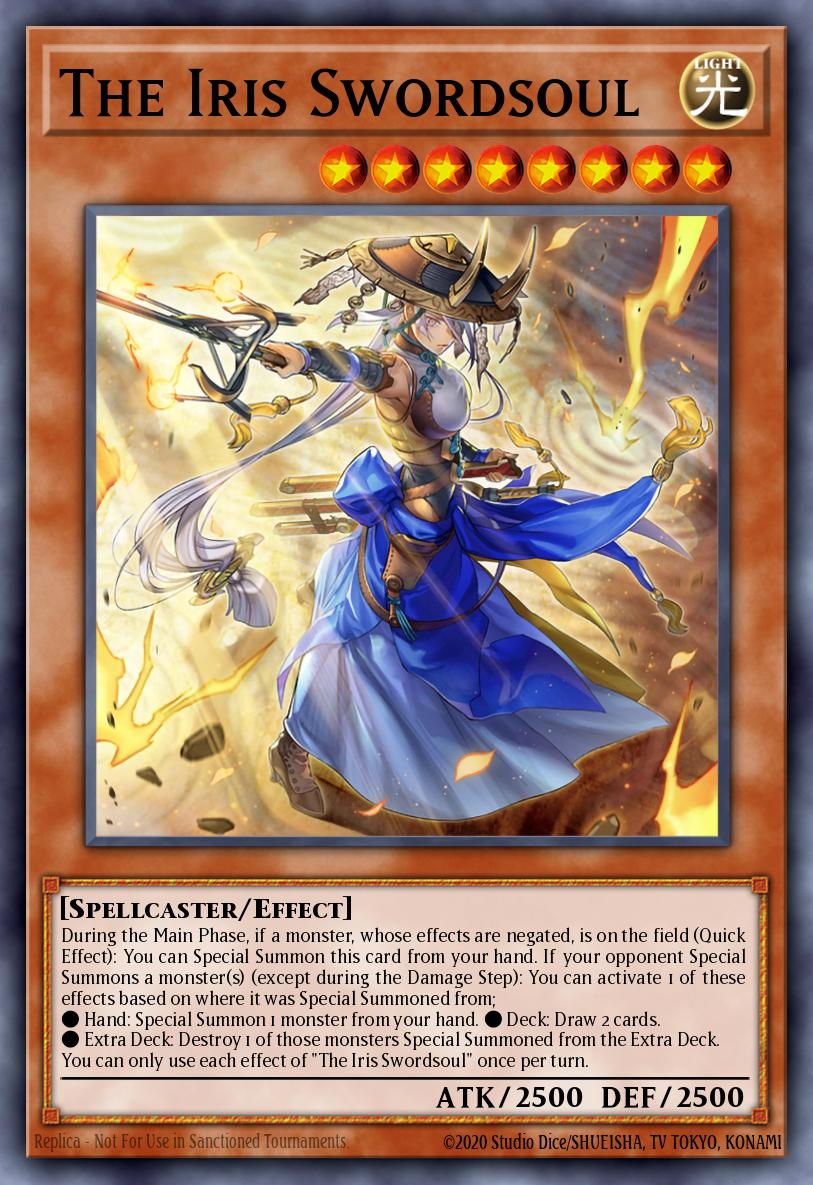
These are support monsters for the current Swordsoul line. Although they seem strong, if "inserted" into the current deck, the deck's brick level will increase significantly. Because their effects can only be used in certain situations and they themselves do not have the ability to call a boss or be called a boss themselves, they can at least give you 1 life but in Duel cards. Actually, those turns are considered useless :v
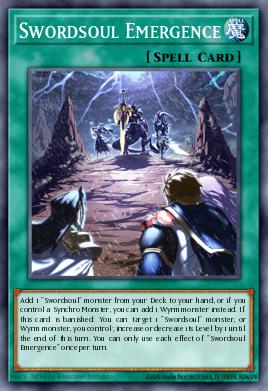
Swordsoul Emergence (3x)
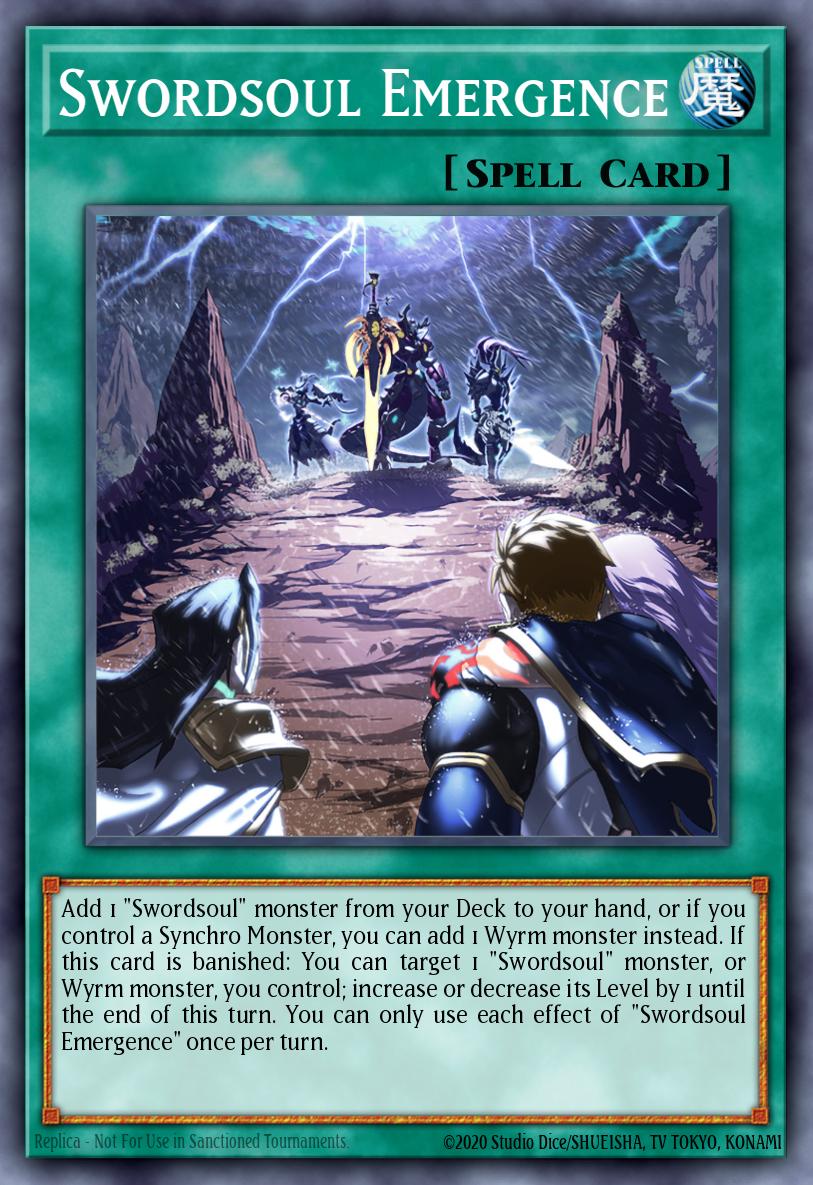
This card is quite simple, it searches for any Swordsoul monster in your Deck or if you control a Synchro Monster, it can search for any Wyrm monster in the game.
A great starter with Mo Ye, a great extender with Longyuan and even a potential addition to the endgame deck when used to search Archnemeses Protos , these are 3 very obvious duplicates in any build any of Swordsoul.
A great starter with Mo Ye, a great extender with Longyuan and even a potential addition to the endgame deck when used to search Archnemeses Protos , these are 3 very obvious duplicates in any build any of Swordsoul.
Swordsoul Sacred Summit (0-1x)
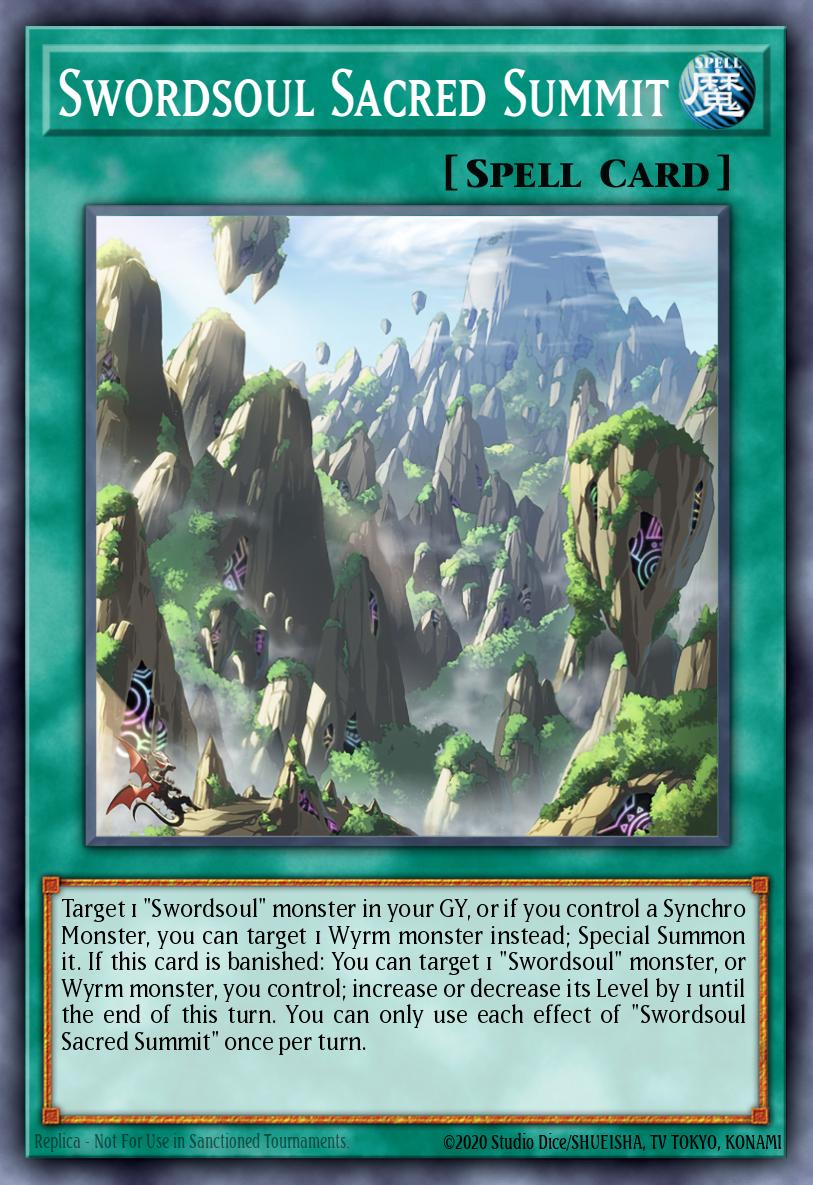
Sacred Summit is like a miniature Monster Reborn specifically for Swordsoul, helping you develop more combos. In addition, when fighting for a long time, you can revive 1 Swordsoul to have more resources to continue playing.
In the current meta, Sacred Summit's appearance has almost disappeared in most Swordsoul decks. Therefore, newbies should also consider using this card in their Deck.
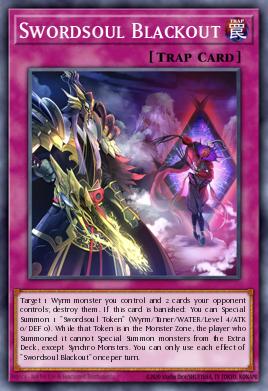
Swordsoul Blackout (1-2x)
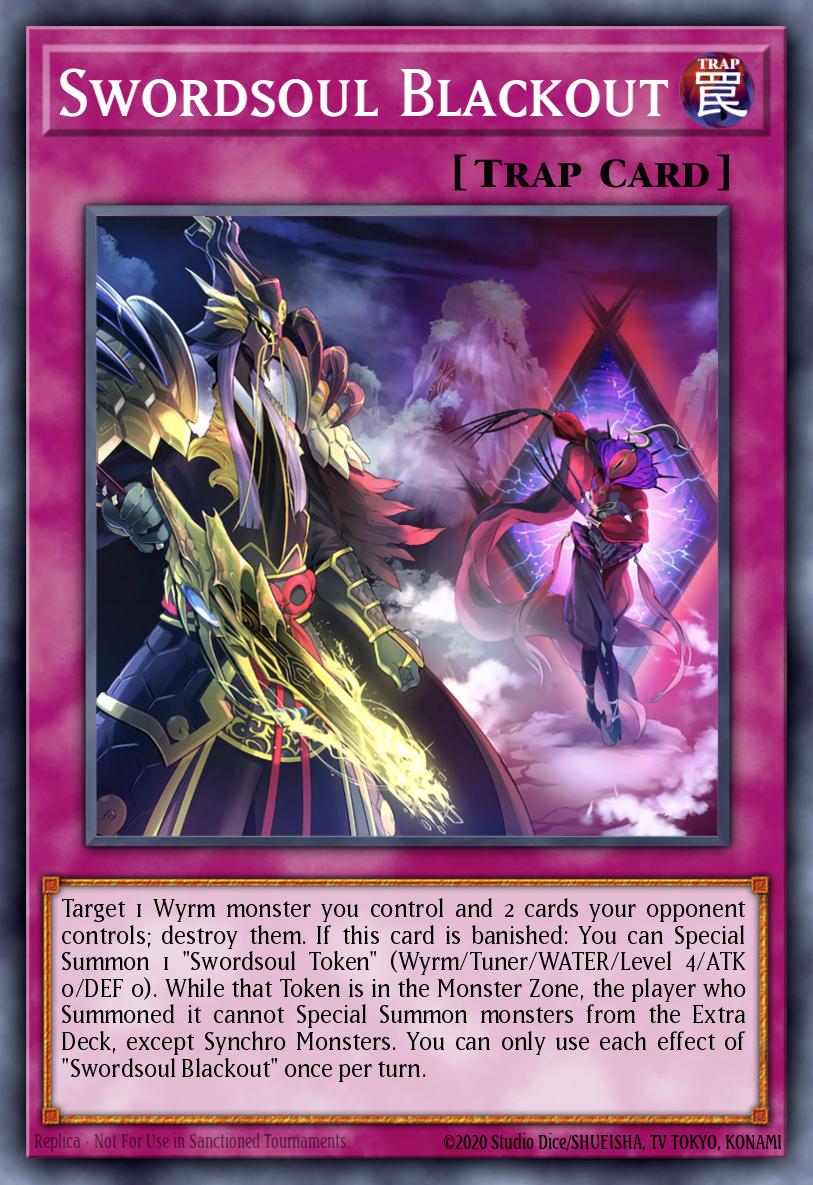
An Icarus Attack archetype, due to its ease of access it is mostly only used with 1 copy in the game, but it does not avoid the fact that this is a very stable card when used as your main end-of-the-field deck in most of the deck's field ratio.
Additionally, when you banish this card from the Graveyard, you can call up 1 Token. When you get negated on Taia when Taia banishes this card, you can level up 1 Token to level 4 Tuner, continue to perform combos as usual.
Swordsoul Assessment and Swordsoul Strife (0-1x)
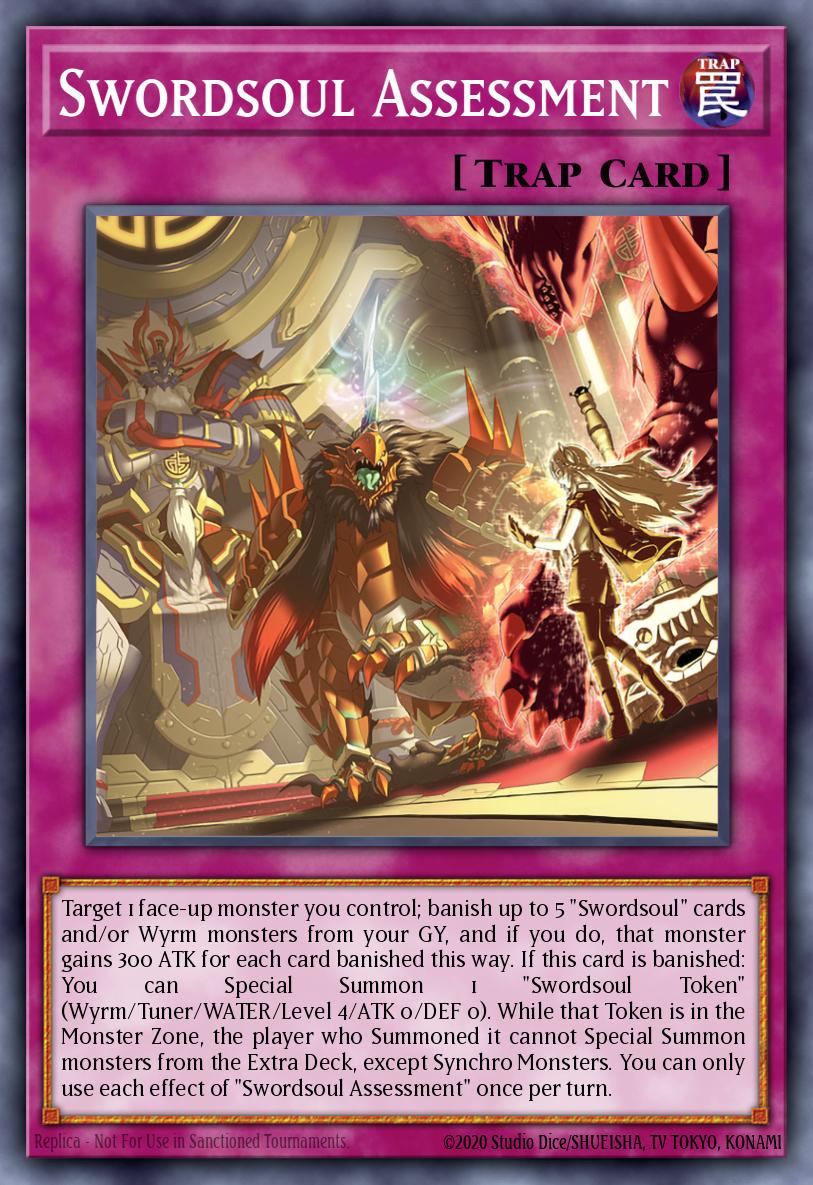
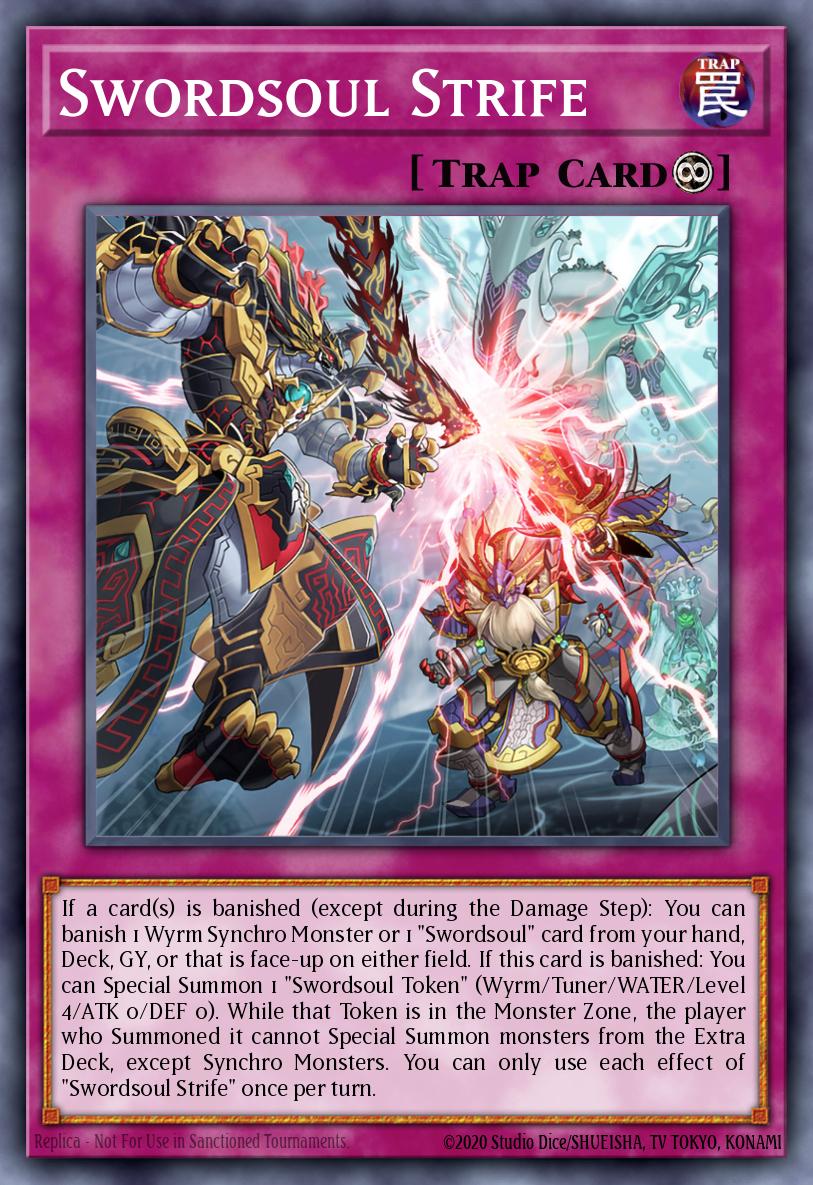
Basically, both are Traps so they are not used much because they are too slow. Second, both cards can be upgraded to Tuner Token to perform combos, so you can still consider it a bit. Third, the last thing to consider using one of the two cards is their first effect:
- In Assessment is a significant ATK increase for your bosses to OTK
- In Sati there is an increase in your combo lines. However, using too much also leads to depletion of your resources, because once expelled, there are very few ways to recycle your resources.
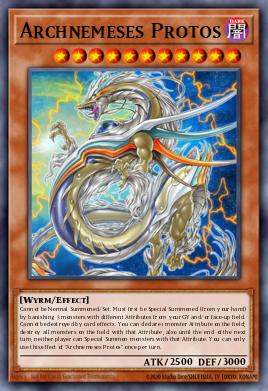
Archnemeses Protos (1x)
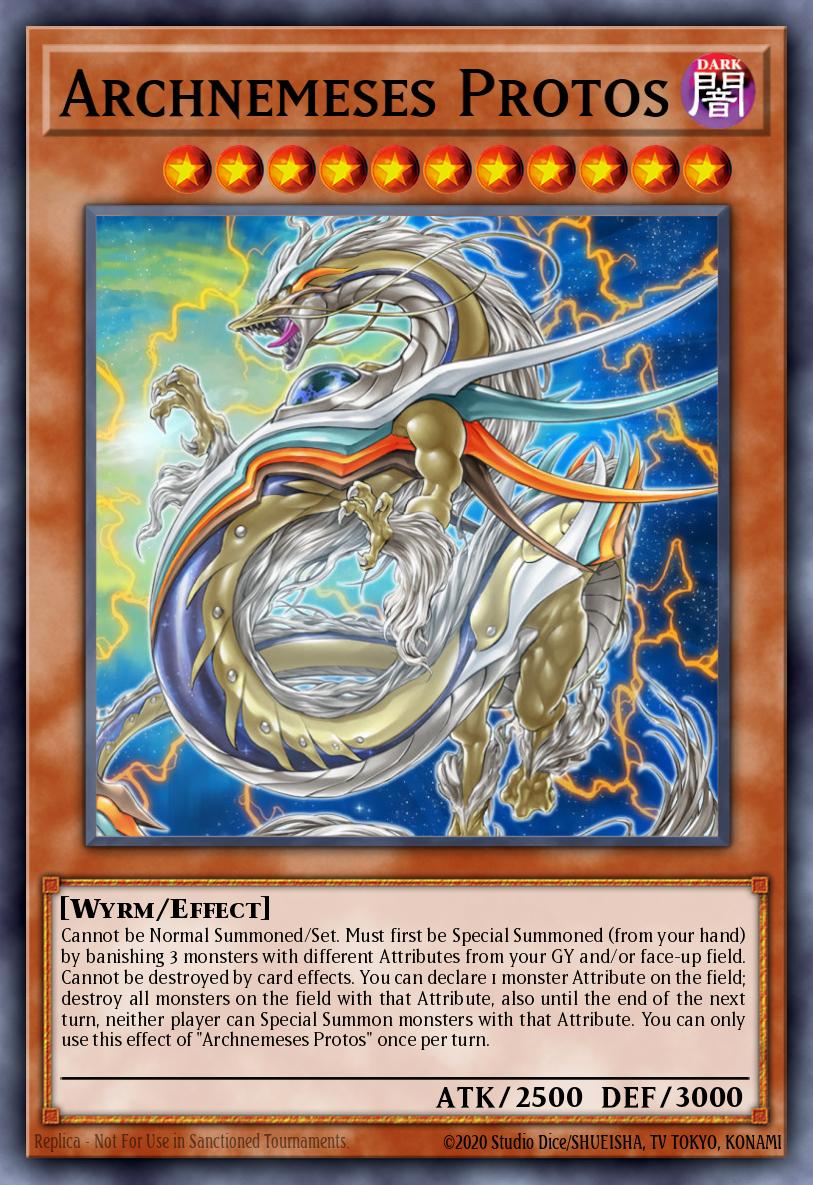
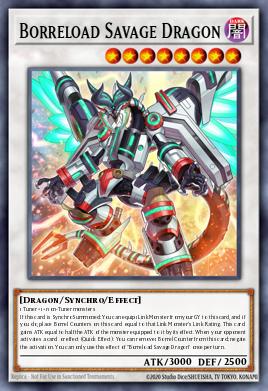
In the TCG , Swordsoul causes this card to be banned. And not without reason, this card has the ability to completely lock your opponent out of the match thanks to its effect. Even if said effect doesn't end the fight, such as if you choose to be DARK, as you usually do, it can still lock your opponent out of generic OTK activations like Accesscode Talker or Borrelsword Dragon , keep you able to float a turn before you hit your opponent again. It's unbelievable this was even made up, if I have to be honest. Note that Protos does not need to destroy a monster to apply its floodgate effect (but that Attribute must still be on the field). Since it is immune to destruction, you can always choose DARK for at least no cost.
Extra Deck
You will want to direct your Extra Deck more towards Synchros. Therefore, most slots will be for Synchro monsters, and the remaining slots will be for Link monsters to extend the combo you need.
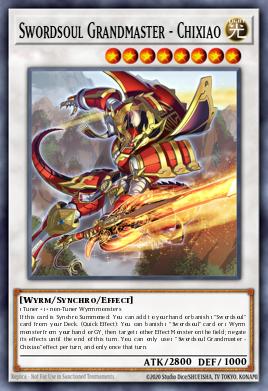
Swordsoul Grandmaster - Chixiao (2x)
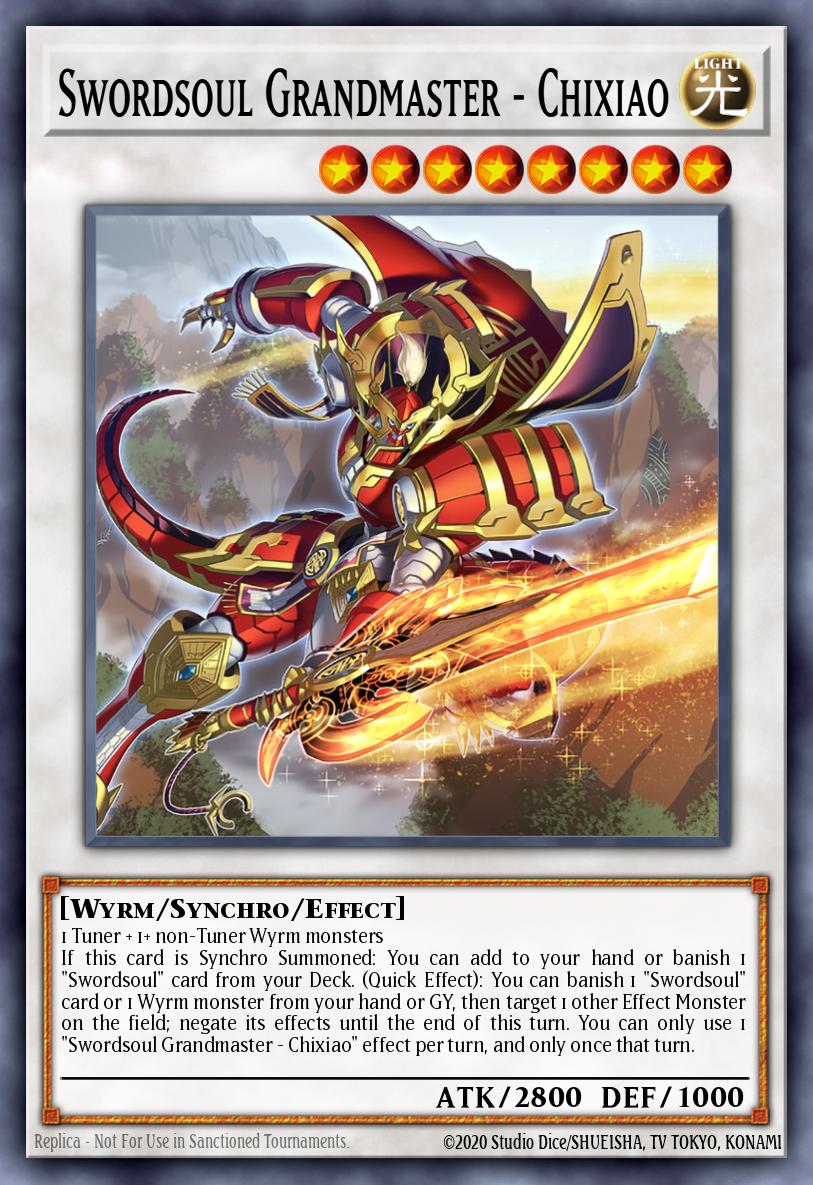
When it comes to Swordsoul, this is an Extra Deck card that NEEDS to be created. Thanks to Swordsoul Emergence (if not already in use), Chixiao can search any Swordsoul OR Wyrm Monster in the game when summoned. The second effect is a relatively free disruption to the deck and cannot be chain-blocked, as it does not need to respond directly to activations. Remember that you can only use one of Chixiao's effects per turn .
Note : When summoning Chixiao using Taia or Mo Ye, arrange Chixiao chain link 1, Taia/Mo Ye chain link 2. By doing so, Chixiao will not be affected by Ash Blossom & Joyous Spring while deploying his effect.
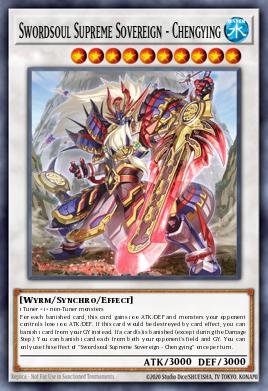
Swordsoul Supreme Sovereign - Chengying (1x)
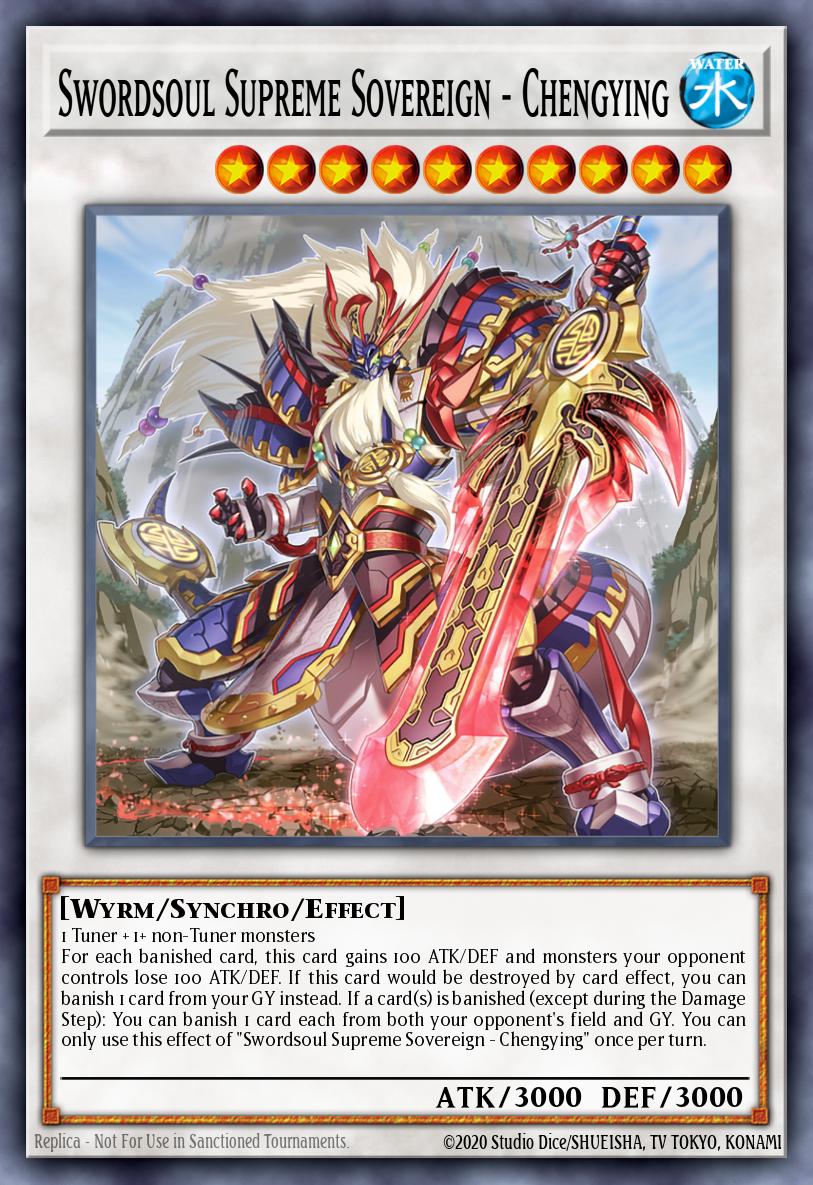
Chengying is less important, but still a strong monster. In terms of level 10 Synchro, it is superior to Baronne de Fleur , however it is almost always your second best choice. Good protection, a strong banish effect (even if it's not always the easiest to use), and a stat manipulation effect that can get pretty big in the late game make for a great card. Overall article is great.
Swordsoul Sinister Sovereign - Qixing Longyuan (1x)
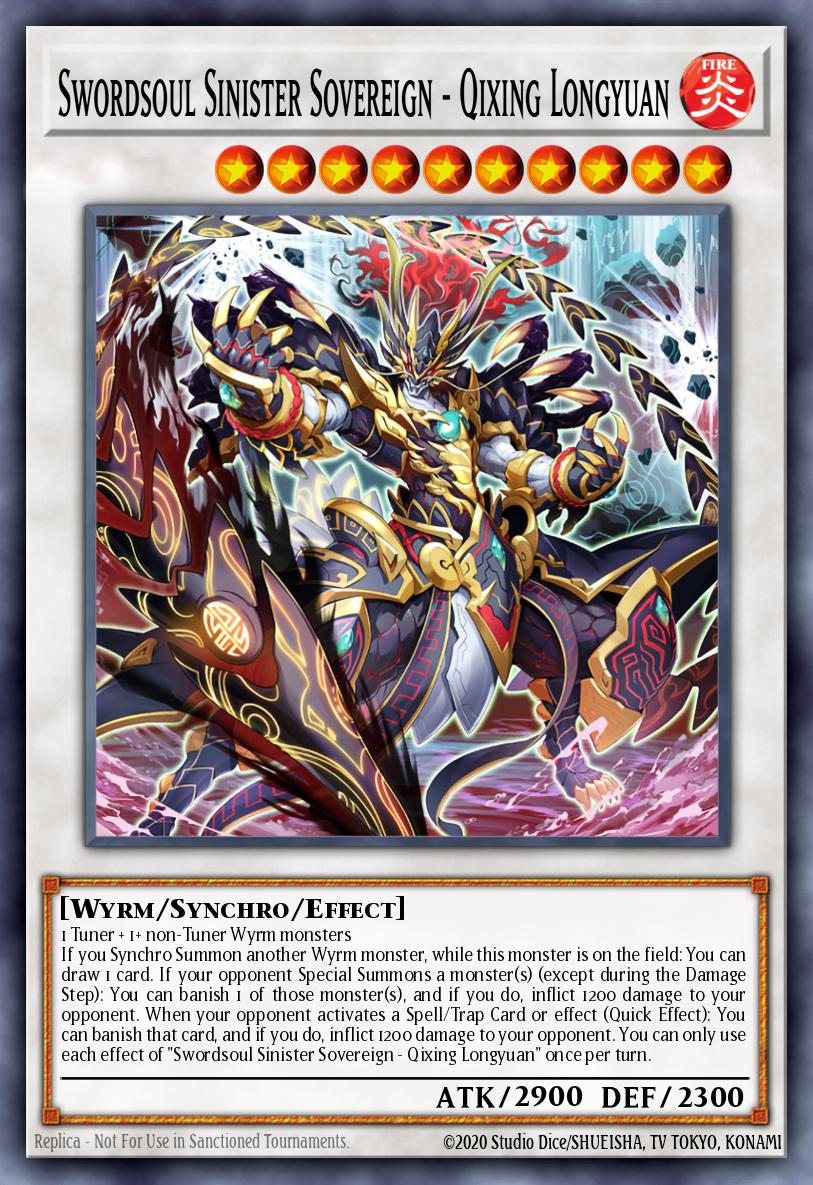
Qixing Longyuan is not necessarily a good card, but it is an annoying target and causes opponents to discard first in some situations due to its effect: the ability to completely subtract from opp's life points every time they summon Special recovery, Spell/Trap activation up to 3600 (if used correctly). Not to mention, during that time, you can also banish a card that is being summoned/activated
A small point in this card will help you expand your hand every time you summon another Wyrm Synchro to the field.
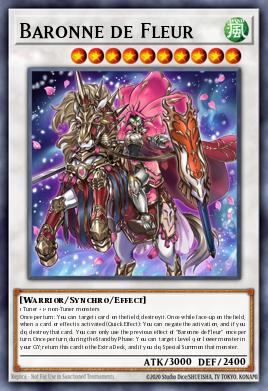
Baronne de Fleur (1x)
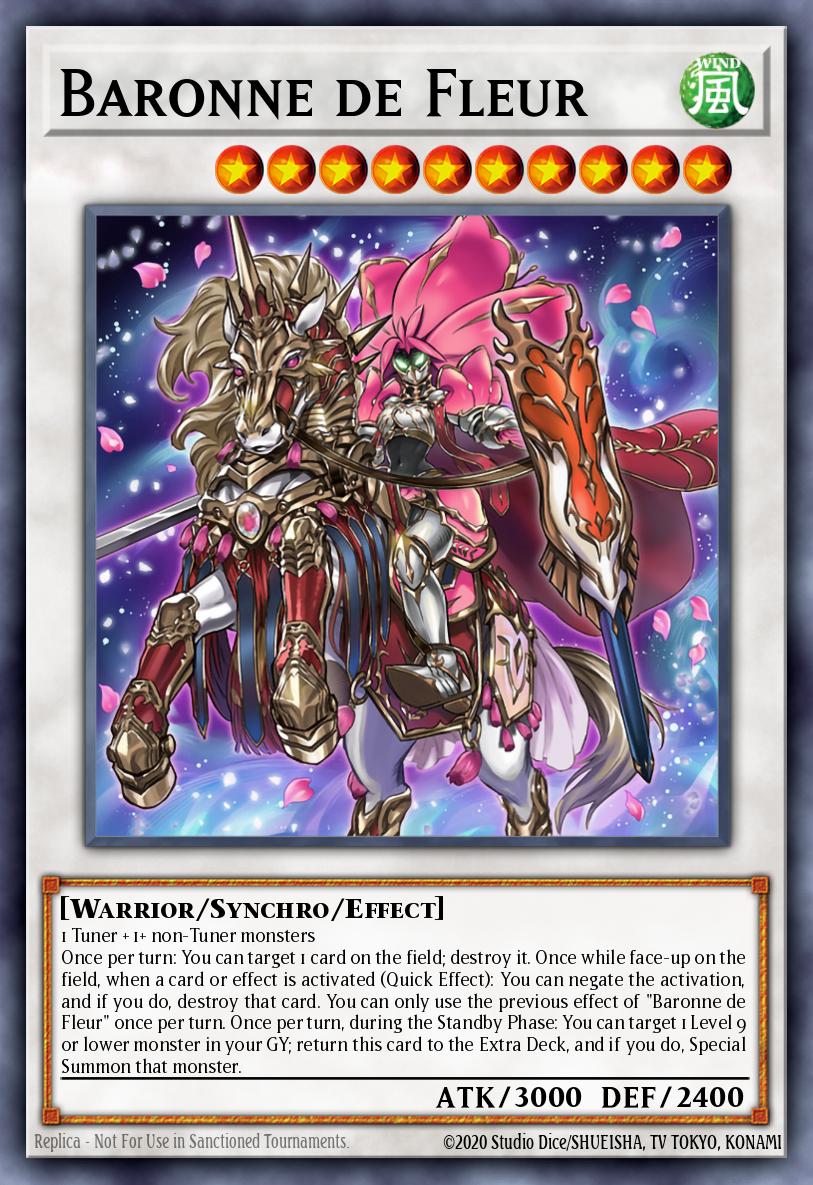
This is the second most important card in the Extra Deck. A generic level 10 Synchro negate is created quite easily. Can be called onto the field thanks to Longyuan Level 6. Baronne can negate 1 opponent's effect, then during her Standby Phase, can often be swapped with a level 4 Swordsoul in her grave to continue playing.
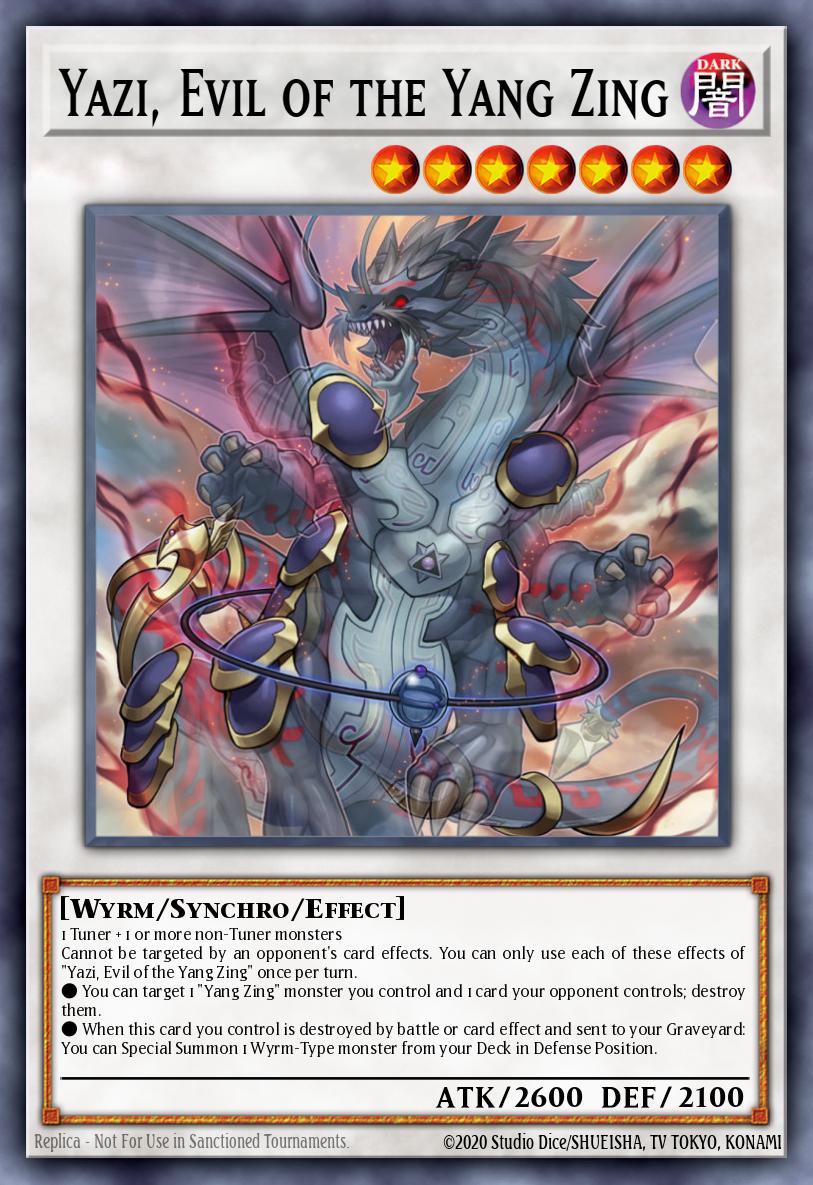
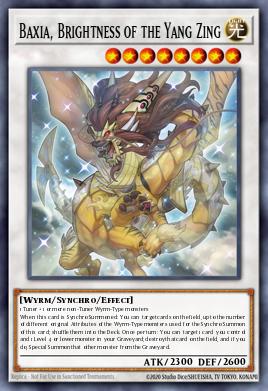
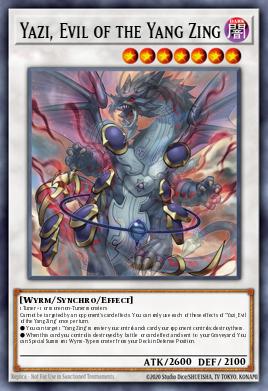
Baxia, Brightness of the Yang Zing, Yazi and Evil of the Yang Zing (The Yang Zing)
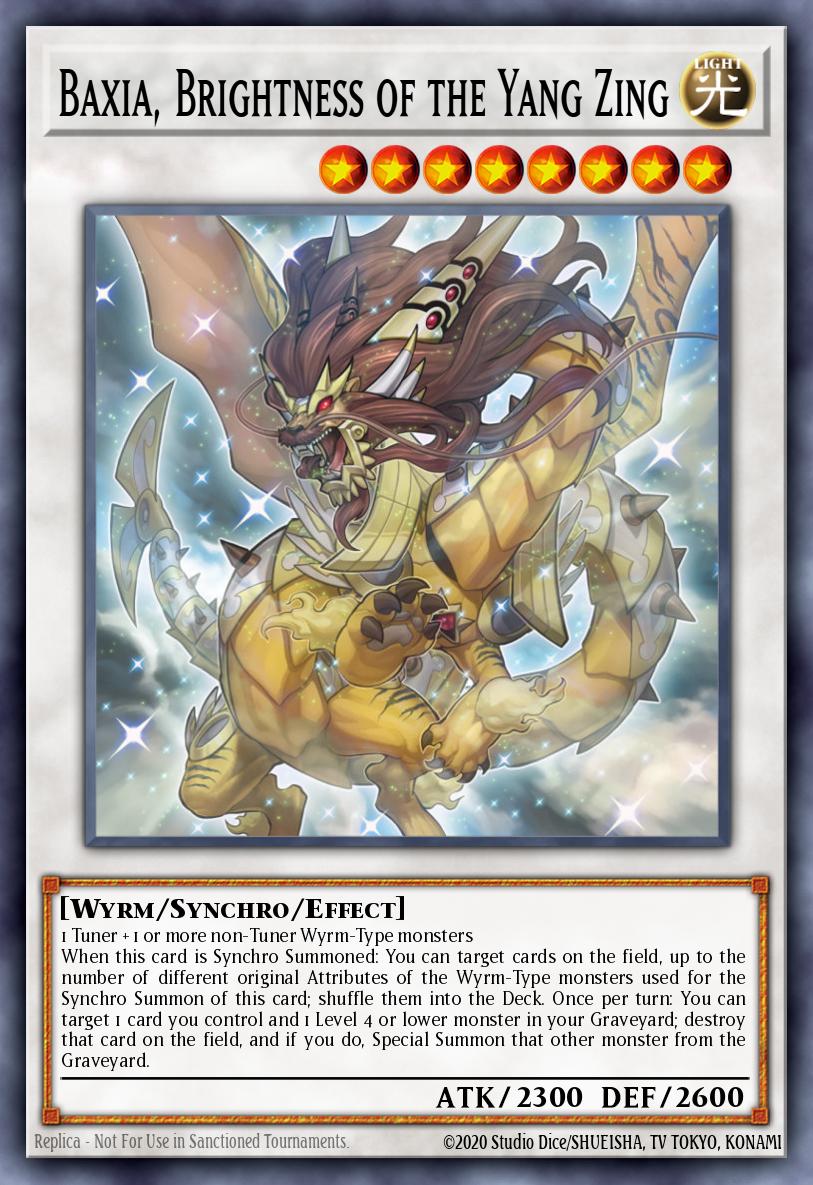
- Baxia is easily one of your main forms of removal, for both monsters and backrows. It can rarely act as a next extender / extended play by destroying itself (or any of your other cards) to revive monsters in the GY, this is often used as a result. works well with Taia's GY effect, as you can Summon any level 4 or lower Wyrm Monster from your Deck.
- And Yazi can be called onto the field with Taia + Emergence/Sacred Summit. Yazi helps you bombard the opp field, then you can jump 1 Swordsoul (usually Mo Ye) to flood the field again.
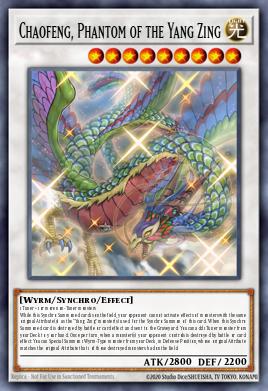
Chaofeng Phantom of the Yang Zing (1x)
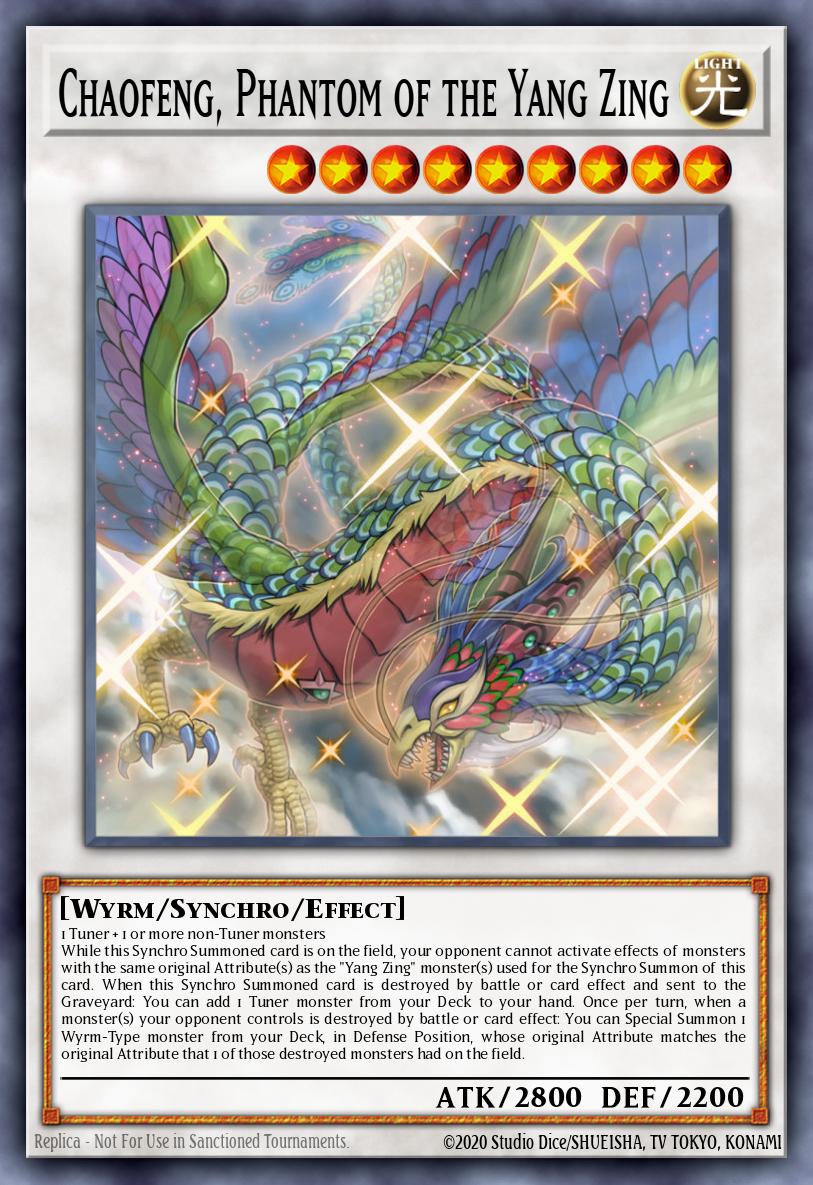
Chaofeng is an auto-win card against Decks that rely on LIGHT Monsters like Invoked (by turning off Invoked Mechaba ) or Drytron (By turning off pretty much everything). As Yang Zing's boss, I think I should probably mention it last.
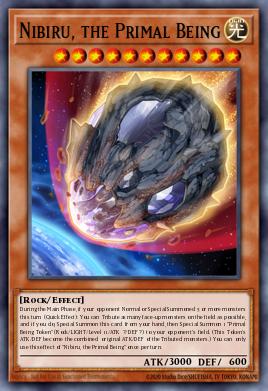
The reason is that you will be summoning this card primarily using Baxia and Adhara, which means your opponent will be completely unable to use any LIGHT effects in your hand, field, GY, anywhere. where. This is especially important because it means that Nibiru, the Primal Being becomes unusable after Chaofeng hits the field, so you always force your opponent to use it, usually before you are Normal Summoned.
However, Chaofeng should never be your primary target, and you should only summon it knowing that you can continue playing with some other cards you have.
The reason is that you will be summoning this card primarily using Baxia and Adhara, which means your opponent will be completely unable to use any LIGHT effects in your hand, field, GY, anywhere. where. This is especially important because it means that Nibiru, the Primal Being becomes unusable after Chaofeng hits the field, so you always force your opponent to use it, usually before you are Normal Summoned.
However, Chaofeng should never be your primary target, and you should only summon it knowing that you can continue playing with some other cards you have.
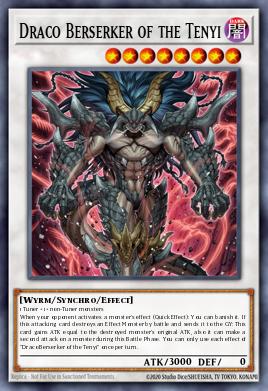
Draco Berserker of the Tenyi (1x)
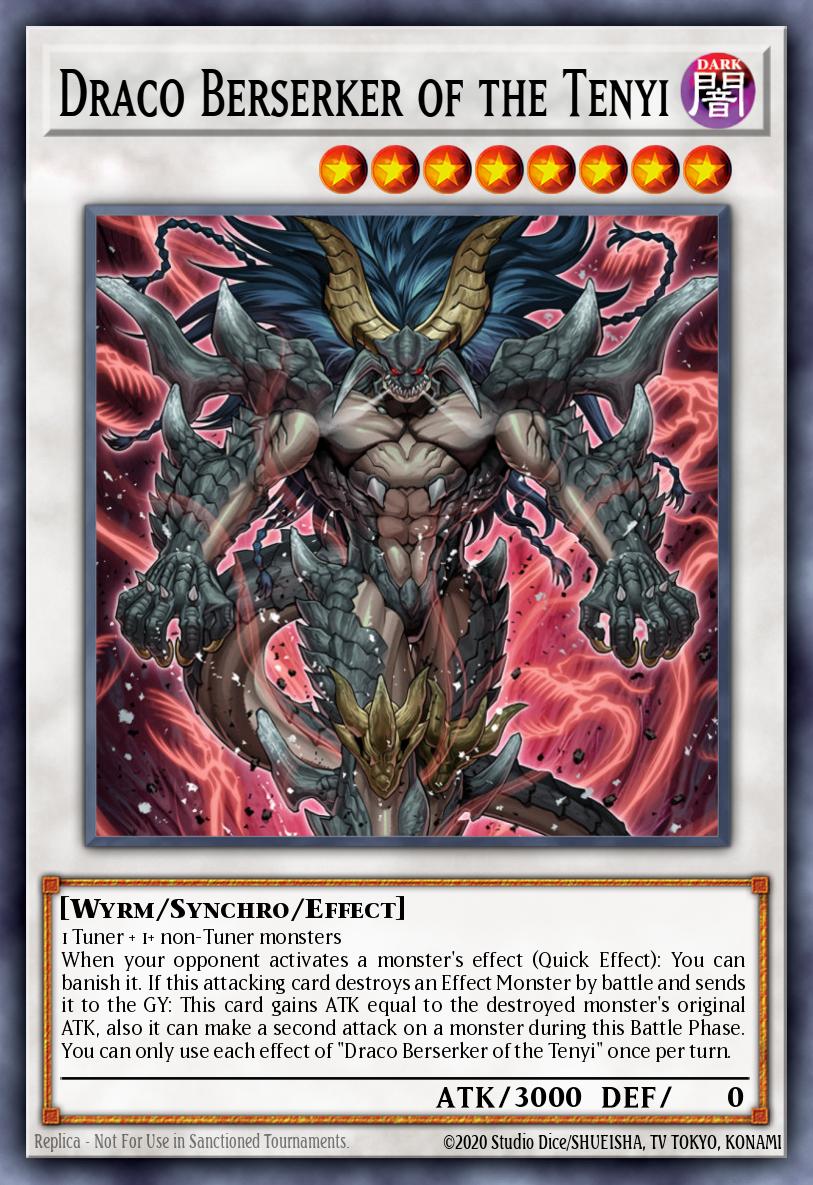
Draco Berserker proves his worth quite well with Swordsoul, being a generic level 8 Wyrm (which is an important factor in synergy with the Tenyi version of the deck) with effects that make it a pretty good card to end and the second effect that makes it up deals the second most damage. You're not really tight on space in the Extra Deck anyway, so in any build I'd recommend using it in one copy.
Synchro toolboxes
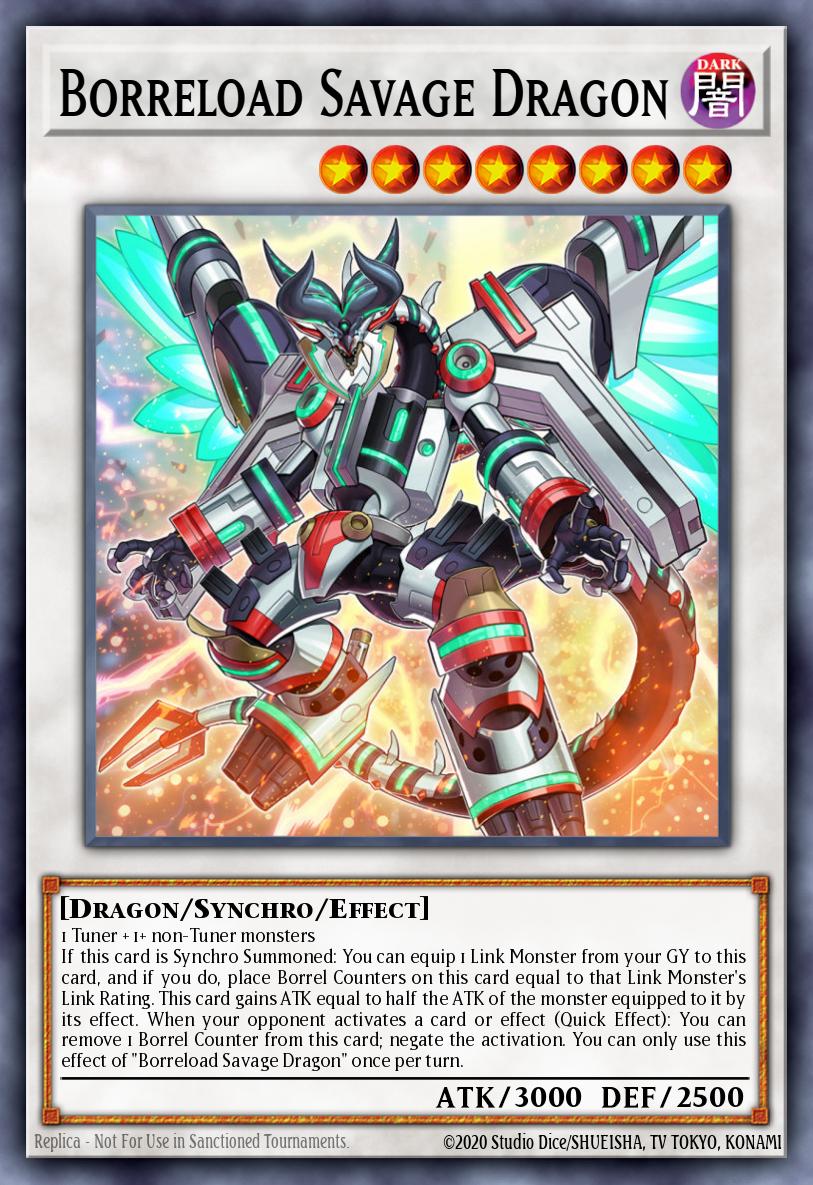
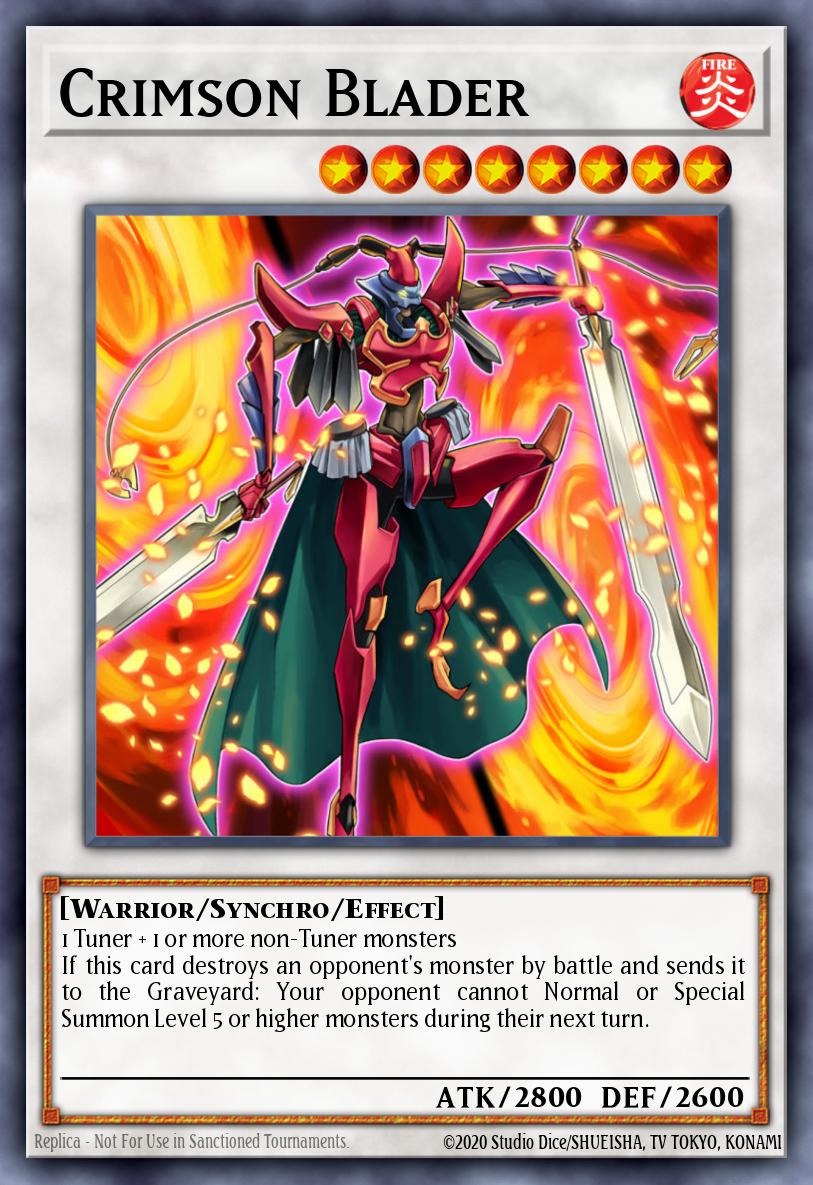

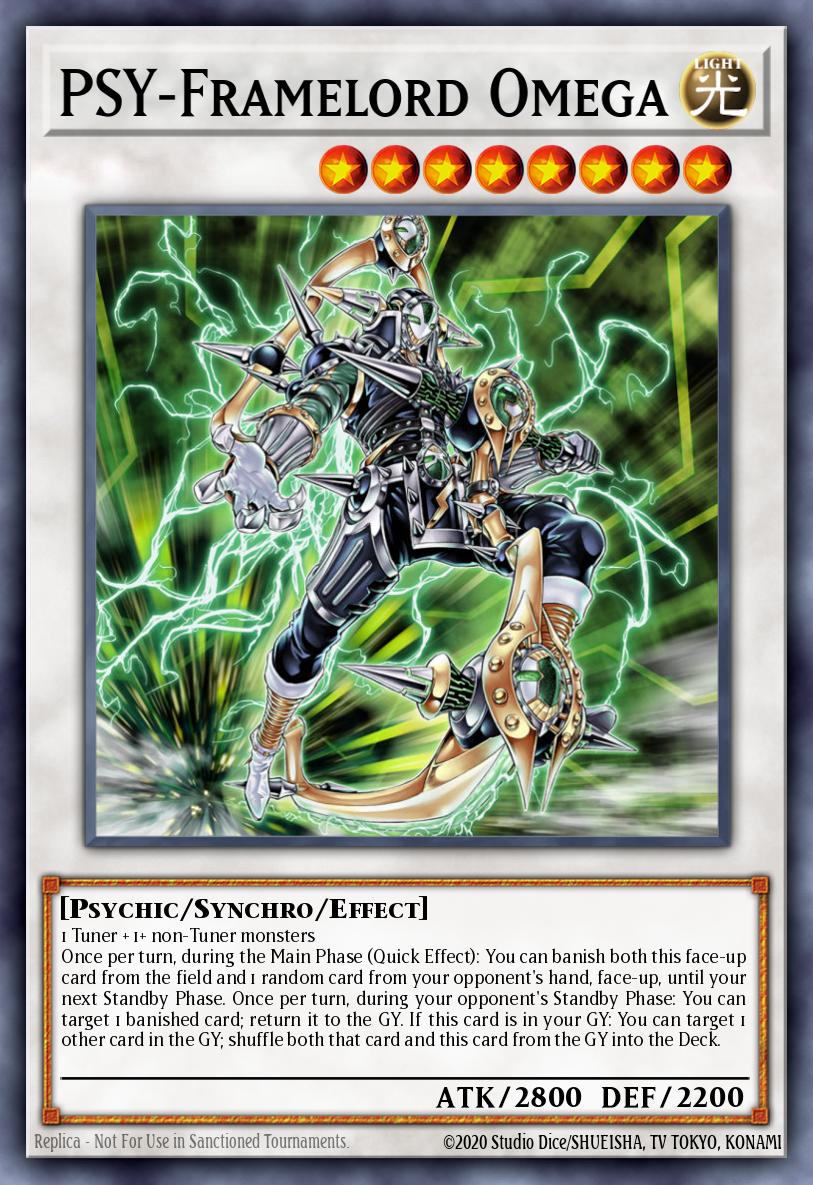
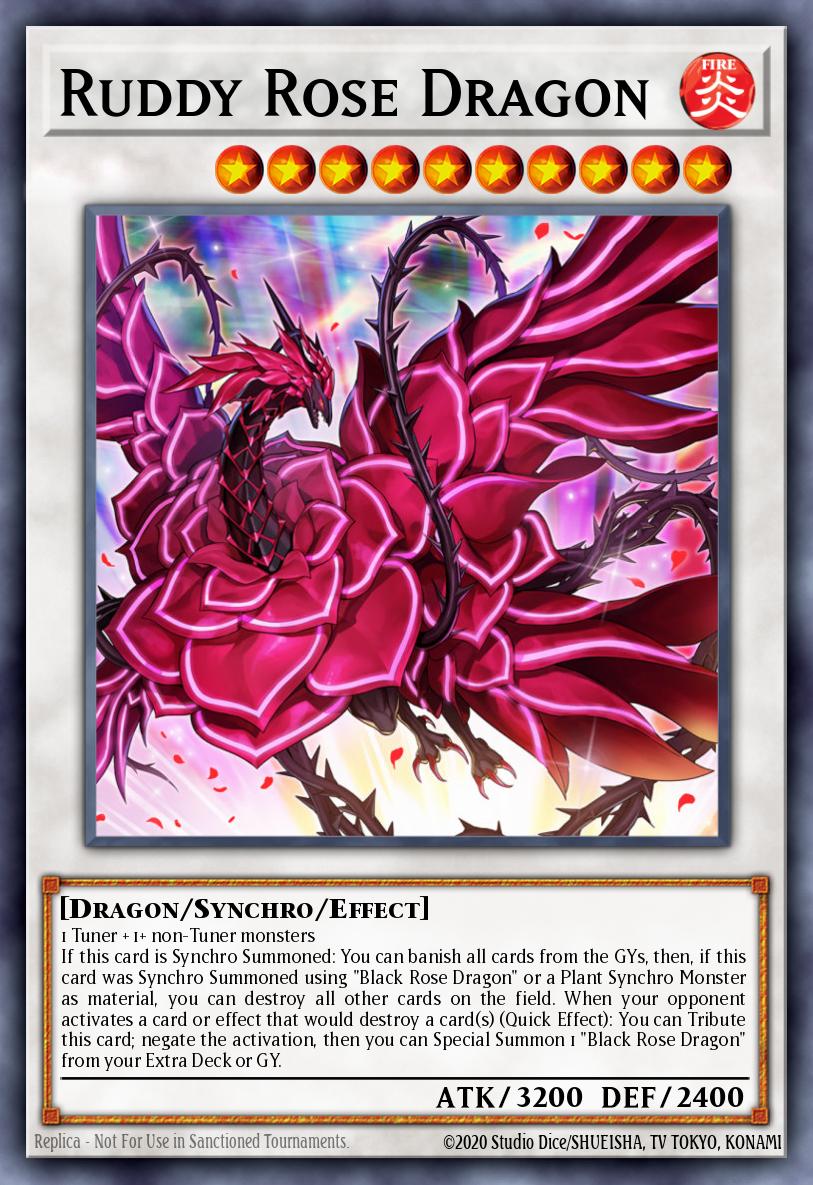
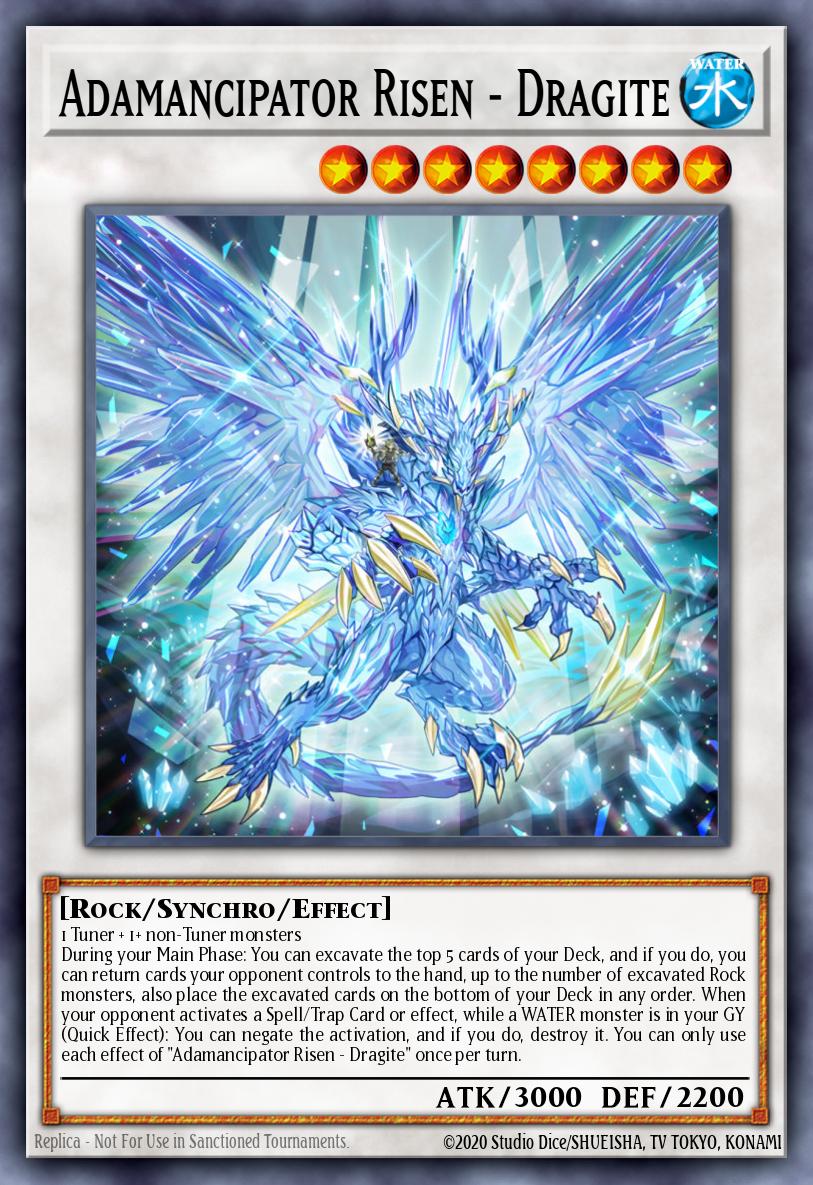
There are also other mercenary Synchros that I think are worth adding to your own Extra Deck (not to mention their cost is quite cheap). They are all level 8 and 10, so don't worry too much about their suitability in the deck.
Engine
As mentioned in the Extra Deck section, you will want to direct your bosses more towards Synchro monsters, but to help the deck become more smooth, adding Engines (specifically, Link Wyrms) will help make your combos much easier!!!
Tenyi
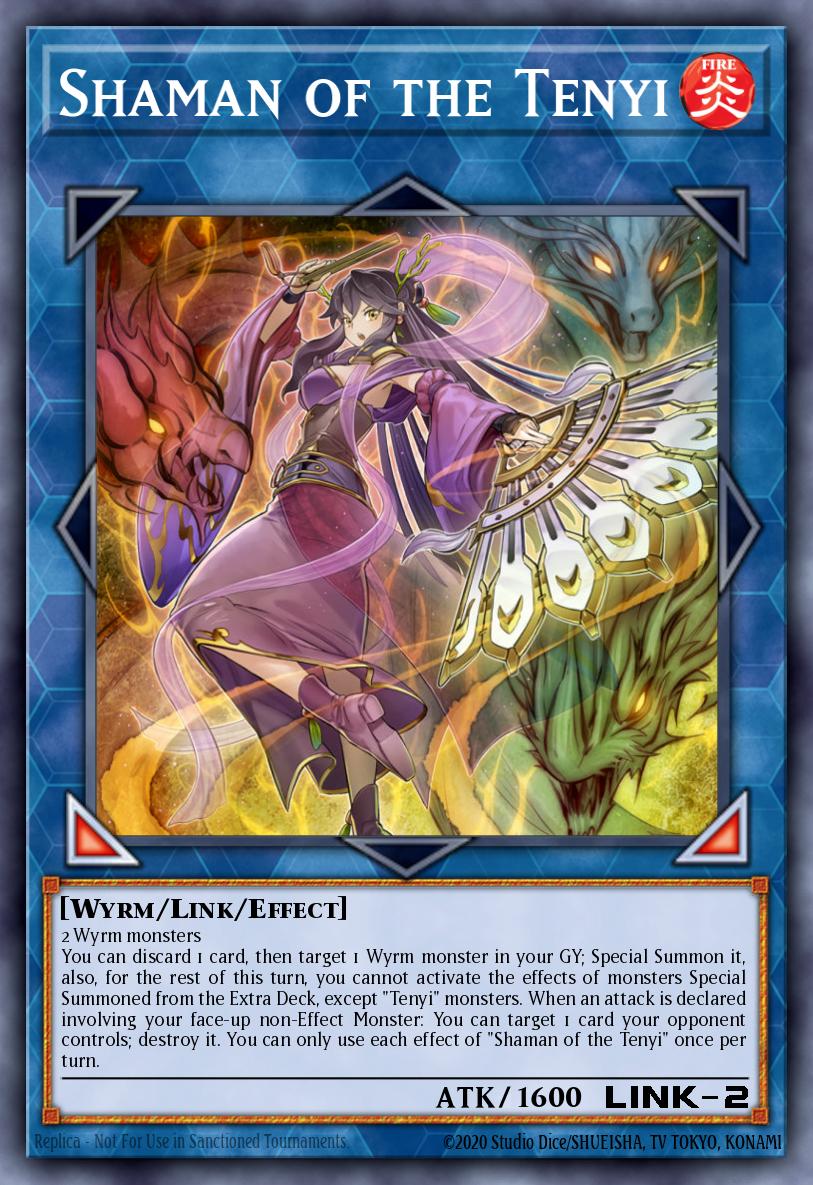
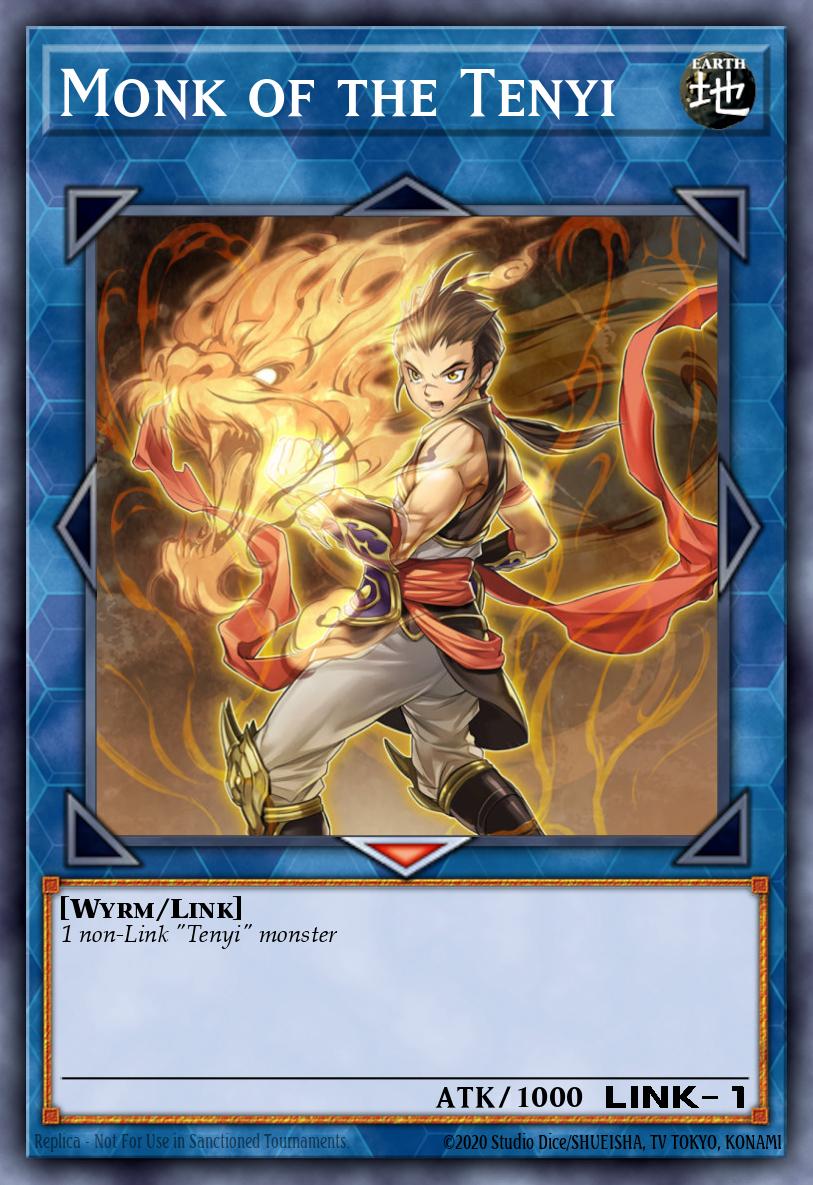
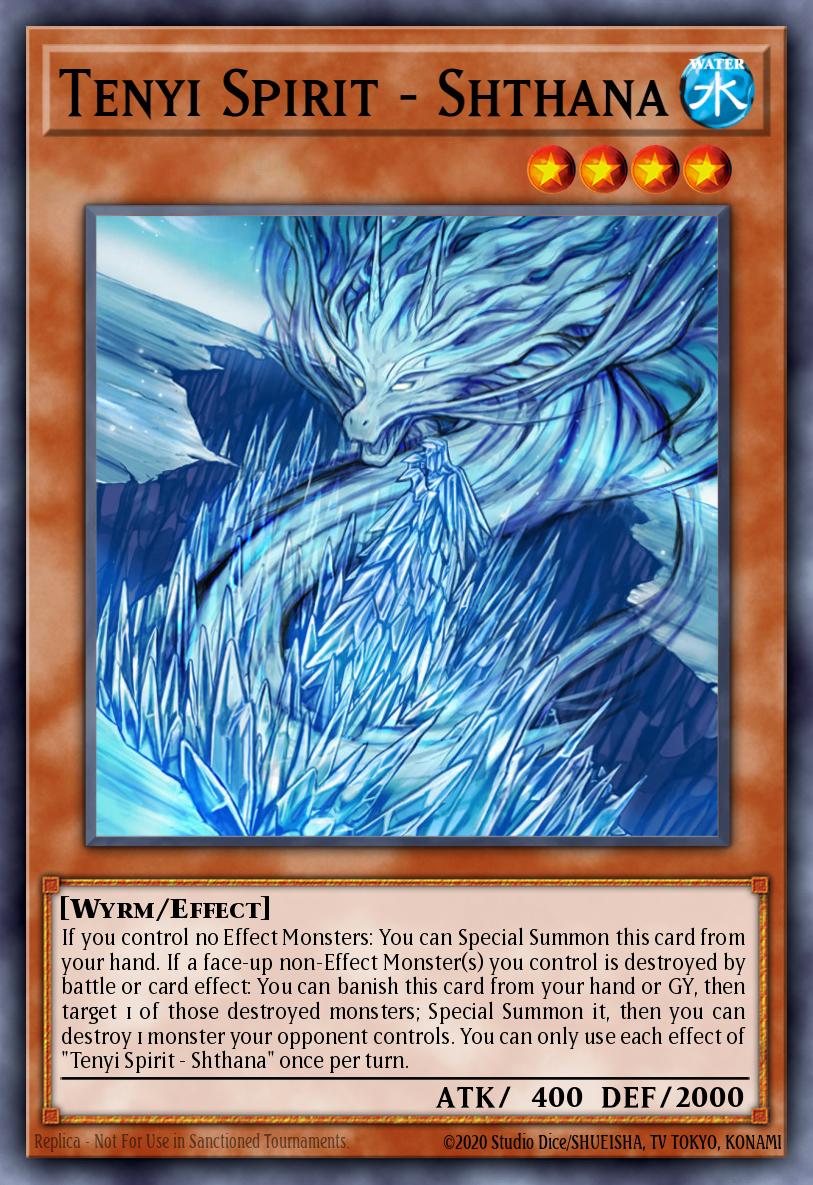
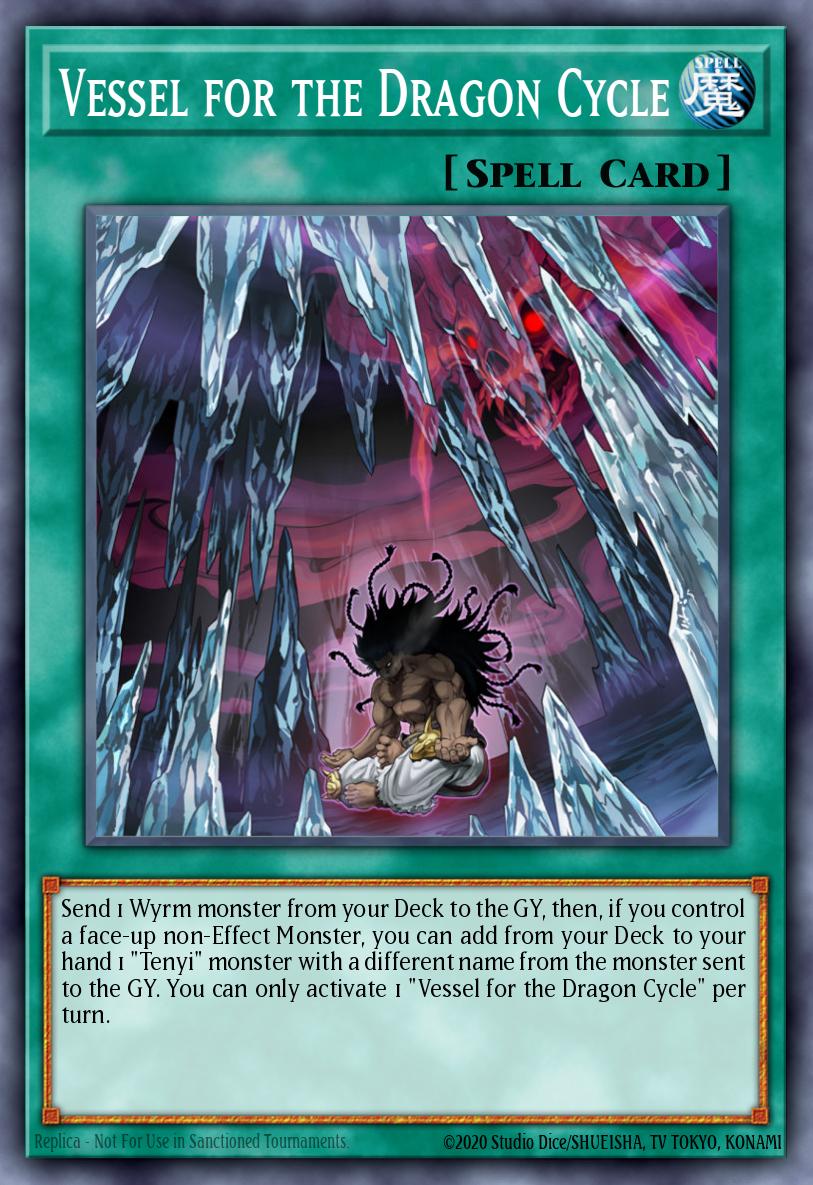
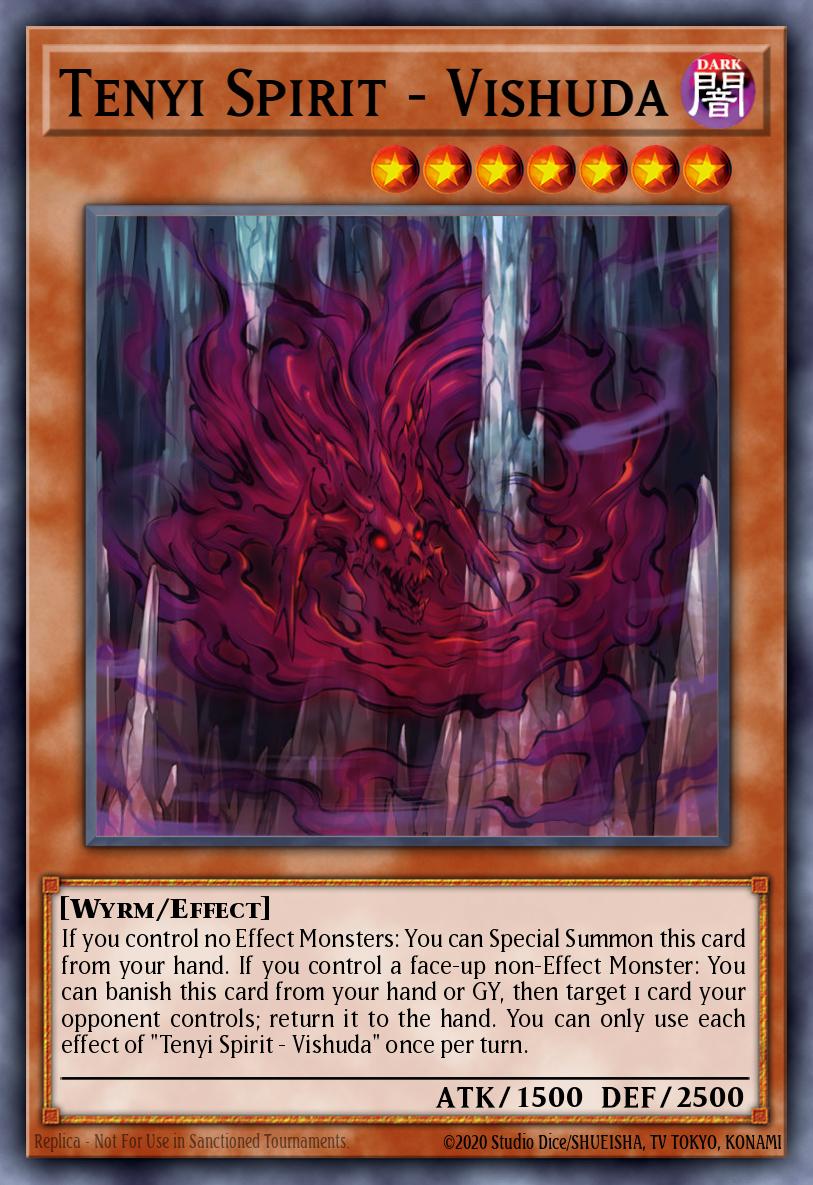
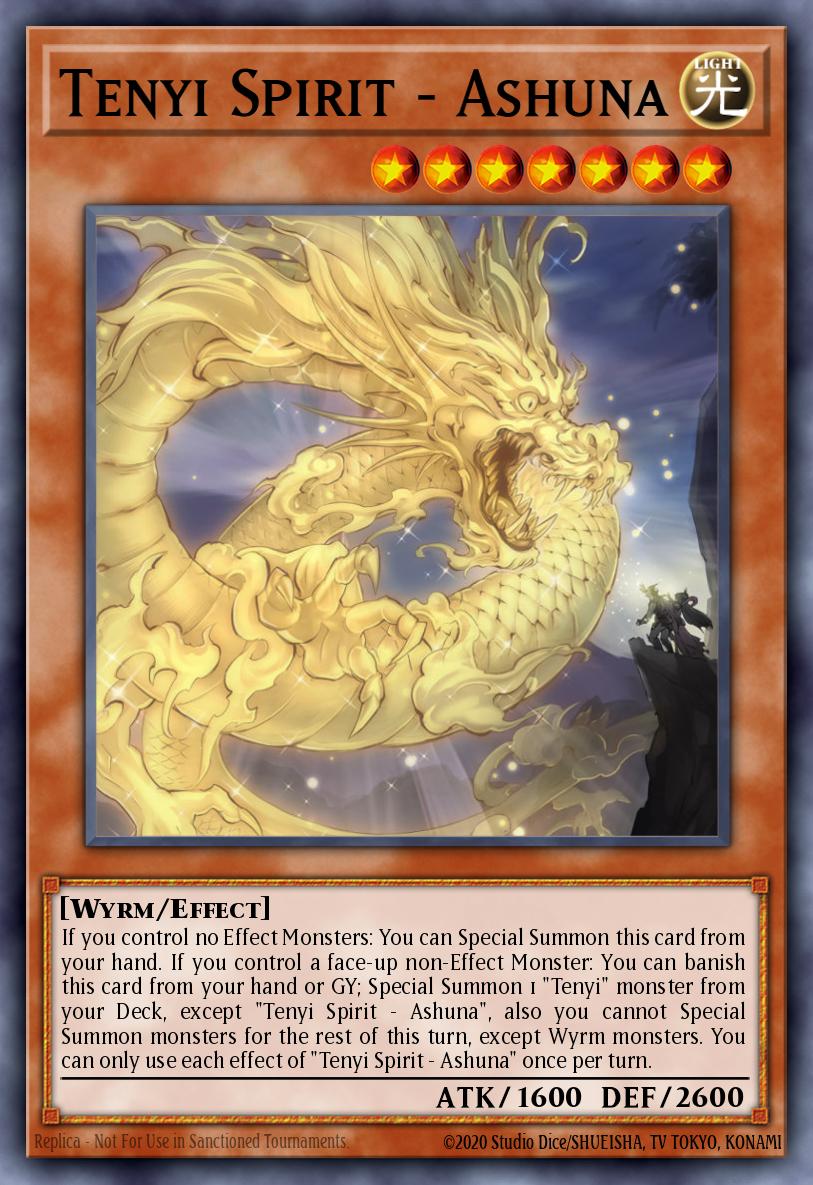
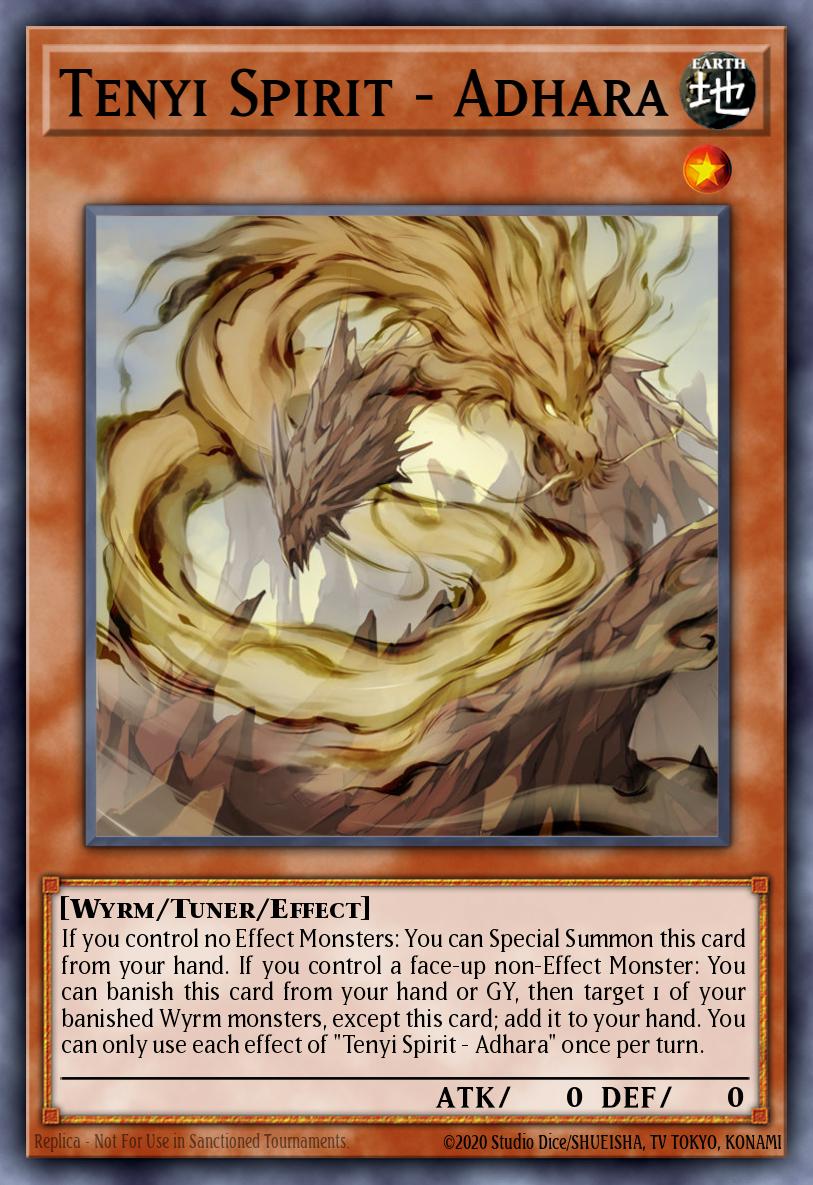
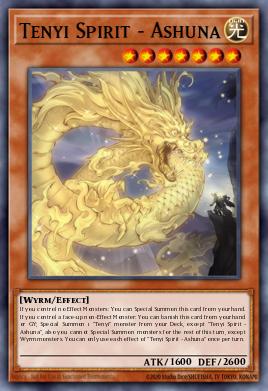
One of the main downsides of pure Swordsoul is that the Deck can feel a bit weak at times, lacking both power and even a bit in extended plays (this is compensated for by the large amount of handtraps). , Tenyis fixed those problems by turning Swordsoul into an almost aggressive combo deck, serving as a starter, extender, and bait for handtraps. The sheer number of things they enable makes them the go-to engine, allowing for more Extra Deck possibilities. The only downside this brings is that the main Tenyi, Ashuna , locks you into Wyrms for the rest of the turn, forcing you to end up on the occasional sub-optimal field set (Also because of this, in some builds Ashuna won't be used much...)
Crystron Halqifibrax, Deskbot 001 and Mecha Phantom Beast Auroradon (Halqifibrax Auroradon Engine)

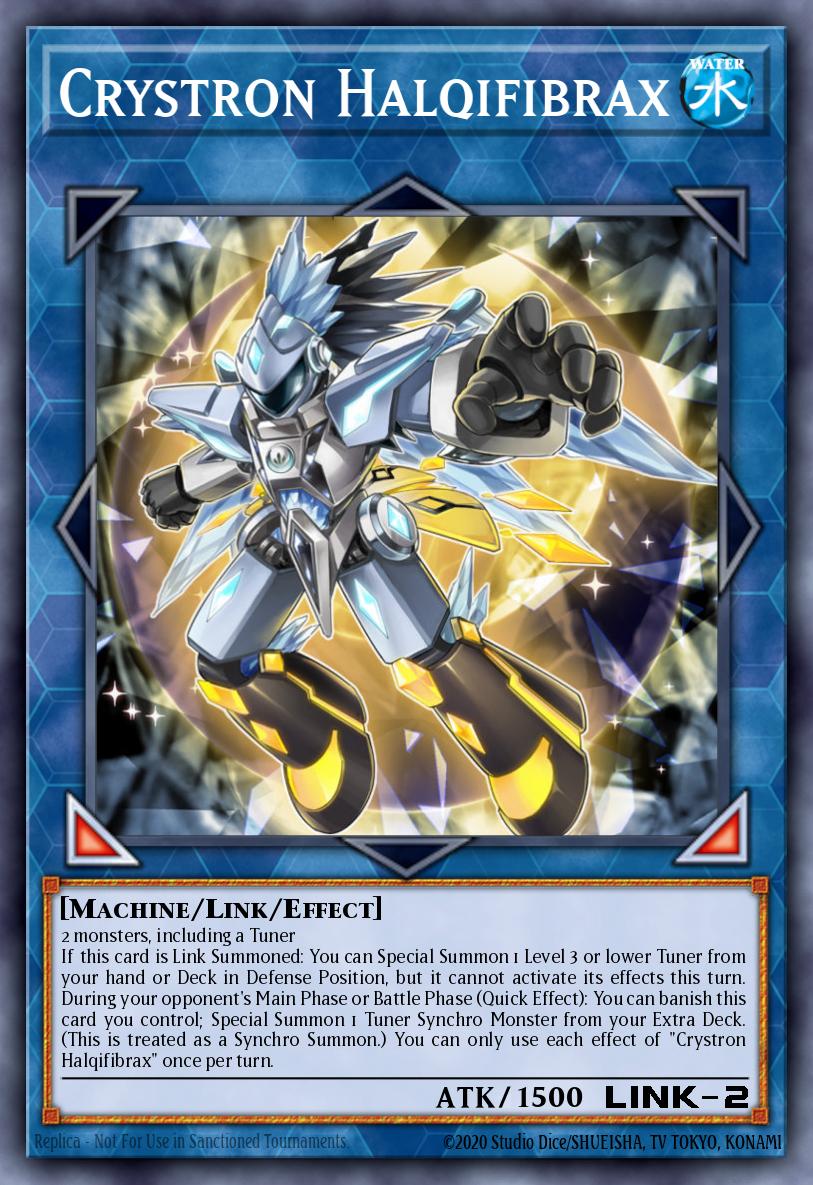
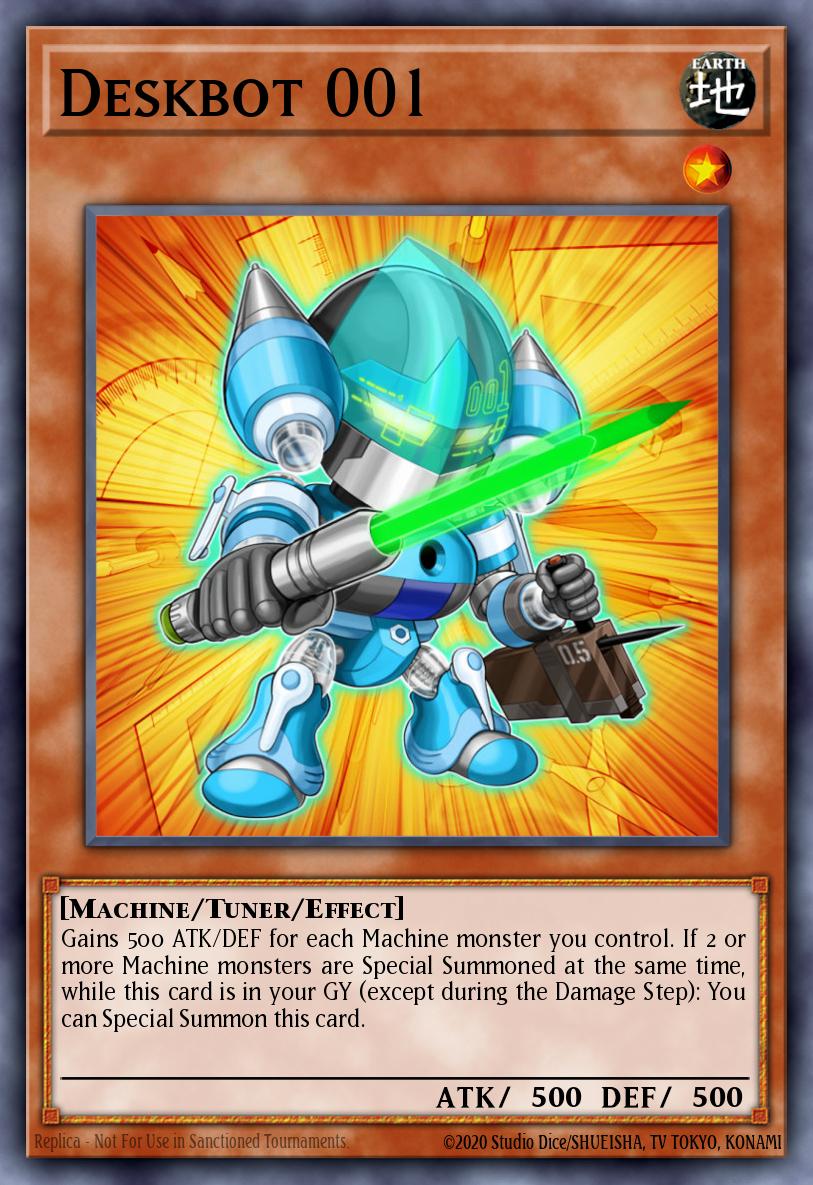
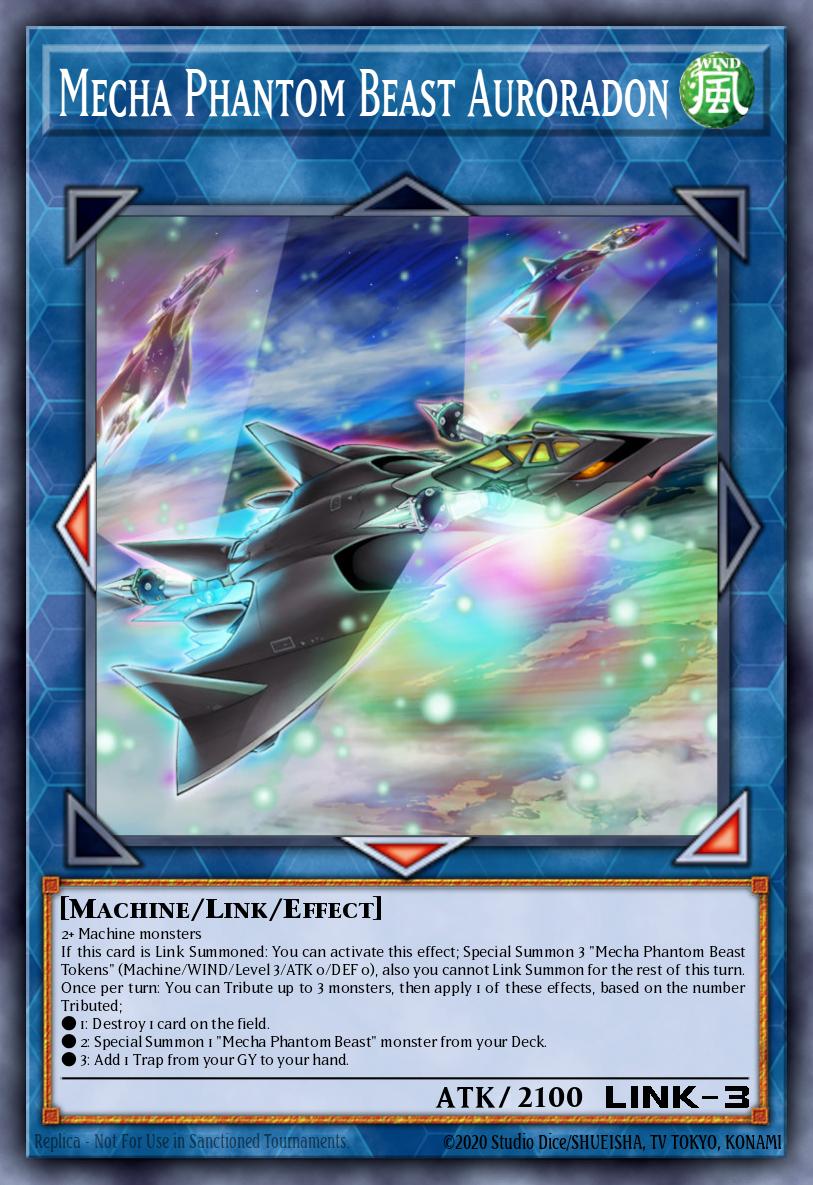
An add-on for the Tenyi Engine, this small package adds consistency, power, and resilience to the Deck. Tenyi Monsters will usually be able to go into Halqifibrax before you Normal Summon, and from there by Summoning Deskbot 001 into Auroradon, you'll be able to spawn Baronne de Fleur before being locked into anything important , can remove nibiru or any other handtrap. In addition, this engine also allows for better use of Level 7 Synchro Monsters, especially Yazi, Evil of the Yang Zing and since Auroradon can destroy any of your own cards via a second effect , you can get access to the Swordsoul engine with just one play of Halqifibrax, even without a Normal Summon.
Destiny HERO - Destroyer Phoenix Enforcer and Fusion Destiny (Fusion Package)
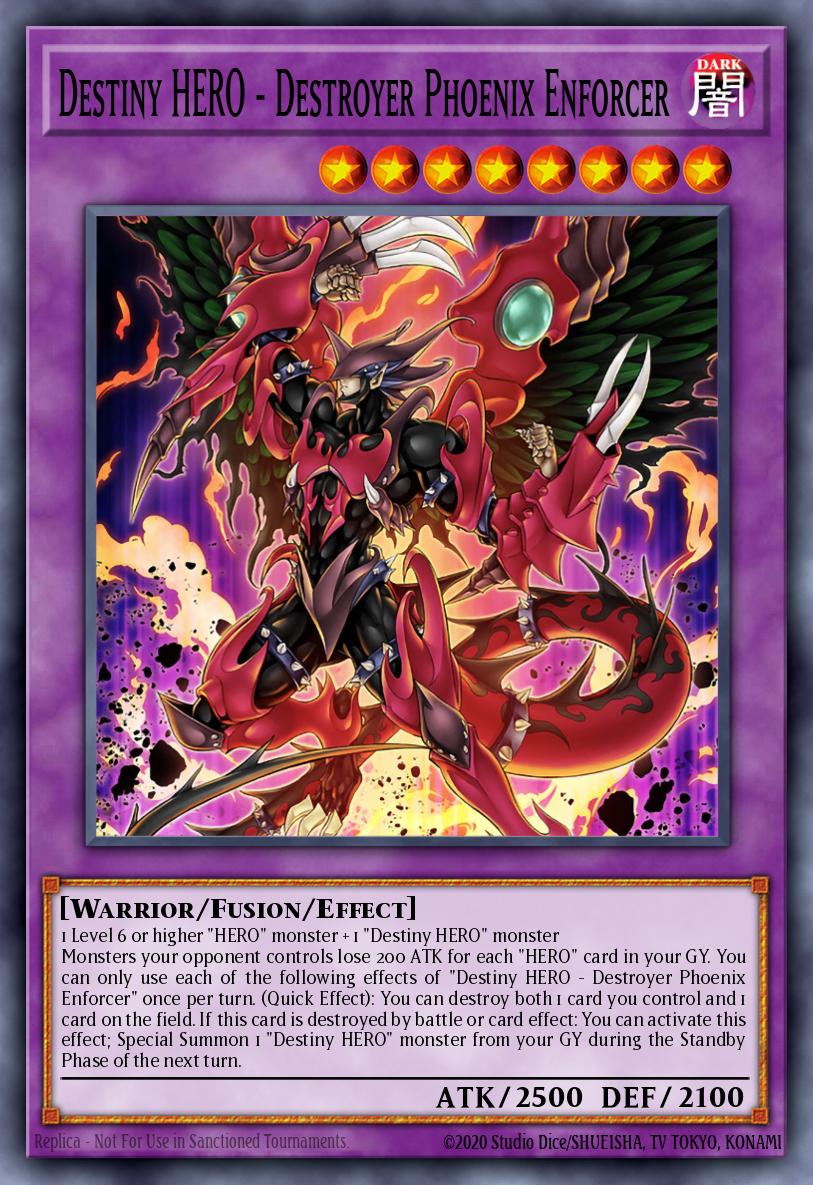
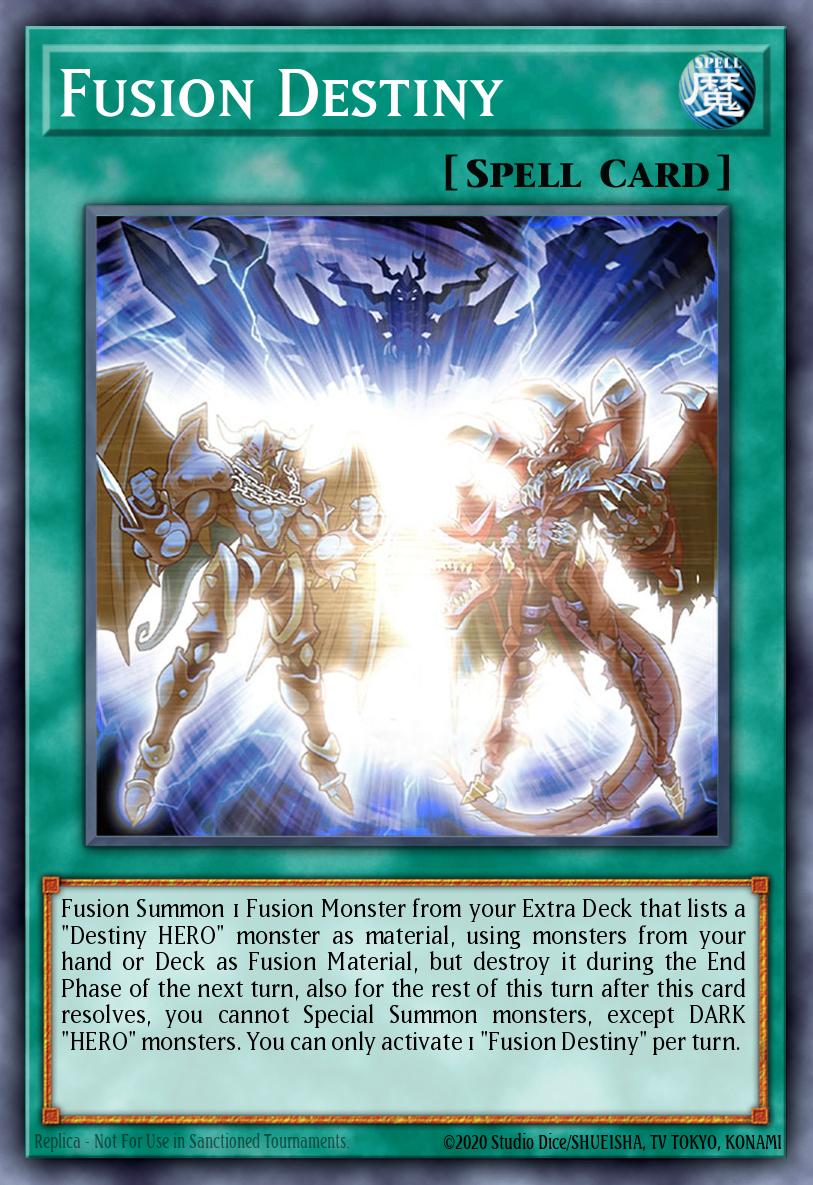
A small package of this popular Fusion line won't do much harm to your existing card slots. Normally, they will not be used very much because by now Verte Anaconda has been banned, so putting them on the field will also make your combo not very smooth but it is still worth considering to stay on the field. (After all, I'm a child of Master Duel, so I thought I should include her in the article :v)
Number 82: Heartlandraco, Number 41: Bagooska the Terribly Tired Tapir and Divine Arsenal AA-ZEUS - Sky Thunder (The Xyz)
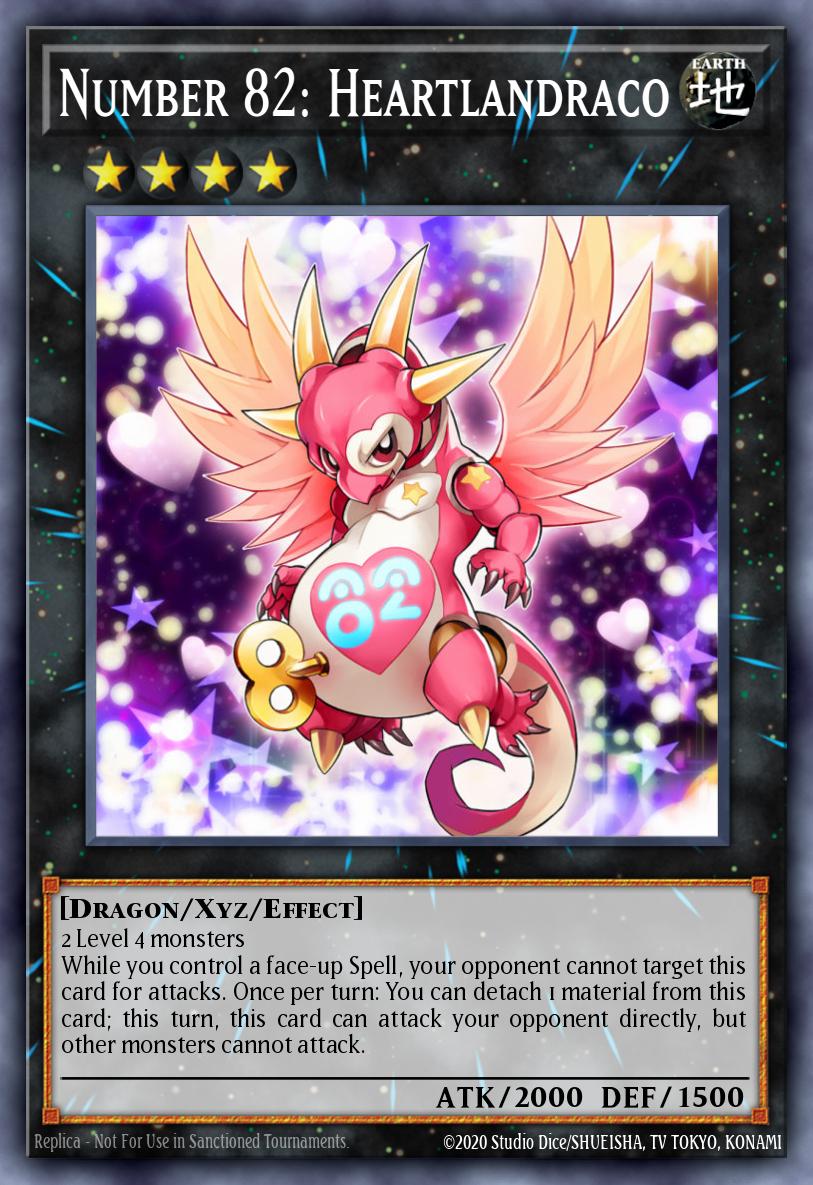
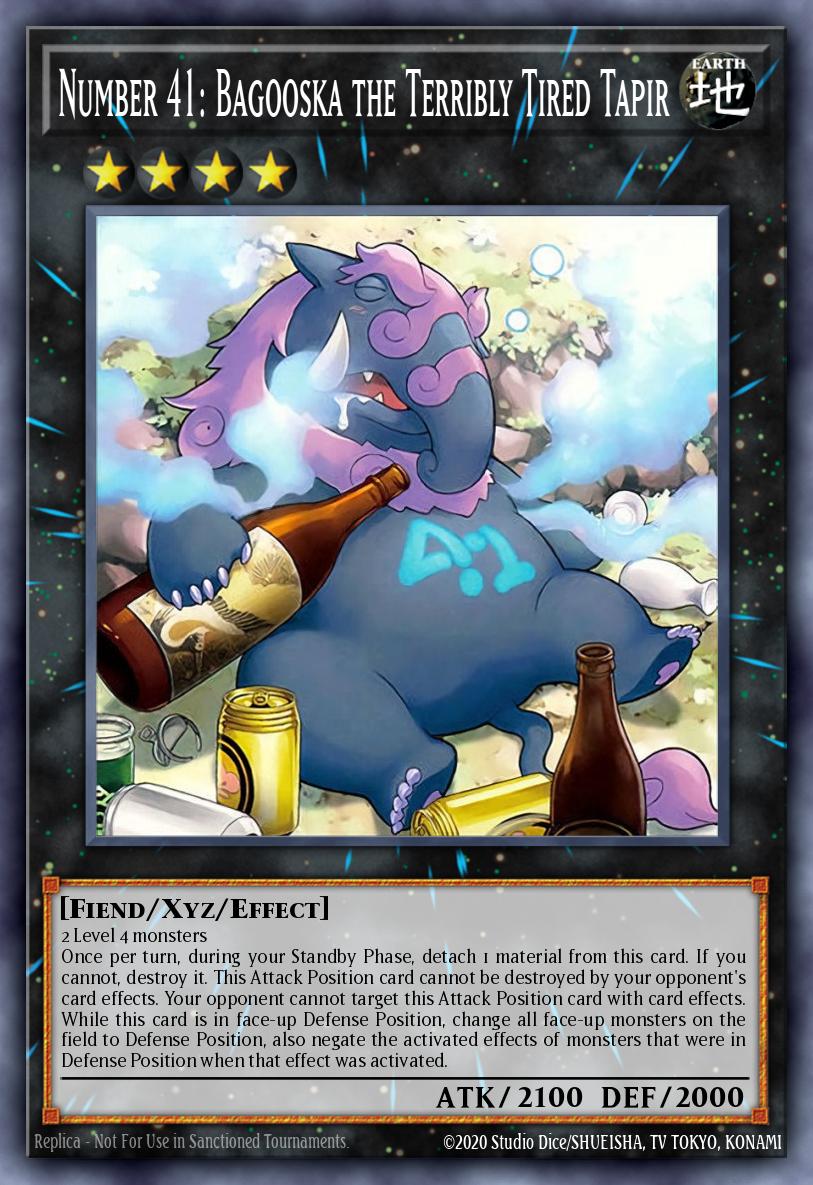
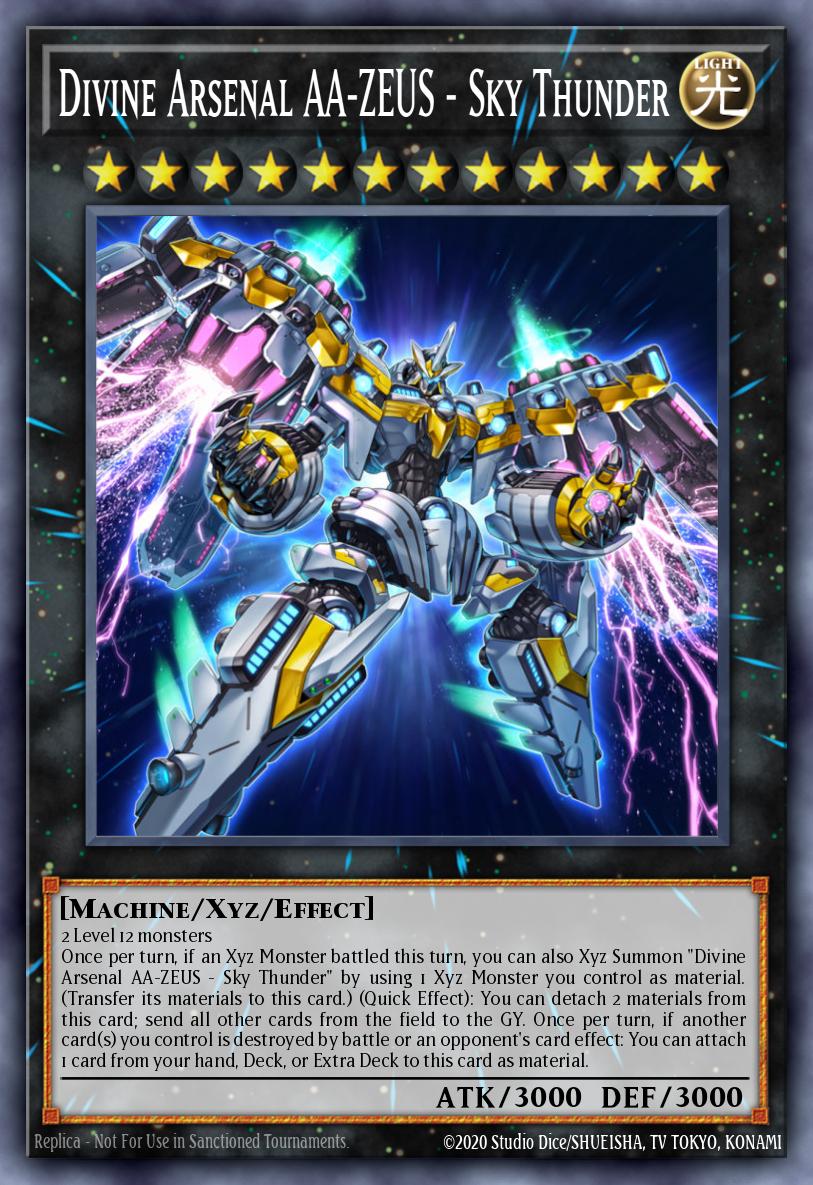
I also hope that you all have the same thoughts as me when most level 4 Swordsouls can create Tokens that are also level 4 like them and help us avoid losing a Summon or something like that, the Xyz will Very few in many cases and helps you save a significant amount of money.
About use: Number 41 will help you "fish" for at least 2 turns to get more resources in the next turns. Heartlandraco will help you attack directly, to immediately go to ZEUS to stay on the field. But again , using them also depends on your preferences and budget ;)
Heavenly Dragon Circle (1-2x)
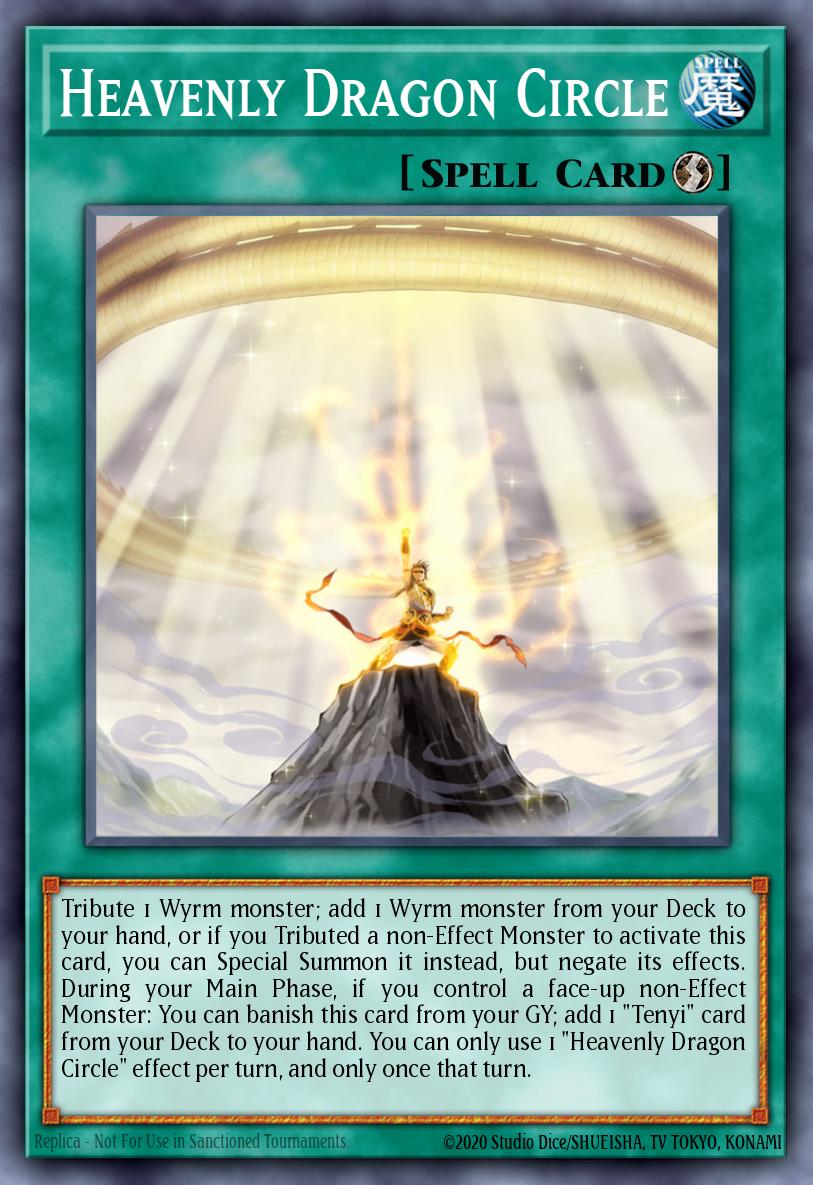
Depending on the format, Heavenly Dragon Circle is a great alternative to Vessel (even if there's nothing stopping you from playing them both together) for playing through handtraps, as this card allows you to avoid all the type of targeting effect, which can obviously be useful against cards like Effect Veiler and Infinite Impermanence or even if just going second in certain decks.
Tech
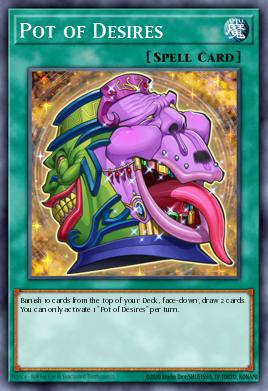
Pot of Desires (3x)

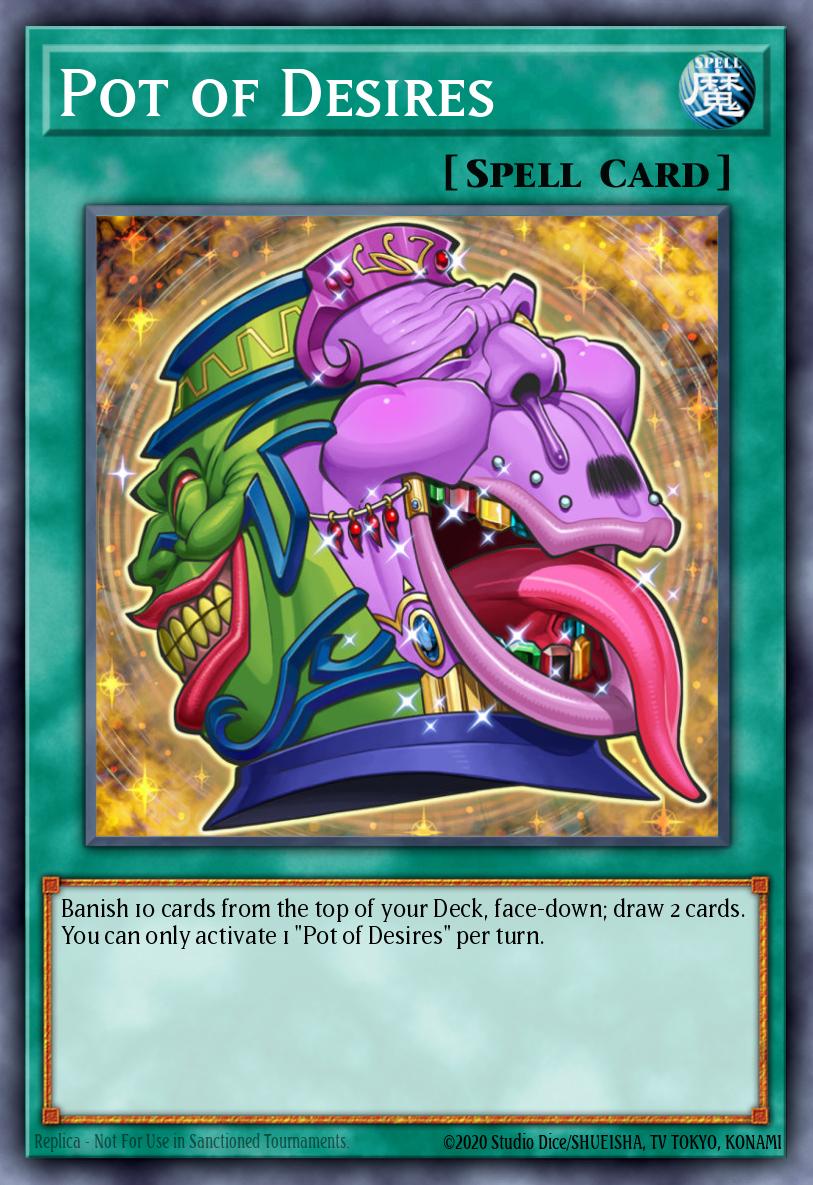
Your staple pot for consistency. Outside of very rare cases, you hardly have anything you don't want to banish, and when you do, you can take it out of the Deck at a time when you wish to use it or are too tempted to play it. You probably won't care about it, your main engine doesn't rely on any one of these.
There's also a bit of interesting synergy with Chengying, as using Desires will give it a 1000 ATK/DEF boost and knock everything the opponent controls by 1000 ATK/DEF. This is also the reason why we trust using Pot more than Assessment :v Spell is better than Trap, right?
There's also a bit of interesting synergy with Chengying, as using Desires will give it a 1000 ATK/DEF boost and knock everything the opponent controls by 1000 ATK/DEF. This is also the reason why we trust using Pot more than Assessment :v Spell is better than Trap, right?
Swordsoul Sacred Summit (0-1x)
The only Swordsoul card outside of the cores that you would consider using. Being a searchable recycler itself proves to be quite good, however Swordsoul already has quite a few ways to get resources back from GY so that's not a huge priority, its best trading element is that it can increase the level of escalation to synchro in some cases where you need to bring out good monsters.
General Tech
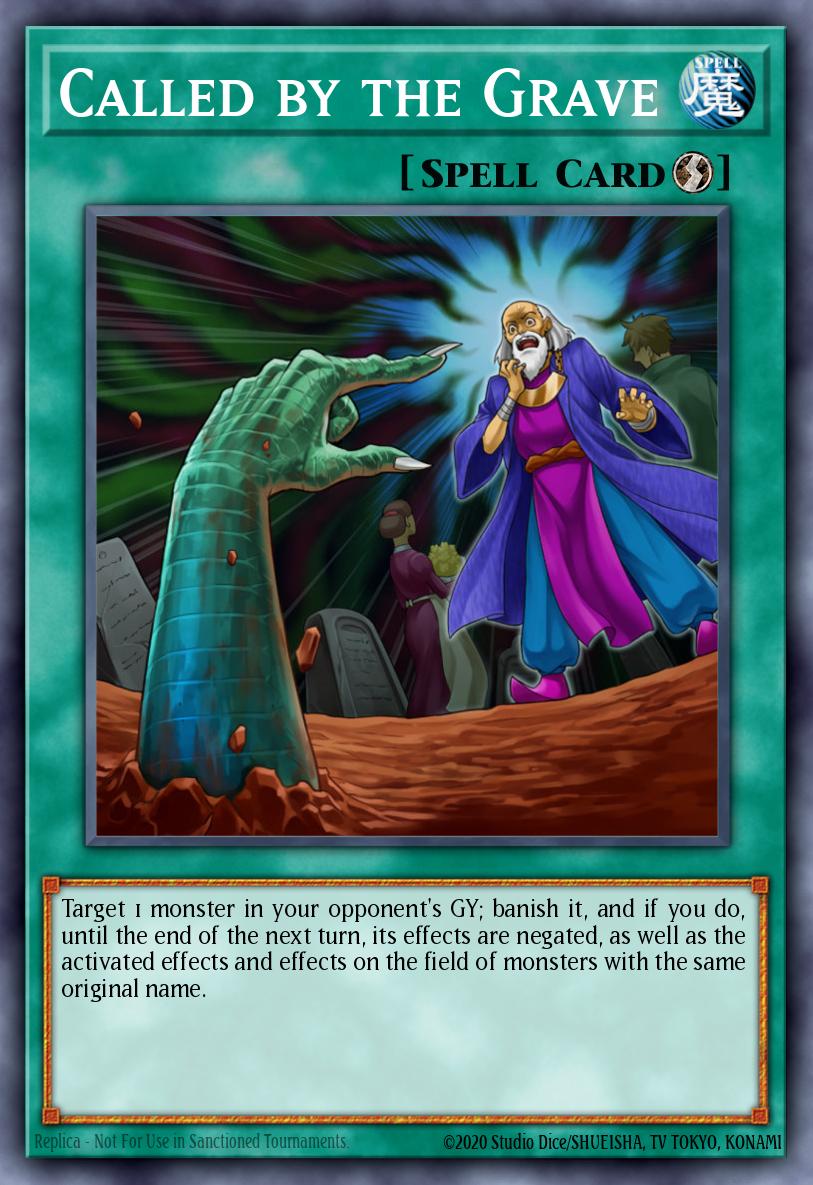
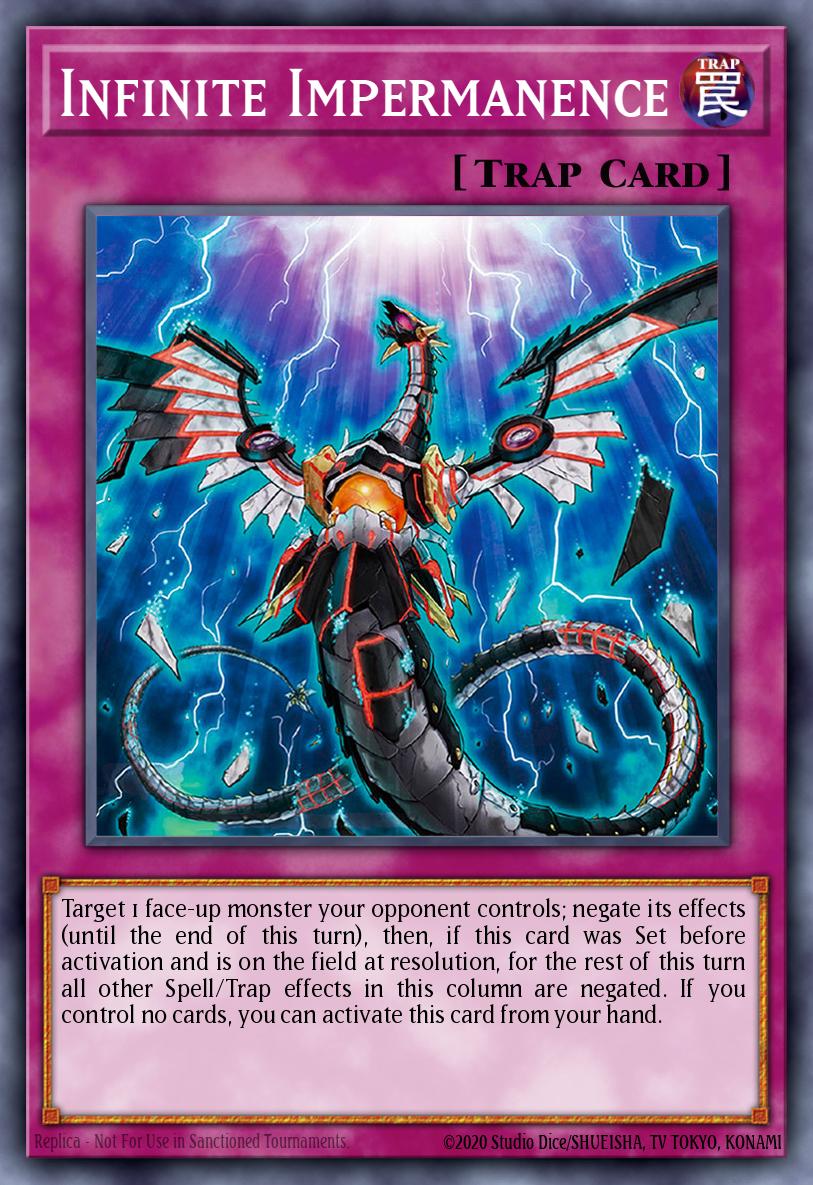
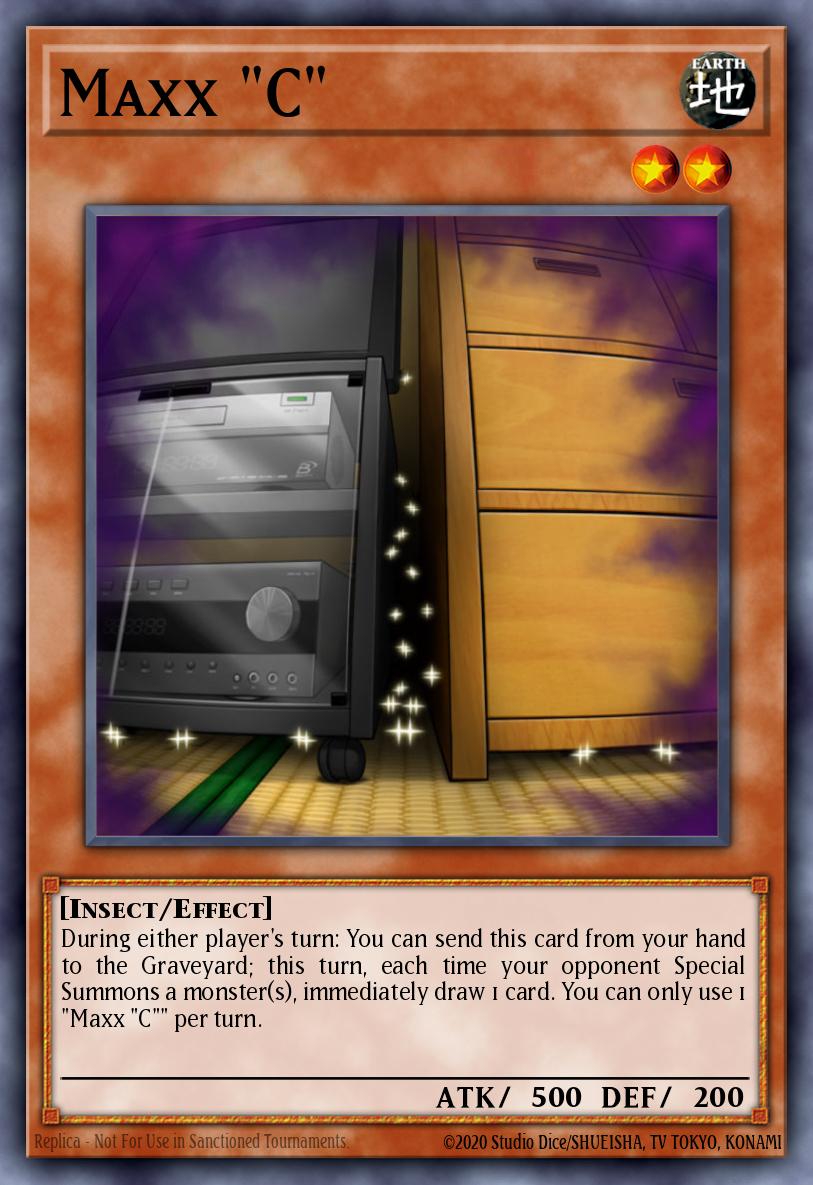
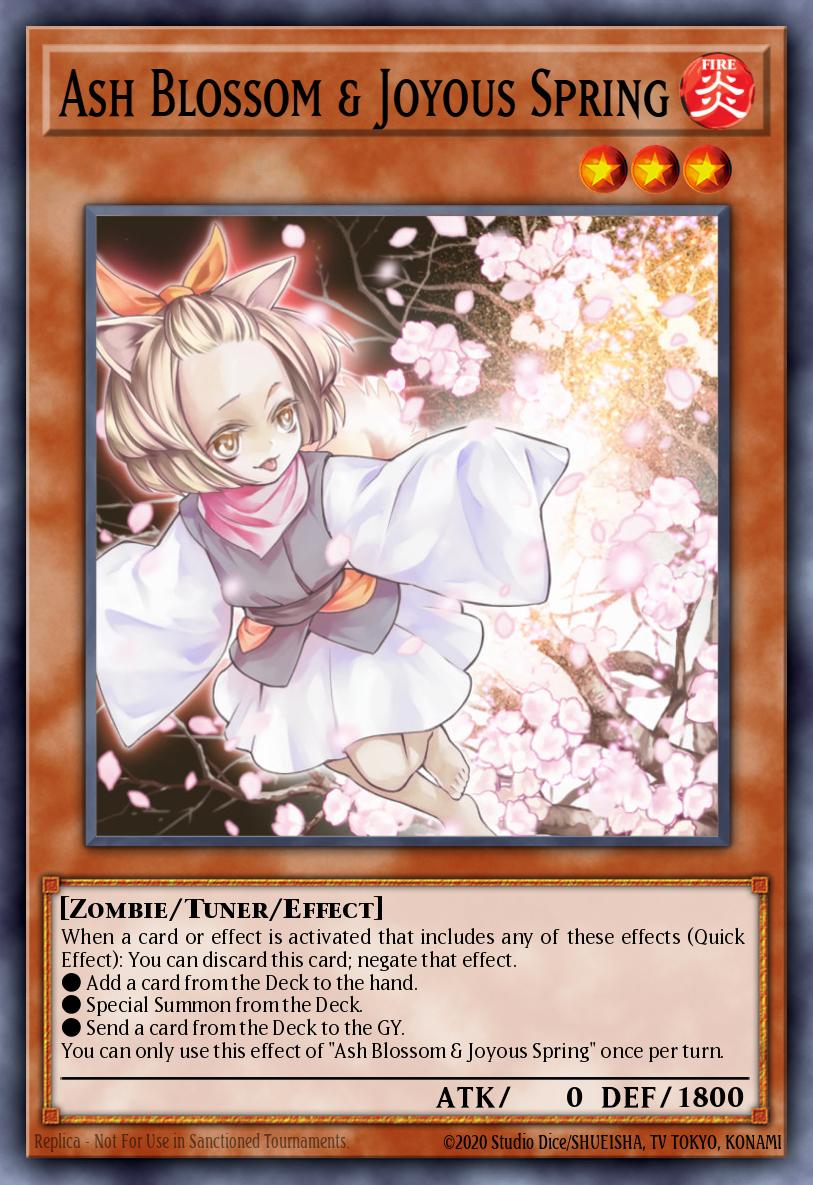
:v What else is there to say about these Techs? Too necessary in the current meta. Therefore, if you want to build a deck, you first need to prepare these techs!
Combo
Swordsoul's combos tend to be different from each other but end up relying on similar results, in the end you're always looking for an optimal ending deck that features something around Chi Xiao, Baronne's combo lines de Fleur, Blackout, other Synchro or Protos, now obviously there will be stronger decks than that but they will be a very rare exception.
Most of my featured combos will only show 2 card combos, so you won't see any big ending decks, this is just to get a general feel for the deck and how to act on what you have withdrawn.
Most of my featured combos will only show 2 card combos, so you won't see any big ending decks, this is just to get a general feel for the deck and how to act on what you have withdrawn.
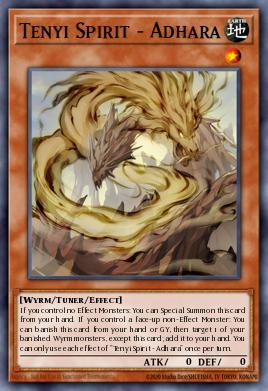
Swordsoul of Mo Ye and Tenyi Spirit - Adhara (Mo Ye + Wyrm)
- Normal Summon Swordsoul of Mo Ye .
- Activate Mo Ye's effect, revealing a Wyrm Monster in your hand to Summon Tokens.
- Synchro Summon Swordsoul Grandmaster - Chixiao , using Mo Ye and Token.
- Activate Chixiao's effect as Chain Link 1 to search Swordsoul Strategist Longyuan , then use Mo Ye's effect as Chain Link 2 to draw a card.
- Activate Longyuan's effect in hand, discarding 1 Wyrm monster you previously revealed to Summon itself and a Token.
- Summon Synchro Baronne de Fleur , using Longyuan and Token.
- Use Longyuan's GY effect to deal 1200 damage to your opponent.
Yard staging:
- Swordsoul Grandmaster - Chixiao
- Baronne de Fleur
- And +1 draw
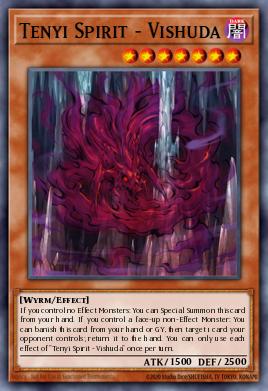
Tenyi Spirit - Vishuda and Tenyi Spirit - Ashuna (2 Tenyi)
- Activate the effect of Tenyi Spirit - Ashuna to Summon yourself.
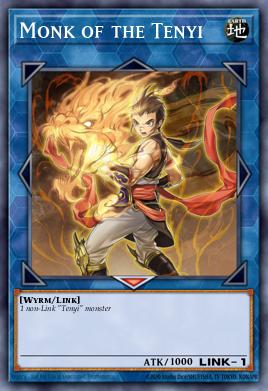
- Link summons Monk of the Tenyi using Ashuna.
- Activate the effect of Tenyi Spirit - Vishuda to Summon yourself.
- Activate Ashuna's GY effect, Special Summon from Deck Tenyi Spirit - Adhara . You are now locked into the Wyrms for the rest of the turn
- Synchro Summon Swordsoul Grandmaster - Chixiao , using Vishuda and Adhara.
- Activate Chixiao's effect, search Swordsoul Strategist Longyuan .
- Activate Adhara's GY effect, adding back your banished Ashuna.
- Activate Longyuan's effect in hand, discard Ashuna to Summon yourself and Token.
- Synchro Summon Swordsoul Supreme Sovereign - Chengying , using Longyuan and Token.
- Use Longyuan's GY effect to deal 1200 damage to your opponent.
Finished pitch:
Swordsoul Strategist Longyuan, Swordsoul of Taia and Swordsoul of Mo Ye (3 Swordsoul)
- Normal summon Moye, click eff to reveal 1 Taia from hand and summon 1 Token to the field.
- Synchro to Chixiao = Token + Mo Ye. Activate the effect Chixiao chain link 1, Mo Ye chain link 2. Mo Ye grants draw 1, Chixiao allows Sacred Summit.
- Go to Longyuan by sending Taia down. Then spawn more Tokens.
- Synchro to Baronne de Fleur = Token + Longyuan. Click on Longyuan eff, burn opp 1200 points.
- Use Summer Summit, call Taia again. Taia activates eff, banishes any Swordsoul, spawns 1 token.
- Synchro to Dragite = Token + Taia. In this step, you can activate the Taia effect to "bury" a Wyrm, here Ashuna goes to the grave to have goods in the next turn.
At the end of the combo, we have 3 negates: 1 negate monster from Chixiao, 1 negate all from Baronne, 1 negate Spell/Trap from Dragite.
Swordsoul Strategist Longyuan and Tenyi Spirit - Ashuna (Longyuan + Ashuna)
- Activate the effect of Swordsoul Strategist Longyuan , discard Ashuna to Summon yourself and Token.
- Activate Ashuna's GY effect, Special Summon from Deck Tenyi Spirit - Shthana . You are now locked into the Wyrms for the rest of the turn
- Synchro Summon Swordsoul Grandmaster - Chixiao , using Shthana and Token.
- Activate Chixiao's effect, banishing your copy of Swordsoul Blackout from your Deck.
- Activate Blackout's second effect, gain Token.
- Synchro Summon Swordsoul Supreme Sovereign - Chengying , using Longyuan and Token
- Use Longyuan's GY effect to deal 1200 damage to your opponent.
Finished pitch:
Swordsoul of Taia, Tenyi Spirit - Ashuna and Tenyi Spirit - Adhara (Chaofeng Line)
- Activate the effect of Tenyi Spirit - Ashuna to Summon yourself.
- Link summons Monk of the Tenyi using Ashuna.
- Activate the effect of Tenyi Spirit - Adhara to Summon itself.
- Activate Ashuna's GY effect, Special Summon from Deck Tenyi Spirit - Vishuda . You are now locked into the Wyrms for the rest of the turn
- Synchro Summon Baxia, Brightness of the Yang Zing , uses Vishuda and Adhara.
- Using Baxia's resurrection effect, destroy the Monk of the Tenyi to revive Adhara.
- Synchro summon Chaofeng, Phantom of the Yang Zing , using Baxia and Adhara. Your opponent is currently not allowed to use LIGHT monster effects , meaning Nibiru is no longer usable after this point.
- Normal Summon Swordsoul of Taia .
- Activate Taia's effect, banish Baxia from the GY to Summon Tokens.
- Synchro Summon Swordsoul Grandmaster - Chixiao , using Taia and Token.
- Activate Chixiao's effect, search Swordsoul Strategist Longyuan . (At your option, you can use Taia's GY effect to send any Wyrm you want from the Deck to GY)
- Activate Adhara's GY effect, adding back your banished Ashuna.
- Activate Longyuan's effect in hand, discard Ashuna to Summon yourself and Token.
- Synchro Summon Swordsoul Supreme Sovereign - Chengying , using Longyuan and Token.
- Use Longyuan's GY effect to deal 1200 damage to your opponent.
Finished pitch:
Tenyi Spirit - Ashuna and Swordsoul of Mo Ye (Smallest summoning combo)
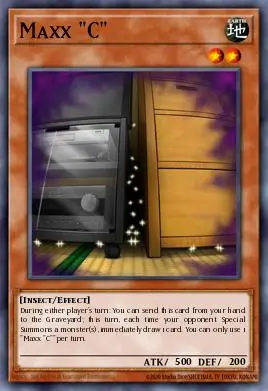
This combo is intended to be used when you want to play around Nibiru and don't have enough resources to do so effectively, or when you get hit by Maxx "C" and still want to end up based on 1 thing what.
- Normal Summon Swordsoul of Mo Ye .
- Activate Mo Ye's effect, revealing a Wyrm Monster in your hand to Summon a Token.
- Synchro Summon Swordsoul Grandmaster - Chixiao , using Mo Ye and Token.
- Activate Chixiao's effect as Chain Link 1 to search for a Swordsoul Blackout , then use Mo Ye's effect as Chain Link 2 to draw a card.
Finished pitch:
- Swordsoul Grandmaster - Chixiao
- Swordsoul Blackout
- And +1 draw
Sample deck
To visualize it better, below are some sample Decks for the deck!





Comment
1. Strengths:
- The combo ability is quite good, you only need 2 pieces to set up the field.
- The core is quite thin, so there is enough room to fit support cards.
- Main monsters have good attack power and can remove non-target obstacles.
- High stability.
2. Weaknesses:
- Low recovery ability.
- It's unlikely to last long.
Epilogue
First of all, thank youYu-Gi-Oh! Guidance Vietnam – How to master Yugioh card game is the main source of information for this article. However, the article's success was also thanks to the contributions of YGO Vietnam members!
Swordsoul is currently a very strong card line and the fact that it can still survive the current meta proves the deck's capabilities. If you feel like it, you can immediately build yourself a Swordsoul deck suitable for the current OCG platform!
ocg
248
5
 Trap
Trap Normal
Swordsoul Blackout
Target 1 Wyrm monster you control and 2 cards your opponent controls; destroy them. If this card is banished: You can Special Summon 1 "Swordsoul Token" (Wyrm/Tuner/WATER/Level 4/ATK 0/DEF 0). While that Token is in the Monster Zone, the player who Summoned it cannot Special Summon monsters from the Extra Deck, except Synchro Monsters. You can only use each effect of "Swordsoul Blackout" once per turn.
 WATER
WATERCrystron Halqifibrax
ATK:
1500
LINK-2
Link Arrow:
 Bottom-Left
 Bottom-Right
2 monsters, including a Tuner If this card is Link Summoned: You can Special Summon 1 Level 3 or lower Tuner from your hand or Deck in Defense Position, but it cannot activate its effects this turn. During your opponent's Main Phase or Battle Phase (Quick Effect): You can banish this card you control; Special Summon 1 Tuner Synchro Monster from your Extra Deck. (This is treated as a Synchro Summon.) You can only use each effect of "Crystron Halqifibrax" once per turn.

 FIRE
FIRE 6
6Swordsoul Strategist Longyuan
ATK:
1200
DEF:
2300
You can discard 1 other "Swordsoul" card or 1 other Wyrm monster; Special Summon this card from your hand, then you can Special Summon 1 "Swordsoul Token" (Wyrm/Tuner/WATER/Level 4/ATK 0/DEF 0). While that Token is in the Monster Zone, the player who Summoned it cannot Special Summon monsters from the Extra Deck, except Synchro Monsters. If this card is sent to the GY as Synchro Material: You can inflict 1200 damage to your opponent. You can only use each effect of "Swordsoul Strategist Longyuan" once per turn.
 DARK
8
DARK
8Borreload Savage Dragon
ATK:
3000
DEF:
2500
1 Tuner + 1+ non-Tuner monsters If this card is Synchro Summoned: You can equip 1 Link Monster from your GY to this card, and if you do, place Borrel Counters on this card equal to that Link Monster's Link Rating. This card gains ATK equal to half the ATK of the monster equipped to it by its effect. When your opponent activates a card or effect (Quick Effect): You can remove 1 Borrel Counter from this card; negate the activation. You can only use this effect of "Borreload Savage Dragon" once per turn.
Trap
NormalSwordsoul Assessment
Target 1 face-up monster you control; banish up to 5 "Swordsoul" cards and/or Wyrm monsters from your GY, and if you do, that monster gains 300 ATK for each card banished this way. If this card is banished: You can Special Summon 1 "Swordsoul Token" (Wyrm/Tuner/WATER/Level 4/ATK 0/DEF 0). While that Token is in the Monster Zone, the player who Summoned it cannot Special Summon monsters from the Extra Deck, except Synchro Monsters. You can only use each effect of "Swordsoul Assessment" once per turn.
 Spell
Spell Quick
QuickCalled by the Grave
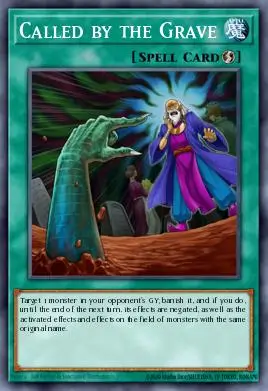
Target 1 monster in your opponent's GY; banish it, and if you do, until the end of the next turn, its effects are negated, as well as the activated effects and effects on the field of monsters with the same original name.
 DARK
8
DARK
8Draco Berserker of the Tenyi
ATK:
3000
DEF:
0
1 Tuner + 1+ non-Tuner monsters When your opponent activates a monster's effect (Quick Effect): You can banish it. If this attacking card destroys an Effect Monster by battle and sends it to the GY: This card gains ATK equal to the destroyed monster's original ATK, also it can make a second attack on a monster during this Battle Phase. You can only use each effect of "Draco Berserker of the Tenyi" once per turn.
Trap
NormalInfinite Impermanence
Target 1 face-up monster your opponent controls; negate its effects (until the end of this turn), then, if this card was Set before activation and is on the field at resolution, for the rest of this turn all other Spell/Trap effects in this column are negated. If you control no cards, you can activate this card from your hand.
 LIGHT
8
LIGHT
8Baxia, Brightness of the Yang Zing
ATK:
2300
DEF:
2600
1 Tuner + 1 or more non-Tuner Wyrm-Type monsters When this card is Synchro Summoned: You can target cards on the field, up to the number of different original Attributes of the Wyrm-Type monsters used for the Synchro Summon of this card; shuffle them into the Deck. Once per turn: You can target 1 card you control and 1 Level 4 or lower monster in your Graveyard; destroy that card on the field, and if you do, Special Summon that other monster from the Graveyard.
 EARTH
EARTH
Number 82: Heartlandraco
ATK:
2000
DEF:
1500
2 Level 4 monsters While you control a face-up Spell, your opponent cannot target this card for attacks. Once per turn: You can detach 1 material from this card; this turn, this card can attack your opponent directly, but other monsters cannot attack.
Spell
NormalSwordsoul Emergence
Add 1 "Swordsoul" monster from your Deck to your hand, or if you control a Synchro Monster, you can add 1 Wyrm monster instead. If this card is banished: You can target 1 "Swordsoul" monster, or Wyrm monster, you control; increase or decrease its Level by 1 until the end of this turn. You can only use each effect of "Swordsoul Emergence" once per turn.
FIRE
8Crimson Blader
ATK:
2800
DEF:
2600
1 Tuner + 1 or more non-Tuner monsters If this card destroys an opponent's monster by battle and sends it to the Graveyard: Your opponent cannot Normal or Special Summon Level 5 or higher monsters during their next turn.
 WIND
4
WIND
4Swordsoul of Taia
ATK:
1800
DEF:
1500
You can banish 1 "Swordsoul" card or 1 Wyrm monster from your GY; Special Summon 1 "Swordsoul Token" (Wyrm/Tuner/WATER/Level 4/ATK 0/DEF 0). While that Token is in the Monster Zone, the player who Summoned it cannot Special Summon monsters from the Extra Deck, except Synchro Monsters. If this card is sent to the GY as Synchro Material: You can send 1 "Swordsoul" card or 1 Wyrm monster from your Deck to the GY. You can only use each effect of "Swordsoul of Taia" once per turn.
LIGHT
4The Golden Swordsoul
ATK:
1800
DEF:
1500
When a monster declares an attack: You can Special Summon this card from your hand, and if you do, negate that attack, then, if you control a Fusion Monster that mentions "Fallen of Albaz" as material, you can destroy the monster that declared that attack. If a monster is banished face-up (except during the Damage Step): You can banish this card from your field or GY; Special Summon 1 LIGHT Spellcaster monster from your hand or GY whose ATK equals its own DEF. You can only use this effect of "The Golden Swordsoul" once per turn.
FIREShaman of the Tenyi
ATK:
1600
LINK-2
Link Arrow:
Bottom-Left
Bottom-Right
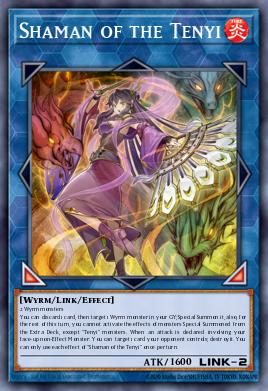
2 Wyrm monsters You can discard 1 card, then target 1 Wyrm monster in your GY; Special Summon it, also, for the rest of this turn, you cannot activate the effects of monsters Special Summoned from the Extra Deck, except "Tenyi" monsters. When an attack is declared involving your face-up non-Effect Monster: You can target 1 card your opponent controls; destroy it. You can only use each effect of "Shaman of the Tenyi" once per turn.
DARK
11Archnemeses Protos
ATK:
2500
DEF:
3000
Cannot be Normal Summoned/Set. Must first be Special Summoned (from your hand) by banishing 3 monsters with different Attributes from your GY and/or face-up field. Cannot be destroyed by card effects. You can declare 1 monster Attribute on the field; destroy all monsters on the field with that Attribute, also until the end of the next turn, neither player can Special Summon monsters with that Attribute. You can only use this effect of "Archnemeses Protos" once per turn.
EARTH
2Maxx "C"
ATK:
500
DEF:
200
During either player's turn: You can send this card from your hand to the Graveyard; this turn, each time your opponent Special Summons a monster(s), immediately draw 1 card. You can only use 1 "Maxx "C"" per turn.
DARK
8Destiny HERO - Destroyer Phoenix Enforcer
ATK:
2500
DEF:
2100
1 Level 6 or higher "HERO" monster + 1 "Destiny HERO" monster Monsters your opponent controls lose 200 ATK for each "HERO" card in your GY. You can only use each of the following effects of "Destiny HERO - Destroyer Phoenix Enforcer" once per turn. (Quick Effect): You can destroy both 1 card you control and 1 card on the field. If this card is destroyed by battle or card effect: You can activate this effect; Special Summon 1 "Destiny HERO" monster from your GY during the Standby Phase of the next turn.
EARTH
6Swordsoul Auspice Chunjun
ATK:
2400
DEF:
1800
Before damage calculation, if your Wyrm monster battles an opponent's monster that was Special Summoned from the Extra Deck: You can destroy both that opponent's monster and this card. You can only use each of the following effects of "Swordsoul Auspice Chunjun" once per turn. During the Main Phase (Quick Effect): You can Tribute 1 monster; Special Summon this card from your hand. If this card is sent to the GY as Synchro Material: You can target 1 card on the field or in either GY; banish it.
EARTHMonk of the Tenyi
ATK:
1000
LINK-1
Link Arrow:
 Bottom
1 non-Link "Tenyi" monster
WATER
4Tenyi Spirit - Shthana
ATK:
400
DEF:
2000
If you control no Effect Monsters: You can Special Summon this card from your hand. If a face-up non-Effect Monster(s) you control is destroyed by battle or card effect: You can banish this card from your hand or GY, then target 1 of those destroyed monsters; Special Summon it, then you can destroy 1 monster your opponent controls. You can only use each effect of "Tenyi Spirit - Shthana" once per turn.
Spell
NormalVessel for the Dragon Cycle
Send 1 Wyrm monster from your Deck to the GY, then, if you control a face-up non-Effect Monster, you can add from your Deck to your hand 1 "Tenyi" monster with a different name from the monster sent to the GY. You can only activate 1 "Vessel for the Dragon Cycle" per turn.
DARK
7Tenyi Spirit - Vishuda
ATK:
1500
DEF:
2500
If you control no Effect Monsters: You can Special Summon this card from your hand. If you control a face-up non-Effect Monster: You can banish this card from your hand or GY, then target 1 card your opponent controls; return it to the hand. You can only use each effect of "Tenyi Spirit - Vishuda" once per turn.
WIND
10Baronne de Fleur
ATK:
3000
DEF:
2400
1 Tuner + 1+ non-Tuner monsters Once per turn: You can target 1 card on the field; destroy it. Once while face-up on the field, when a card or effect is activated (Quick Effect): You can negate the activation, and if you do, destroy that card. You can only use the previous effect of "Baronne de Fleur" once per turn. Once per turn, during the Standby Phase: You can target 1 Level 9 or lower monster in your GY; return this card to the Extra Deck, and if you do, Special Summon that monster.
Spell
NormalPot of Desires
Banish 10 cards from the top of your Deck, face-down; draw 2 cards. You can only activate 1 "Pot of Desires" per turn.
EARTHNumber 41: Bagooska the Terribly Tired Tapir
ATK:
2100
DEF:
2000
2 Level 4 monsters Once per turn, during your Standby Phase, detach 1 material from this card. If you cannot, destroy it. This Attack Position card cannot be destroyed by your opponent's card effects. Your opponent cannot target this Attack Position card with card effects. While this card is in face-up Defense Position, change all face-up monsters on the field to Defense Position, also negate the activated effects of monsters that were in Defense Position when that effect was activated.
LIGHT
9Chaofeng, Phantom of the Yang Zing
ATK:
2800
DEF:
2200
1 Tuner + 1 or more non-Tuner monsters While this Synchro Summoned card is on the field, your opponent cannot activate effects of monsters with the same original Attribute(s) as the "Yang Zing" monster(s) used for the Synchro Summon of this card. When this Synchro Summoned card is destroyed by battle or card effect and sent to the Graveyard: You can add 1 Tuner monster from your Deck to your hand. Once per turn, when a monster(s) your opponent controls is destroyed by battle or card effect: You can Special Summon 1 Wyrm-Type monster from your Deck, in Defense Position, whose original Attribute matches the original Attribute that 1 of those destroyed monsters had on the field.
EARTH
1Deskbot 001
ATK:
500
DEF:
500
Gains 500 ATK/DEF for each Machine monster you control. If 2 or more Machine monsters are Special Summoned at the same time, while this card is in your GY (except during the Damage Step): You can Special Summon this card.
LIGHT
8PSY-Framelord Omega
ATK:
2800
DEF:
2200
1 Tuner + 1+ non-Tuner monsters Once per turn, during the Main Phase (Quick Effect): You can banish both this face-up card from the field and 1 random card from your opponent's hand, face-up, until your next Standby Phase. Once per turn, during your opponent's Standby Phase: You can target 1 banished card; return it to the GY. If this card is in your GY: You can target 1 other card in the GY; shuffle both that card and this card from the GY into the Deck.
FIRE
10Ruddy Rose Dragon
ATK:
3200
DEF:
2400
1 Tuner + 1+ non-Tuner monsters If this card is Synchro Summoned: You can banish all cards from the GYs, then, if this card was Synchro Summoned using "Black Rose Dragon" or a Plant Synchro Monster as material, you can destroy all other cards on the field. When your opponent activates a card or effect that would destroy a card(s) (Quick Effect): You can Tribute this card; negate the activation, then you can Special Summon 1 "Black Rose Dragon" from your Extra Deck or GY.
LIGHT
8The Iris Swordsoul
ATK:
2500
DEF:
2500
During the Main Phase, if a monster, whose effects are negated, is on the field (Quick Effect): You can Special Summon this card from your hand. If your opponent Special Summons a monster(s) (except during the Damage Step): You can activate 1 of these effects based on where it was Special Summoned from; ● Hand: Special Summon 1 monster from your hand. ● Deck: Draw 2 cards. ● Extra Deck: Destroy 1 of those monsters Special Summoned from the Extra Deck. You can only use each effect of "The Iris Swordsoul" once per turn.
Spell
NormalSwordsoul Sacred Summit
Target 1 "Swordsoul" monster in your GY, or if you control a Synchro Monster, you can target 1 Wyrm monster instead; Special Summon it. If this card is banished: You can target 1 "Swordsoul" monster, or Wyrm monster, you control; increase or decrease its Level by 1 until the end of this turn. You can only use each effect of "Swordsoul Sacred Summit" once per turn.
LIGHT
7Tenyi Spirit - Ashuna
ATK:
1600
DEF:
2600
If you control no Effect Monsters: You can Special Summon this card from your hand. If you control a face-up non-Effect Monster: You can banish this card from your hand or GY; Special Summon 1 "Tenyi" monster from your Deck, except "Tenyi Spirit - Ashuna", also you cannot Special Summon monsters for the rest of this turn, except Wyrm monsters. You can only use each effect of "Tenyi Spirit - Ashuna" once per turn.
WINDMecha Phantom Beast Auroradon
ATK:
2100
LINK-3
Link Arrow:
 Left
Left
Bottom
Bottom-Right
2+ Machine monsters If this card is Link Summoned: You can activate this effect; Special Summon 3 "Mecha Phantom Beast Tokens" (Machine/WIND/Level 3/ATK 0/DEF 0), also you cannot Link Summon for the rest of this turn. Once per turn: You can Tribute up to 3 monsters, then apply 1 of these effects, based on the number Tributed; ● 1: Destroy 1 card on the field. ● 2: Special Summon 1 "Mecha Phantom Beast" monster from your Deck. ● 3: Add 1 Trap from your GY to your hand.
Spell
NormalFusion Destiny
Fusion Summon 1 Fusion Monster from your Extra Deck that lists a "Destiny HERO" monster as material, using monsters from your hand or Deck as Fusion Material, but destroy it during the End Phase of the next turn, also for the rest of this turn after this card resolves, you cannot Special Summon monsters, except DARK "HERO" monsters. You can only activate 1 "Fusion Destiny" per turn.
WATER
4Swordsoul of Mo Ye
ATK:
1700
DEF:
1800
If this card is Normal or Special Summoned: You can reveal 1 "Swordsoul" card or 1 Wyrm monster in your hand; Special Summon 1 "Swordsoul Token" (Wyrm/Tuner/WATER/Level 4/ATK 0/DEF 0). While that Token is in the Monster Zone, the player who Summoned it cannot Special Summon monsters from the Extra Deck, except Synchro Monsters. If this card is sent to the GY as Synchro Material: You can draw 1 card. You can only use each effect of "Swordsoul of Mo Ye" once per turn.
FIRE
10Swordsoul Sinister Sovereign - Qixing Longyuan
ATK:
2900
DEF:
2300
1 Tuner + 1+ non-Tuner Wyrm monsters If you Synchro Summon another Wyrm monster, while this monster is on the field: You can draw 1 card. If your opponent Special Summons a monster(s) (except during the Damage Step): You can banish 1 of those monster(s), and if you do, inflict 1200 damage to your opponent. When your opponent activates a Spell/Trap Card or effect (Quick Effect): You can banish that card, and if you do, inflict 1200 damage to your opponent. You can only use each effect of "Swordsoul Sinister Sovereign - Qixing Longyuan" once per turn.
LIGHTDivine Arsenal AA-ZEUS - Sky Thunder
ATK:
3000
DEF:
3000
2 Level 12 monsters Once per turn, if an Xyz Monster battled this turn, you can also Xyz Summon "Divine Arsenal AA-ZEUS - Sky Thunder" by using 1 Xyz Monster you control as material. (Transfer its materials to this card.) (Quick Effect): You can detach 2 materials from this card; send all other cards from the field to the GY. Once per turn, if another card(s) you control is destroyed by battle or an opponent's card effect: You can attach 1 card from your hand, Deck, or Extra Deck to this card as material.
WATER
10Swordsoul Supreme Sovereign - Chengying
ATK:
3000
DEF:
3000
1 Tuner + 1+ non-Tuner monsters For each banished card, this card gains 100 ATK/DEF and monsters your opponent controls lose 100 ATK/DEF. If this card would be destroyed by card effect, you can banish 1 card from your GY instead. If a card(s) is banished (except during the Damage Step): You can banish 1 card each from both your opponent's field and GY. You can only use this effect of "Swordsoul Supreme Sovereign - Chengying" once per turn.
EARTH
1Tenyi Spirit - Adhara
ATK:
0
DEF:
0
If you control no Effect Monsters: You can Special Summon this card from your hand. If you control a face-up non-Effect Monster: You can banish this card from your hand or GY, then target 1 of your banished Wyrm monsters, except this card; add it to your hand. You can only use each effect of "Tenyi Spirit - Adhara" once per turn.
FIRE
3Ash Blossom & Joyous Spring
ATK:
0
DEF:
1800
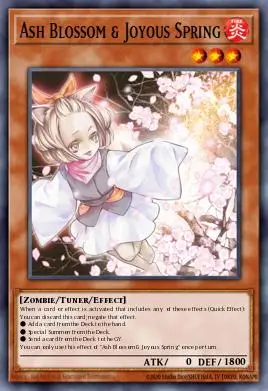
When a card or effect is activated that includes any of these effects (Quick Effect): You can discard this card; negate that effect. ● Add a card from the Deck to the hand. ● Special Summon from the Deck. ● Send a card from the Deck to the GY. You can only use this effect of "Ash Blossom & Joyous Spring" once per turn.
LIGHT
4Incredible Ecclesia, the Virtuous
ATK:
1500
DEF:
1500
If your opponent controls more monsters than you do, you can Special Summon this card (from your hand). You can only Special Summon "Incredible Ecclesia, the Virtuous" once per turn this way. You can only use each of the following effects of "Incredible Ecclesia, the Virtuous" once per turn. During the Main Phase (Quick Effect): You can Tribute this card; Special Summon 1 "Swordsoul" monster or 1 "Fallen of Albaz" from your hand or Deck. During the End Phase, if a Fusion Monster(s) was sent to your GY this turn: Add this card from the GY to your hand.
Trap Continuous
Swordsoul Strife
If a card(s) is banished (except during the Damage Step): You can banish 1 Wyrm Synchro Monster or 1 "Swordsoul" card from your hand, Deck, GY, or that is face-up on either field. If this card is banished: You can Special Summon 1 "Swordsoul Token" (Wyrm/Tuner/WATER/Level 4/ATK 0/DEF 0). While that Token is in the Monster Zone, the player who Summoned it cannot Special Summon monsters from the Extra Deck, except Synchro Monsters. You can only use each effect of "Swordsoul Strife" once per turn.
WATER
8Adamancipator Risen - Dragite
ATK:
3000
DEF:
2200
1 Tuner + 1+ non-Tuner monsters During your Main Phase: You can excavate the top 5 cards of your Deck, and if you do, you can return cards your opponent controls to the hand, up to the number of excavated Rock monsters, also place the excavated cards on the bottom of your Deck in any order. When your opponent activates a Spell/Trap Card or effect, while a WATER monster is in your GY (Quick Effect): You can negate the activation, and if you do, destroy it. You can only use each effect of "Adamancipator Risen - Dragite" once per turn.
Spell
QuickHeavenly Dragon Circle
Tribute 1 Wyrm monster; add 1 Wyrm monster from your Deck to your hand, or if you Tributed a non-Effect Monster to activate this card, you can Special Summon it instead, but negate its effects. During your Main Phase, if you control a face-up non-Effect Monster: You can banish this card from your GY; add 1 "Tenyi" card from your Deck to your hand. You can only use 1 "Heavenly Dragon Circle" effect per turn, and only once that turn.
LIGHT
8Swordsoul Grandmaster - Chixiao
ATK:
2800
DEF:
1000
1 Tuner + 1+ non-Tuner Wyrm monsters If this card is Synchro Summoned: You can add to your hand or banish 1 "Swordsoul" card from your Deck. (Quick Effect): You can banish 1 "Swordsoul" card or 1 Wyrm monster from your hand or GY, then target 1 other Effect Monster on the field; negate its effects until the end of this turn. You can only use 1 "Swordsoul Grandmaster - Chixiao" effect per turn, and only once that turn.
DARK
7Yazi, Evil of the Yang Zing
ATK:
2600
DEF:
2100
1 Tuner + 1 or more non-Tuner monsters Cannot be targeted by an opponent's card effects. You can only use each of these effects of "Yazi, Evil of the Yang Zing" once per turn. ● You can target 1 "Yang Zing" monster you control and 1 card your opponent controls; destroy them. ● When this card you control is destroyed by battle or card effect and sent to your Graveyard: You can Special Summon 1 Wyrm-Type monster from your Deck in Defense Position.
Menu
https://ygovietnam.com/