





Battlin' Boxer is a card race that debuted in the Yu-Gi-Oh! Zexal is used by the character Alito, one of the seven Barian emperors. Battlin' Boxer has a gameplay style of spamming strong xyz monsters and using these warriors' ATK to win.

Battlin' Boxer is a card race that debuted in the Yu-Gi-Oh! Zexal is used by the character Alito, one of the seven Barian emperors. Battlin' Boxer has a gameplay style of spamming strong xyz monsters and using these warriors' ATK to win.
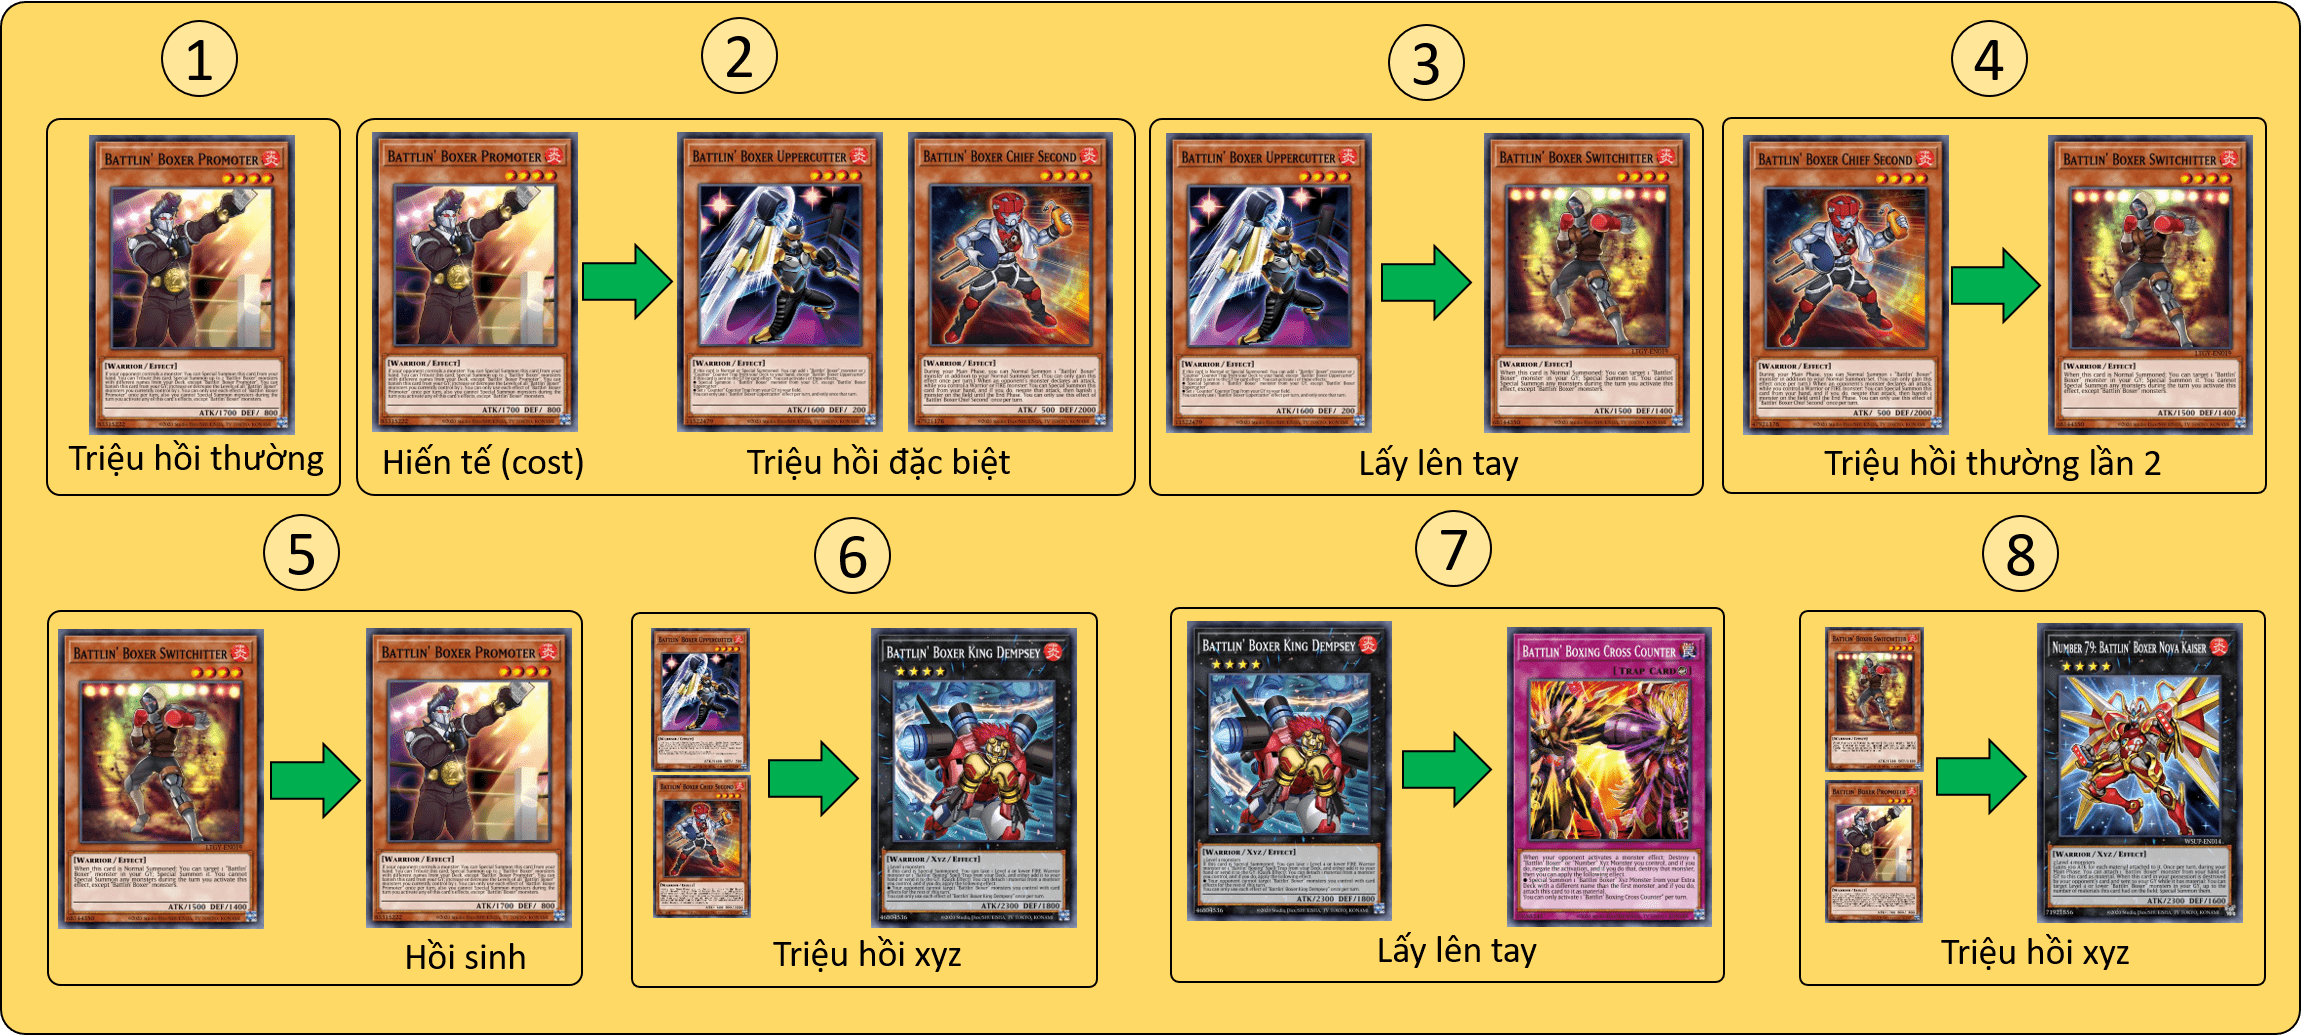
Let's start with a basic combo below.
You will take turn 1.
Step 1: Normal summon Promoter .
B2: Activate Promoter 's on-field effect, sacrifice this monster (cost), special summon Uppercutter and Chief Second from the deck.
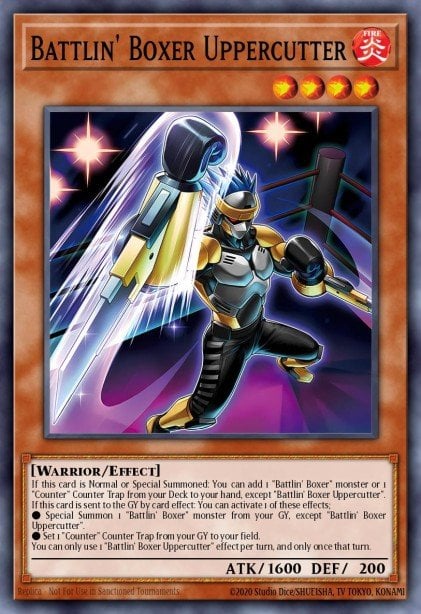
Step 3: Activate Uppercutter 's effect, take Switchitter from the deck to your hand.
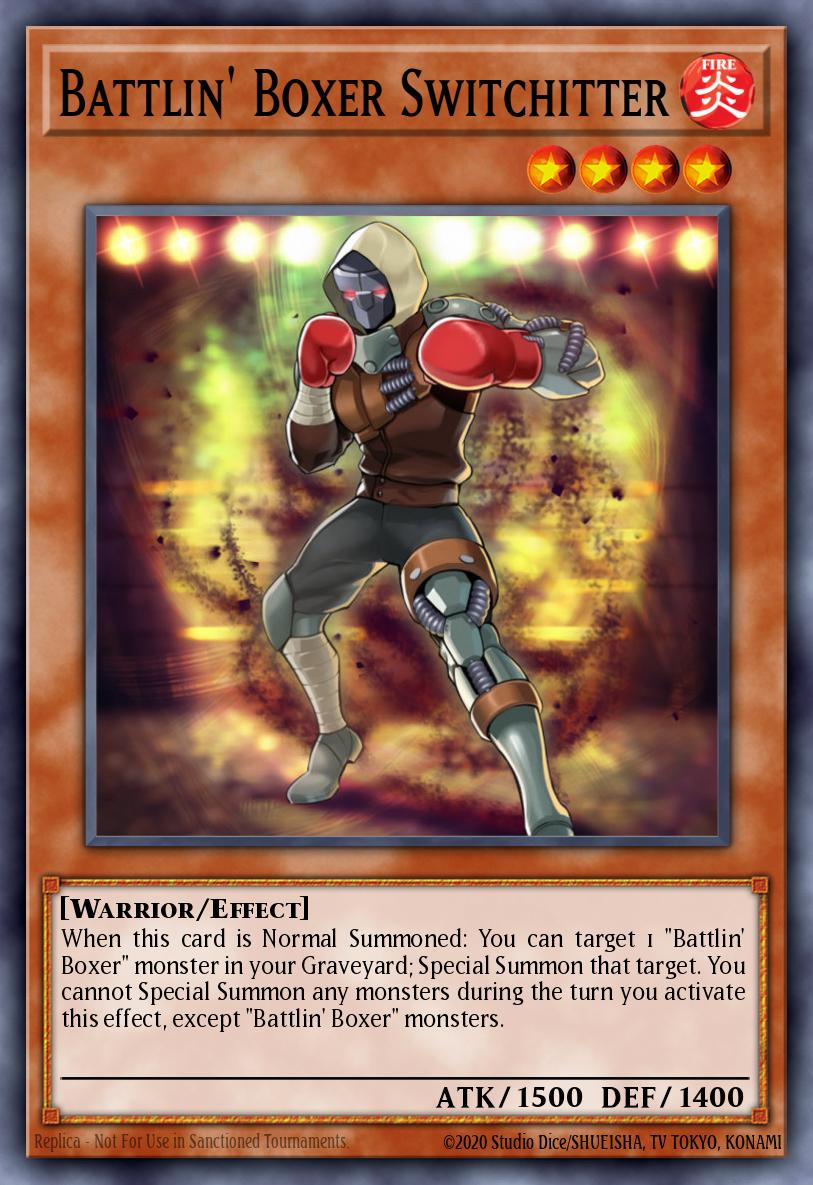
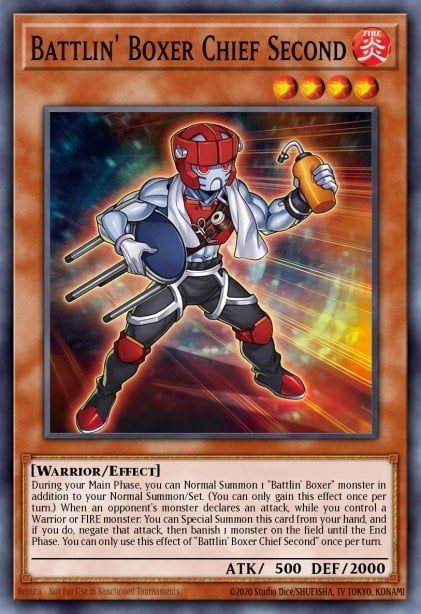
Step 4: Using Chief Second 's effect, you can Normal Summon another Battlin' Boxer monster during your turn, Switchitter .
B5: Activate Switchitter 's effect, special summon Promoter from the grave.
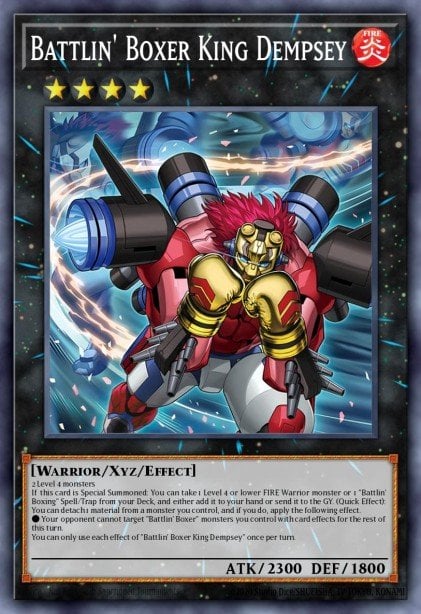
B6: Summon xyz King Dempsey , using Uppercutter and Chief Second as materials.
B7: Activate King Dempsey 's effect, add Battlin' Boxing Cross Counter from the deck to your hand.
B8: Summon xyz Number 79 , using Switchitter and Promoter as materials.
B9: Set Cross Counter from hand.
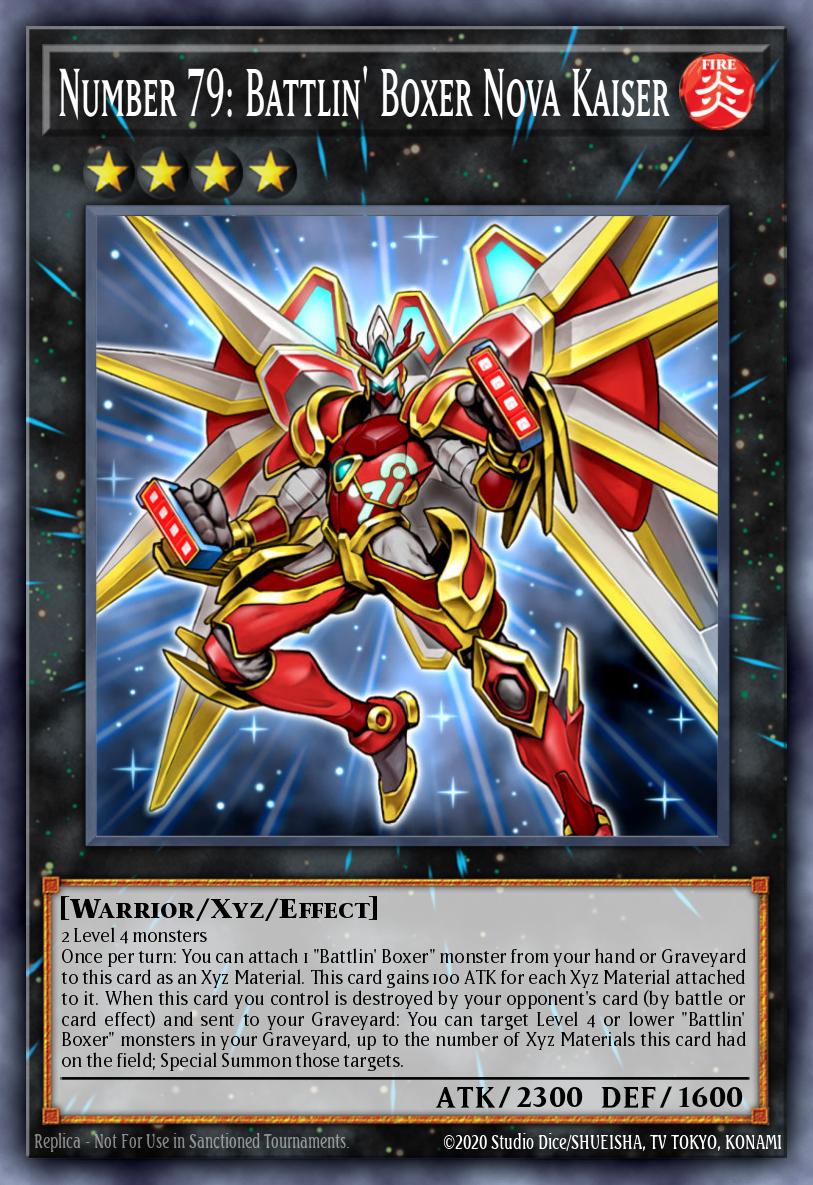
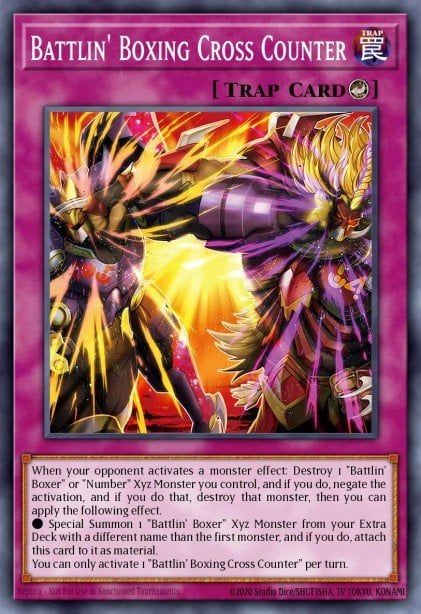
This is a 1 Promoter combo and results in 2 xyz monsters and 1 counter trap with the ability to negate the monster's effects. This combo can help you use King Dempsey thoroughly, you will need 3 King Dempsey in your extra deck.
You will continue as follows:
Create disruption on your opponent's turn.
B10: Activate Cross Counter when given the opportunity.
After you successfully use Cross Counter , you have destroyed your Number 79 With Cross Counter , negate the effect and destroy the monster that activates that effect, you will summon a second King Dempsey from the extra deck to the field, then attach this Cross Counter as an xyz material to that monster.
B11: Since King Dempsey only requires a special summon to activate its effect, you will activate this monster's effect, you can take Switchitter from your deck to your hand.
Also because King Dempsey summoned with Cross Counter does not count as an xyz summon, you will not be able to revive this King Dempsey later with Switchitter or Battlin' Boxing Spirits .
B12: Then, in the same turn that you activated Cross Counter , activate the quick effect of 1 King Dempsey , detach Cross Counter and your Battlin' Boxer monster that turn cannot be targeted by your opponent's effects .
Create more disruption on your next turn.
B13: On your next turn, you normal summon Switchitter and use Switchitter 's effect to revive Promoter from the grave.
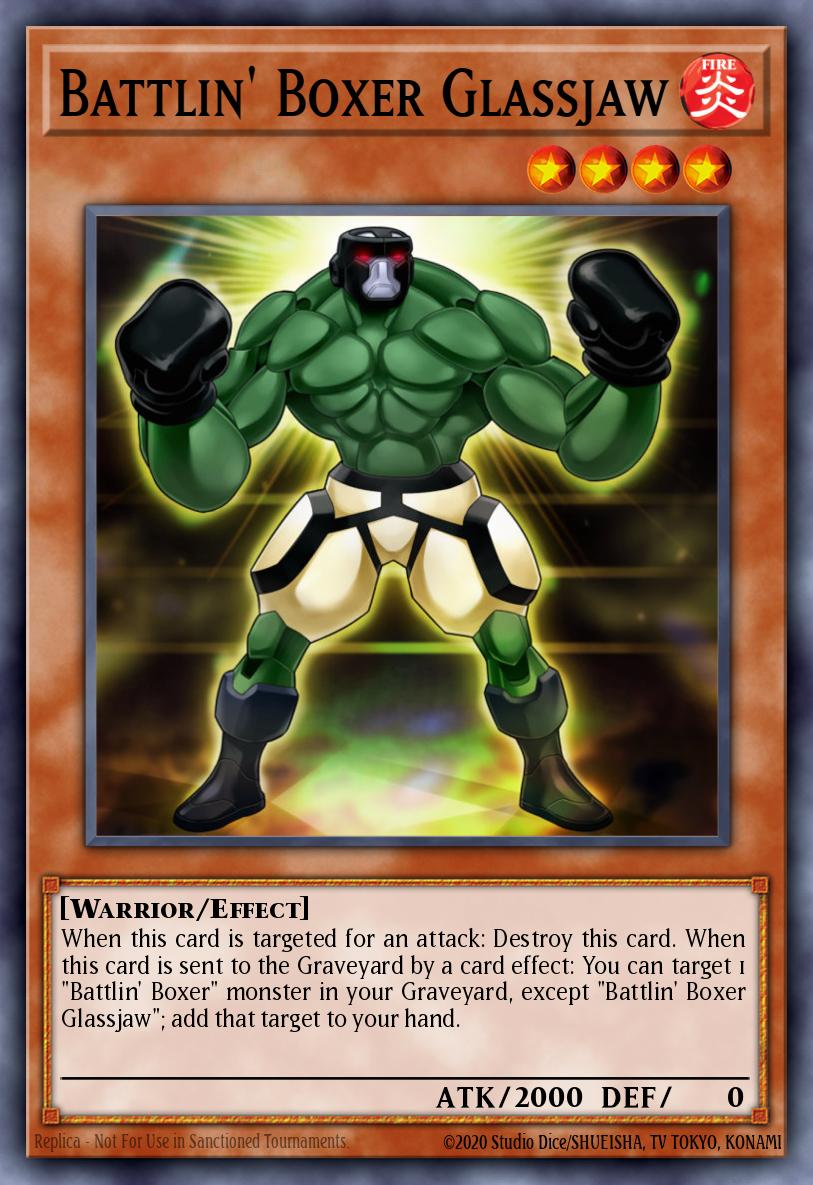
Step 14: Activate Promoter 's effect to summon Glassjaw and Uppercutter from the deck.
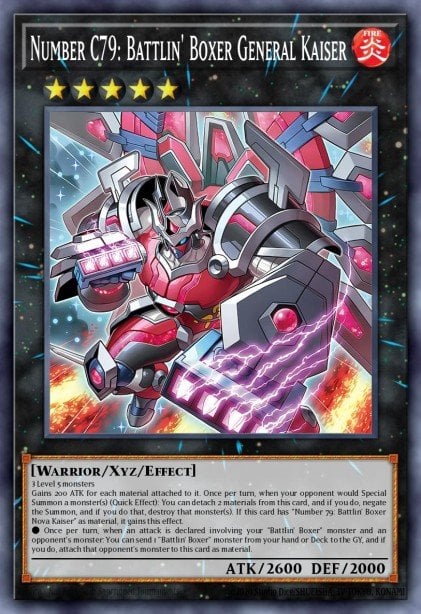
B15: Activate Promoter 's graveyard effect, remove this card from the grave (cost), turn the level of 3 monsters on the field, Switchitter , Glassjaw and Uppercutter , to 5. Then use these 3 monsters as materials to Summon xyz to Number C79 .
B16: Activate King Dempsey 's quick effect, detach the Uppercutter monster that is sending King Dempsey 's xyz material to the grave.
B17: Activate Uppercutter 's grave effect, placing the Cross Counter from the grave back onto the field.
Which monster you use as a material can also affect your strategy later, you need to use Uppercutter as a material to summon King Dempsey at the beginning of the combo for this reason.
Currently, there are 2 disruptions on your field instead of 1 like last turn coming from 1 Cross Counter and 1 disabling the special summon of Number C79 .
B18: You should activate Number C79 's effect first, then use Cross Counter .
Detach 2 monsters, Glassjaw and Uppercutter, to give the effect of Number C79 .
B19: Glassjaw (if Number C79 activates in chain link 1) and Uppercutter can trigger effects on their graves.
Uppercutter will summon Number 79 from the grave and Glassjaw will help you pick up the Switchitter again.
B20: When you use Cross Counter , you will use this card to destroy Number C79 and summon the 3rd King Dempsey .
It's a shame to have to destroy Number C79 , but this monster can't do anything with only 1 material, you can revive this monster later with Switchitter and Uppercutter .
B21: Your field is almost complete so you can add to your hand or send to your grave anything you need from your deck with King Dempsey .
Now as long as King Dempsey and Number 49 stay on the field each of your turns, you can perform resource recovery during the turn.
Activate Number 49 's effect, attach 1 of the 2 monsters you want, Glassjaw or Uppercutter, from the grave as material to this monster, then activate King Dempsey 's quick effect to detach Number 79 's material (activate in chain link 1 if you want to use Glassjaw 's effect).
Choose Uppercutter if you want to re-summon Battlin' Boxer monsters from the grave or re-set the Cross Counter . The next time Cross Counter activates, you should destroy xyz summoned monsters so you can revive them later more easily ( King Dempsey at the beginning of the combo). Cross Counter requires summoning a monster with a different name from the first destroyed monster, which is not too much of a problem because this card can summon almost any Battlin' Boxer monster from the extra deck.
Select Glassjaw so you can return 1 required Battlin' Boxer monster to your hand from the Graveyard each turn. Glassjaw can also push xyz monsters that cannot be revived (summoned with Cross Counter ) back to the extra deck so they can be used again later. Take advantage of this to push King Dempsey monsters that have been summoned with Cross Counter so that you can continue to summon King Dempsey in the next turns.
Above are reasonable and optimal ways to handle your disruption as well as how to play games that you cannot end early. You can maintain your resources each turn with the pair of King Dempsey and Number 79 cards.
Cross Counter is a counter trap card that has the ability to both negate the opponent's monster effects and summon additional xyz monsters Battlin' Boxer from the extra deck. To be able to use the monster summoning effect, you need to destroy the opponent's monster that activated the effect.
However, you do not always have to use this effect, in cases where the opponent uses monsters with many beneficial resources such as Rescue Cat , Rescue-ACE Impulse , monster fusion effects. If you have Tearlaments in your grave, you should use Cross Counter early to avoid your opponent being able to bypass Cross Counter .
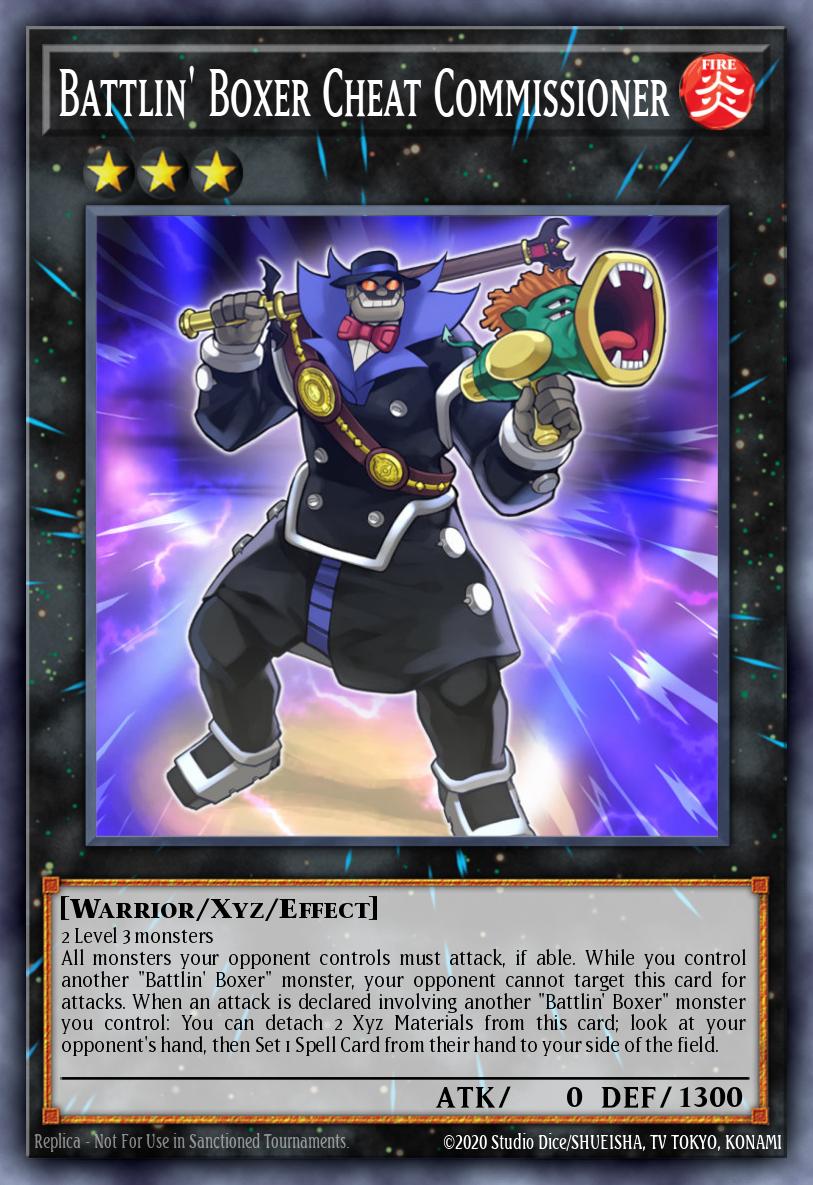
A pretty good interaction between Cheat Commissioner and Number 79 , Number C79 has Number 79 as an ingredient.
Cheat Commissioner forces your opponent's monster to attack your monster. If they attack your other Battlin' Boxer monsters while N umber C79 has the Number 79 material, Number C79 will gain 1 extra material, plus 1 more material when Number C79 attacks the next turn then is one more use of this monster's quick effect.
If they successfully destroy Number 79 while having the material on the field, this is a time to revive the necessary monsters from the grave like Uppercutter or Glassjaw to use their effects. If Cheat Commissioner forces the opponent to attack Glassjaw, when attacked, it will automatically destroy itself and you can use Glassjaw 's grave effect.
Cheat Commissioner in that turn, if you have 2 ingredients, you also have a chance to check the opponent's hand cards once. It is very difficult for you to get the other side's spell cards because they will put them face down on the field before entering the Battle Phase. .
If Cheat Commissioner 's effect causes unwanted effects where your important monster will be destroyed by your opponent, then Chief Second in your hand is a reasonable protection option in this situation. Chief Second will remove the protected monster or your opponent's monster until the End Phase.
Let's see what Battlin' Boxer will have to do when facing hand traps and board breakers.
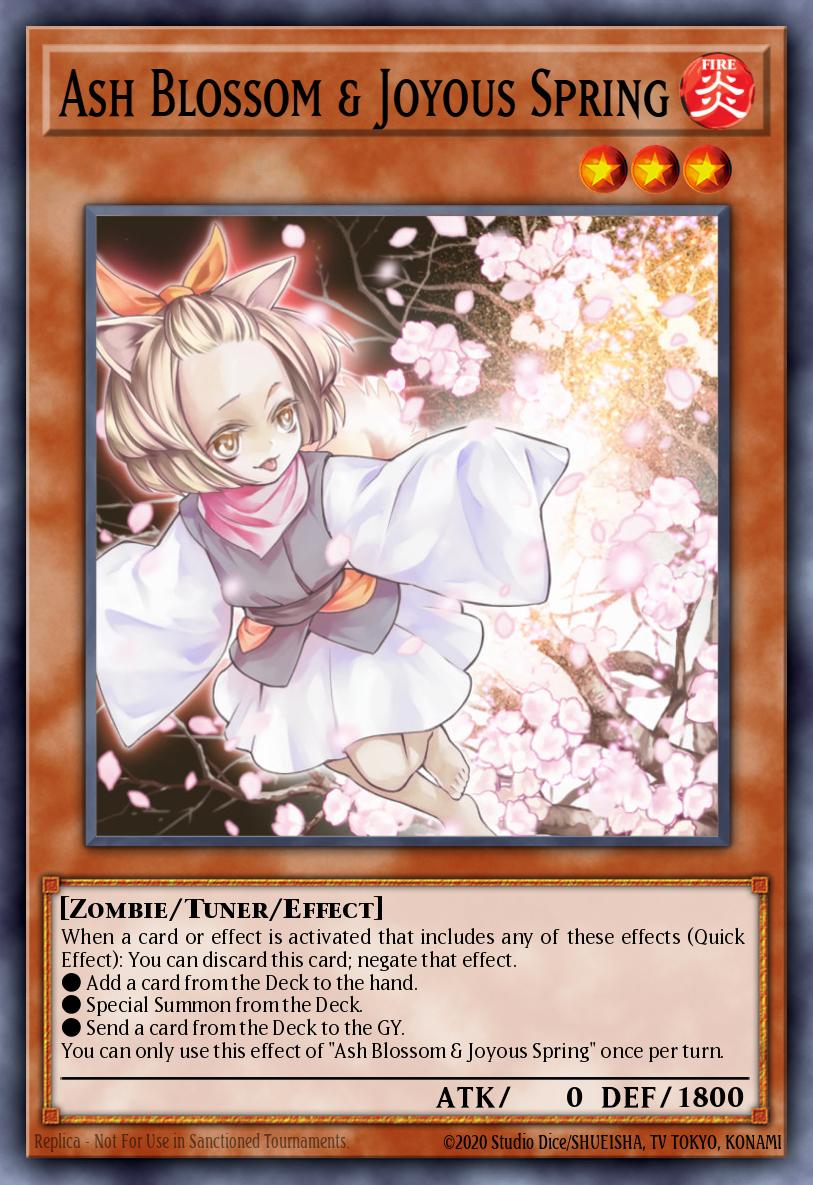
Ash Blossom is one of the hand traps used in most decks.
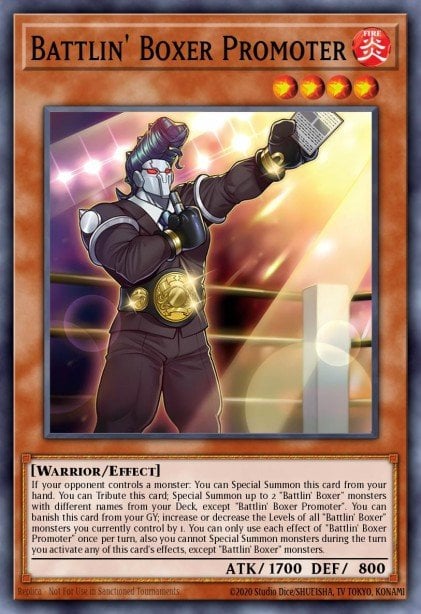
Promoter is always the top target targeted by Ash Blossom . Your ability to perform a combo or not do anything depends on whether the Promoter can successfully perform the effect or not.
When you cannot summon 2 Battlin' Boxers with Promoter , it is entirely possible that you will lose 1 turn. The reason is that when going first, players will most likely normally summon Promoter .
Sometimes Uppercutter and King Dempsey are targeted by Ash Blossom , not the Promoter . The two monsters Uppercutter and King Dempsey can do what Promoter cannot do: find counter traps, cards that are extremely difficult to deal with.
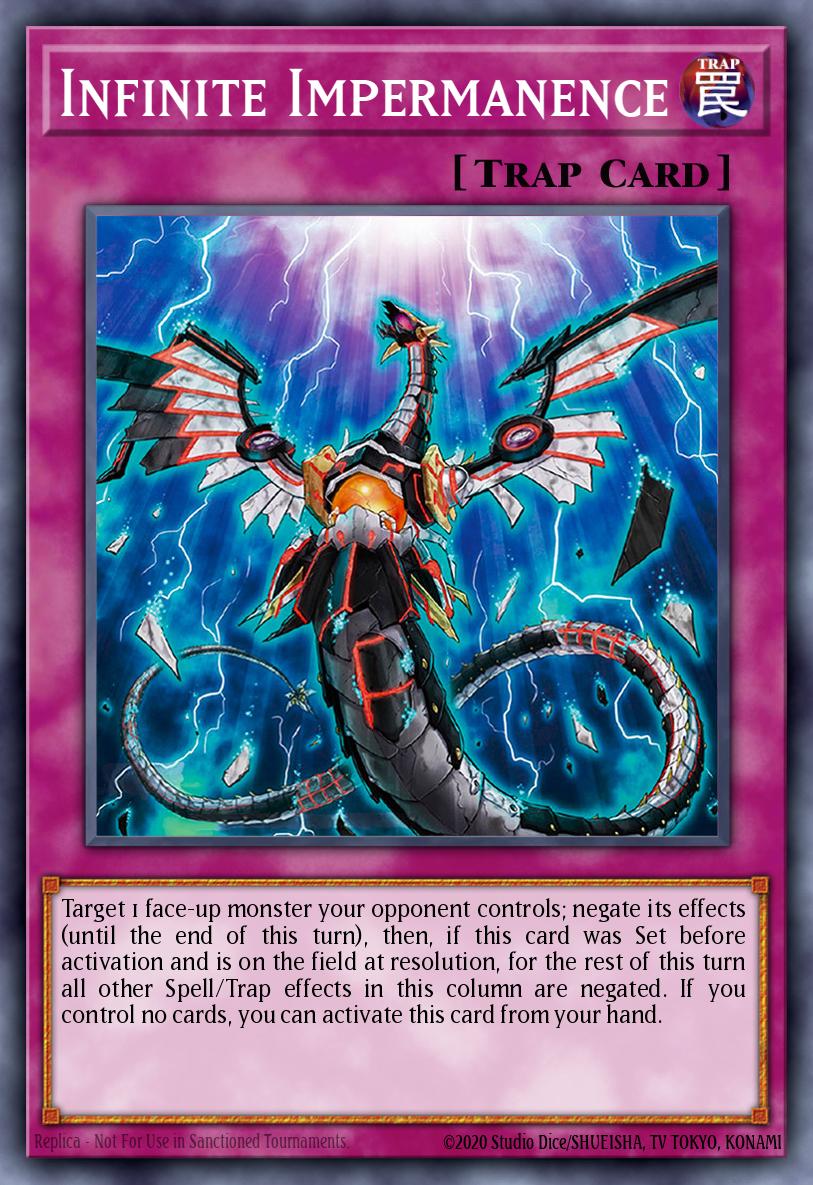
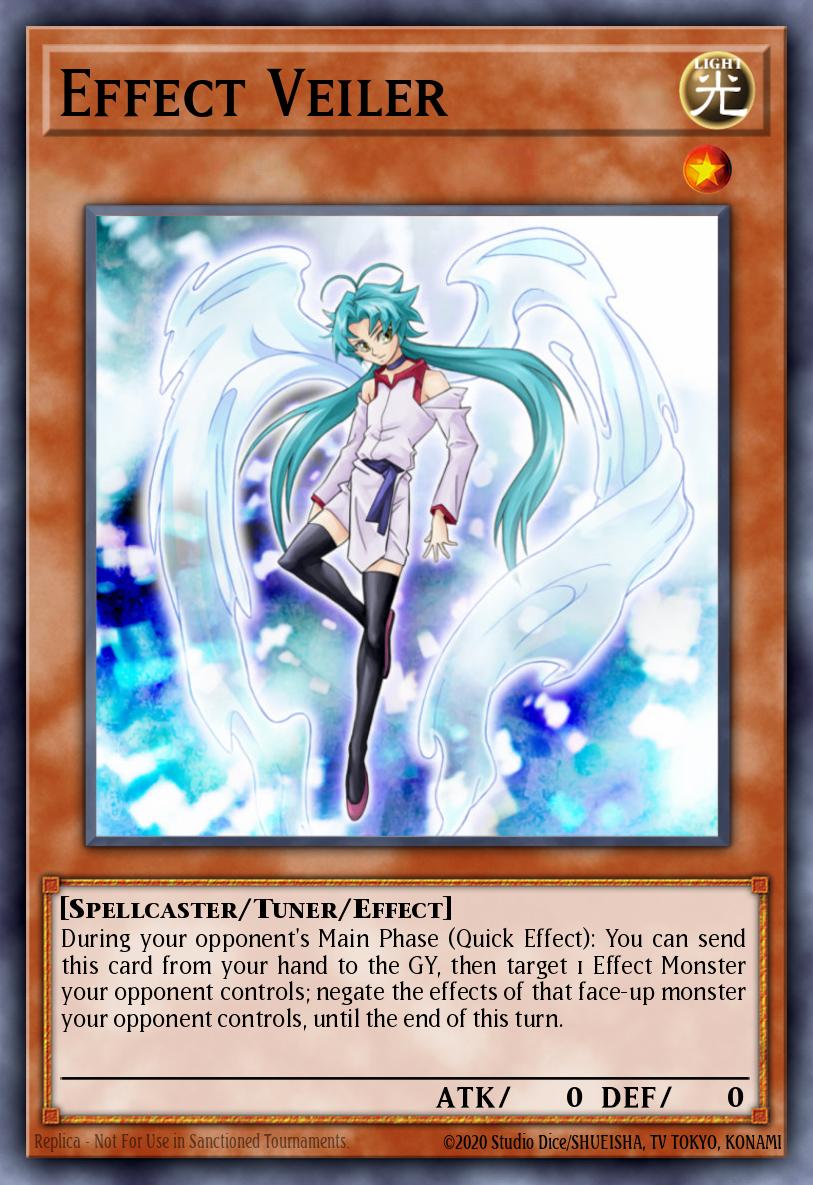
Infinite Impermanence and Effect Veiler are two hand traps that can neutralize common monster effects on the field.
These cards will also often target the Promoter on the field, before this monster can use its effect, if they do not have Ash Blossom in hand or use Ash Blossom for another purpose.
In addition, Chief Second , Uppercutter , or King Dempsey can also be targets to negate and interrupt your combo.
Although King Dempsey has the ability to protect your Battlin' Boxer monster from being targeted by effects, these cards can be chained to King Dempsey very easily. Furthermore, summoning King Dempsey is also very difficult when your opponent is likely to use them before this monster is summoned.
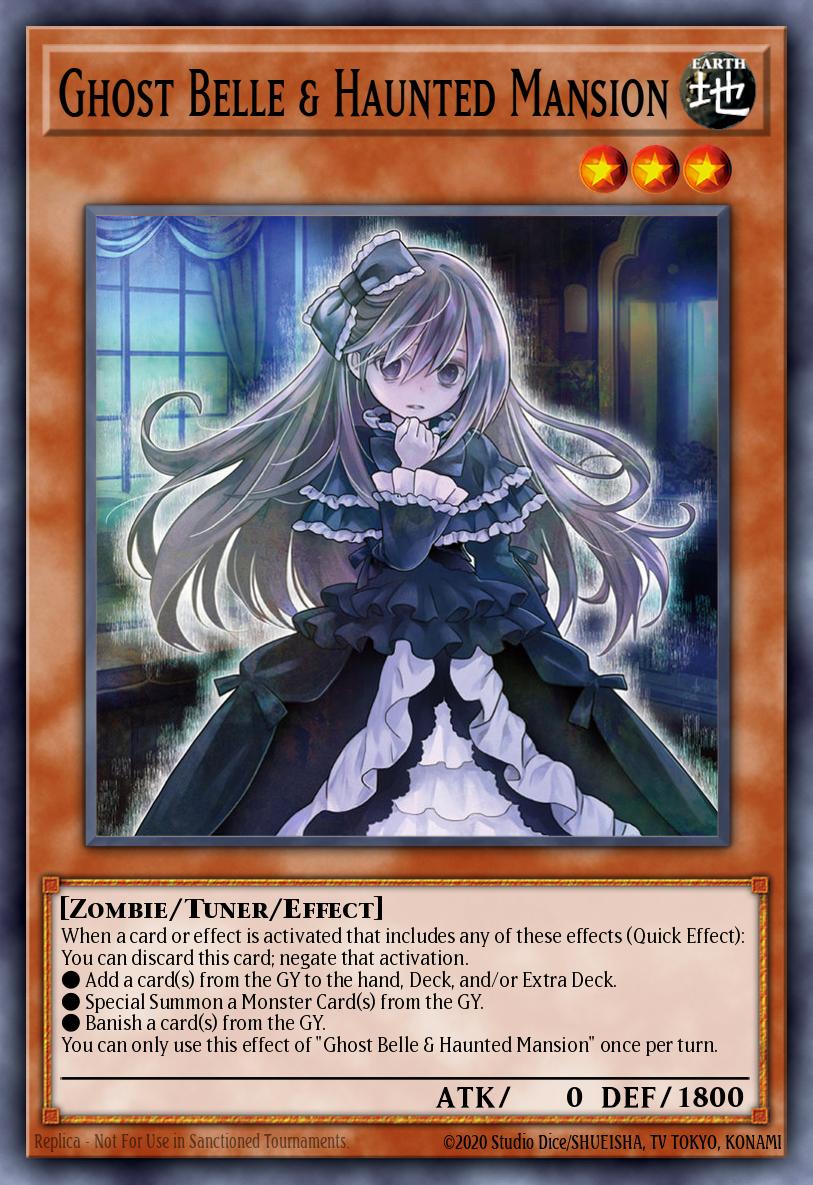
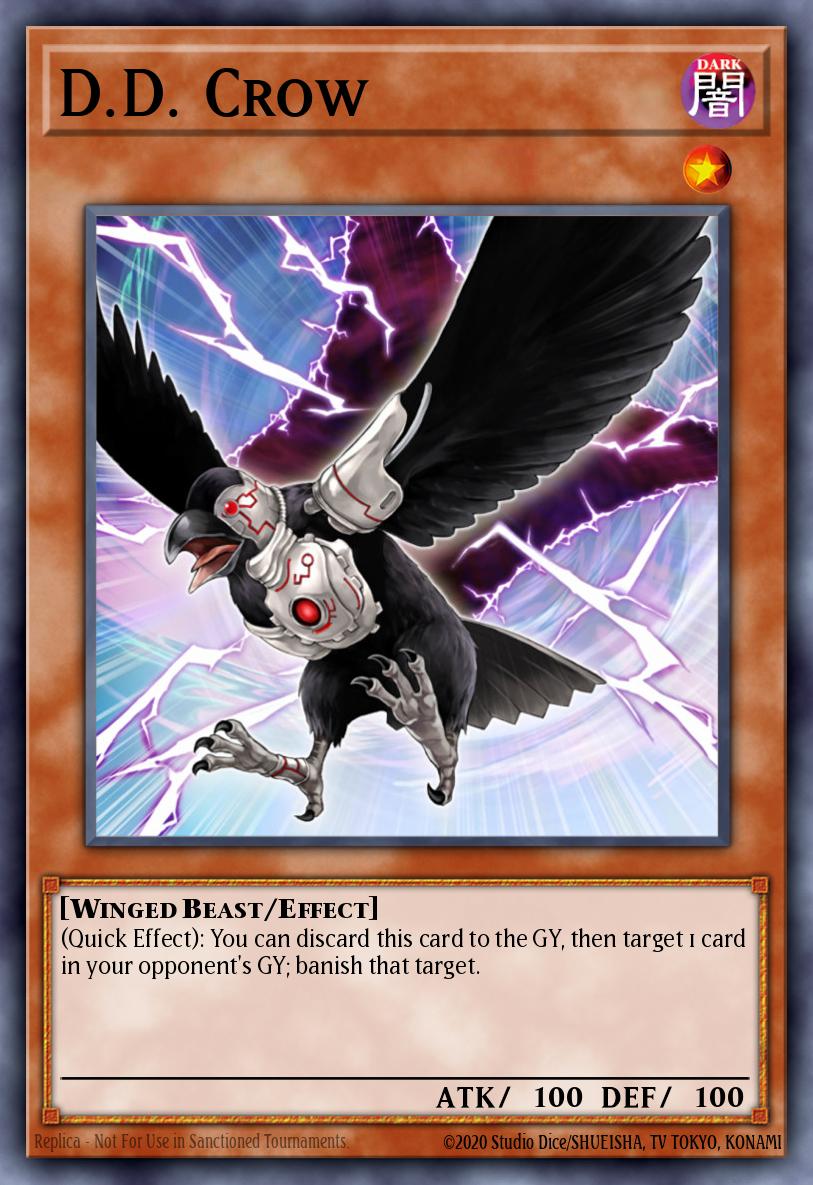
Battlin' Boxer's combo doesn't depend on graves too much, Ghost Belle and DD Crow also don't cause too many obstacles to the deck.
The targets that these two cards can target in your combo are Switchitter and Uppercutter .
Battlin' Boxer's Cross Counter and Uppercutter card loop combos can also be blocked by DD Crow .
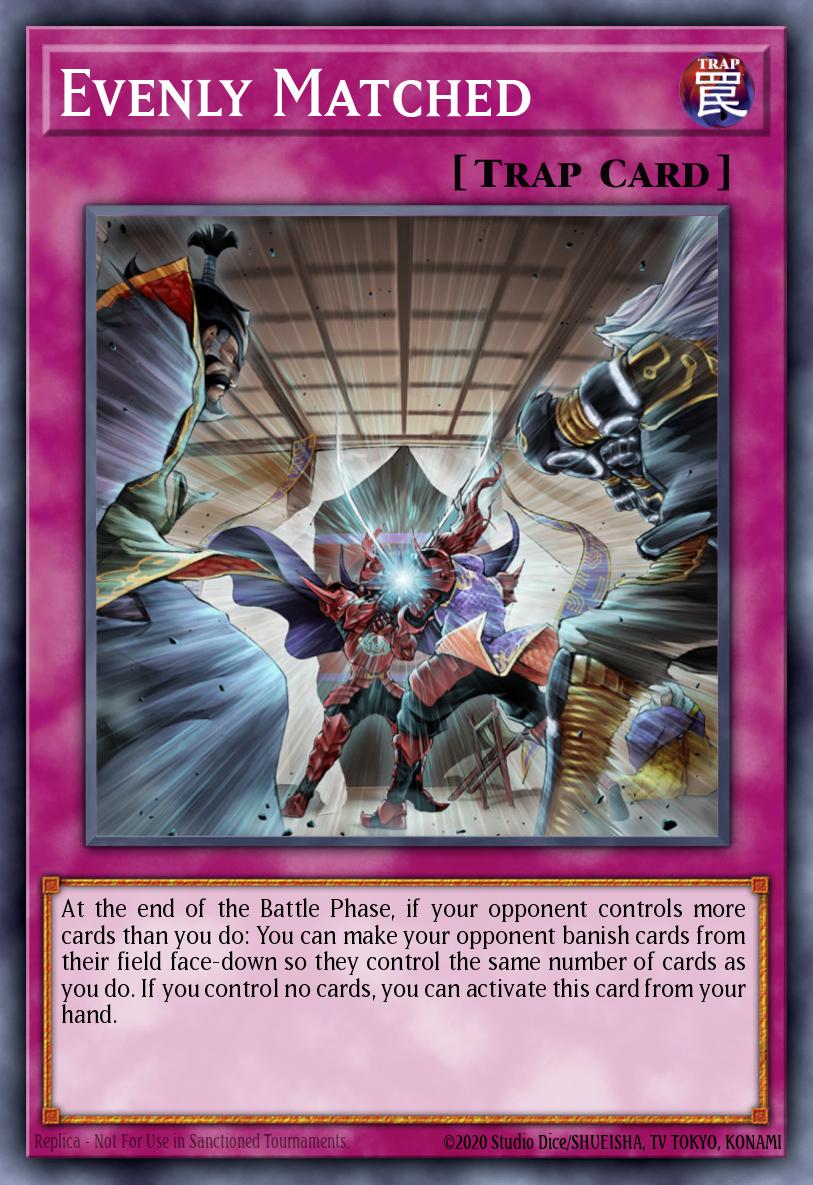

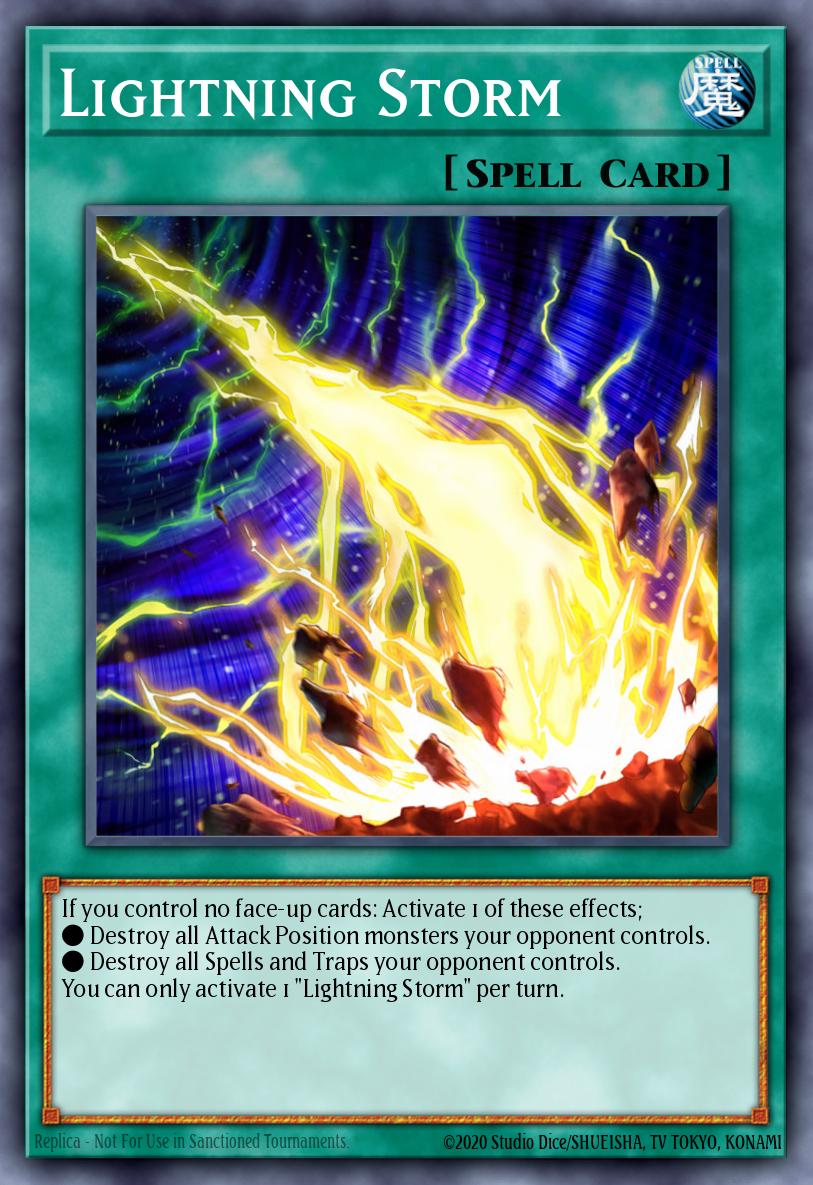
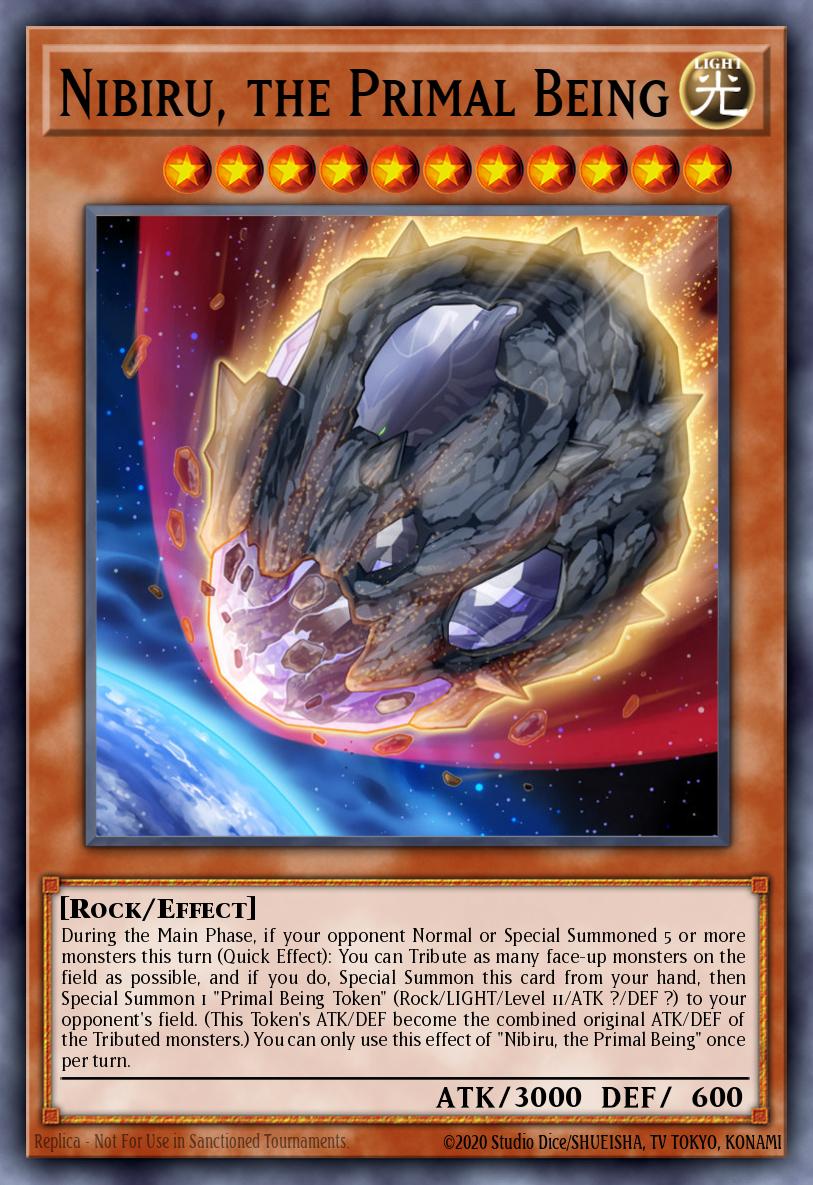
Board breaker cards like Lightning Storm , Nibiru , and Evenly Matched will cause Battlin' Boxer quite a few big obstacles.
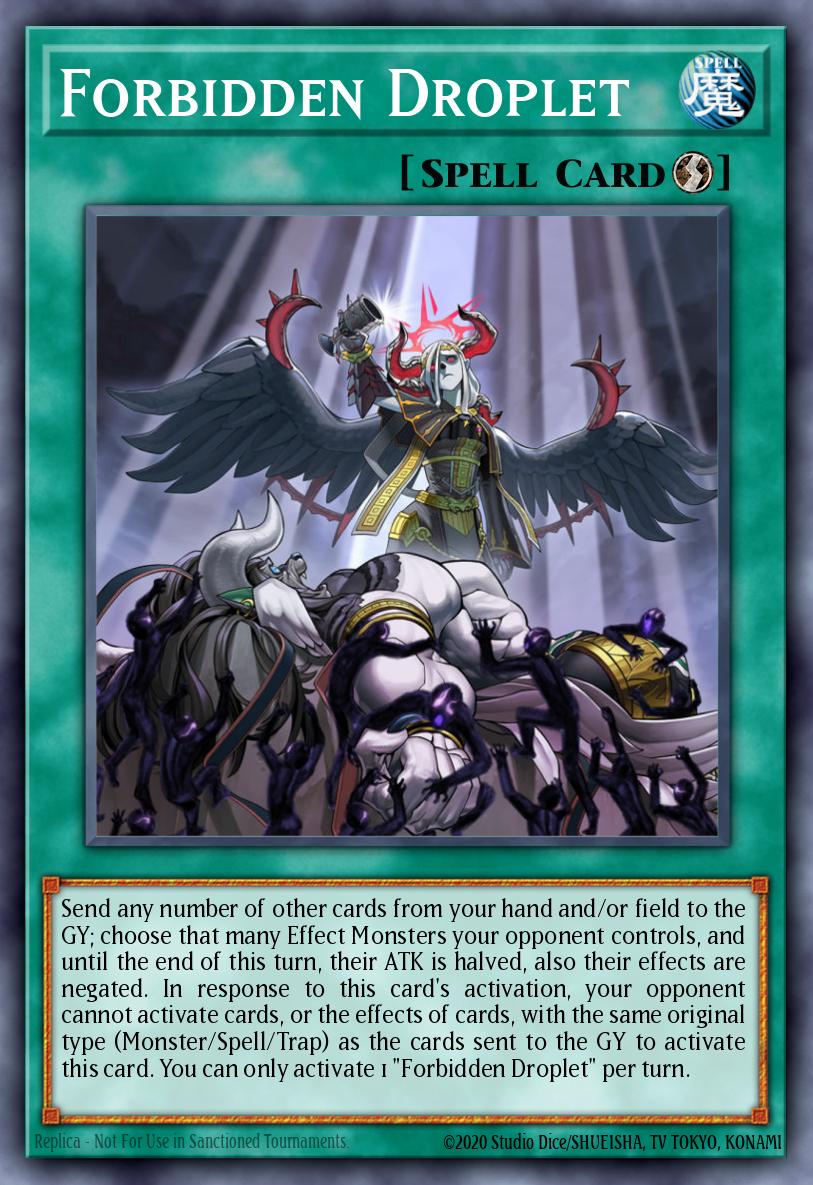
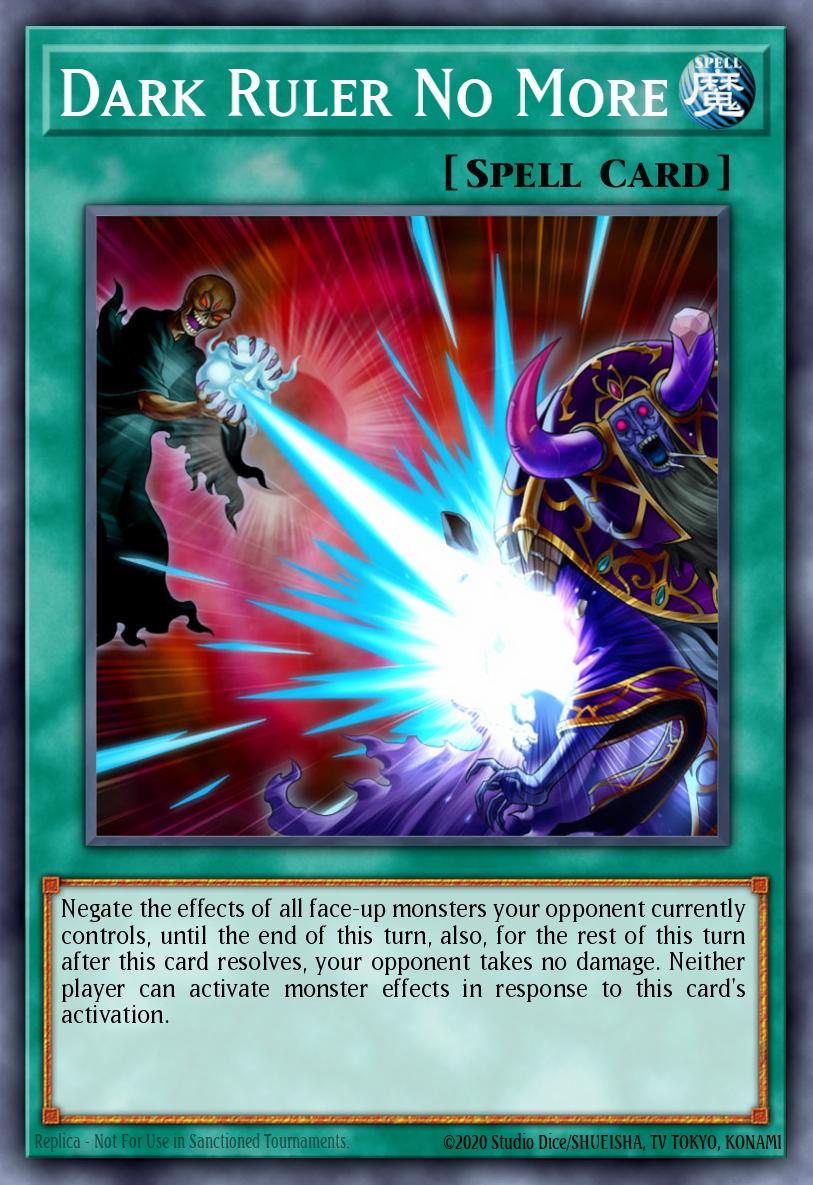
In contrast to other combo decks, Dark Ruler No More and Forbidden Droplet do not cause much damage to Battlin' Boxer.
Battlin' Boxer monsters completed their quest during your turn. During the opponent's turn, these monsters are mainly used as bait for Cross Counter or King Dempsey to use Uppercutter to restore resources.

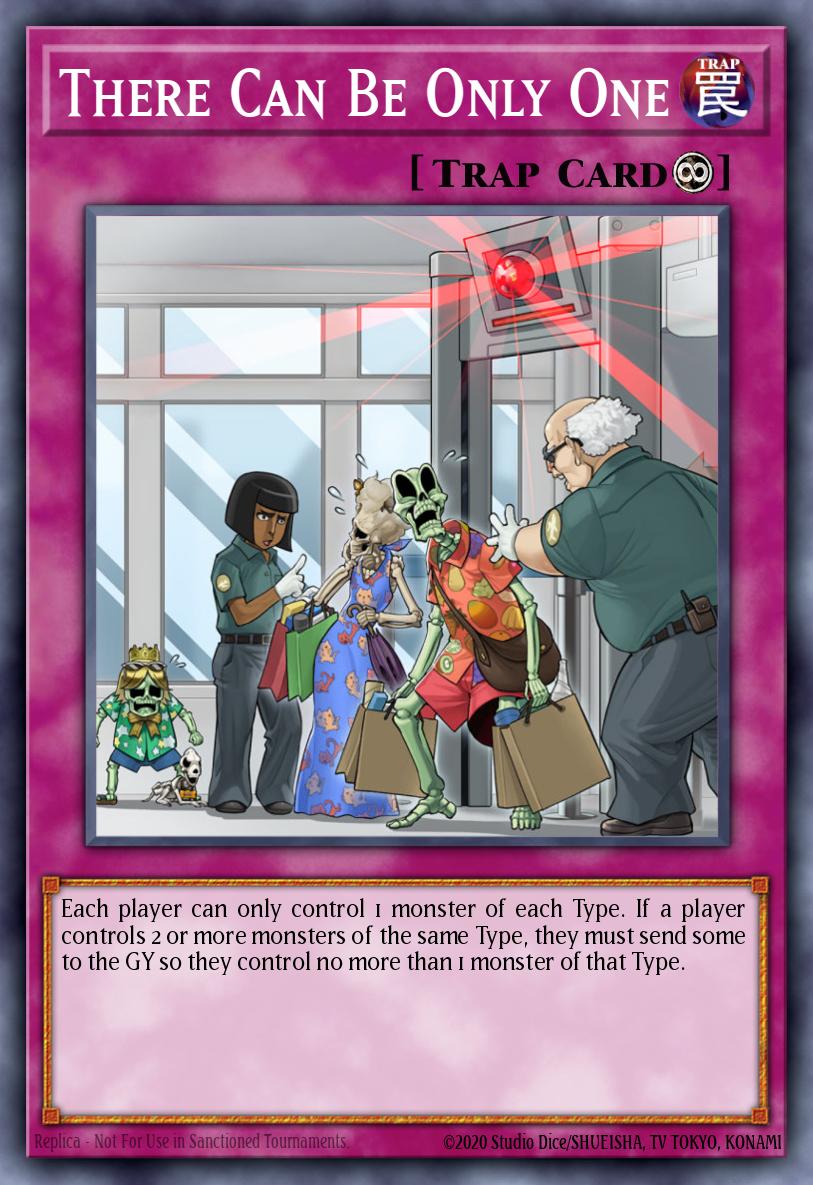
Some flood gates can be annoying for the deck, especially There Can Be Only One .
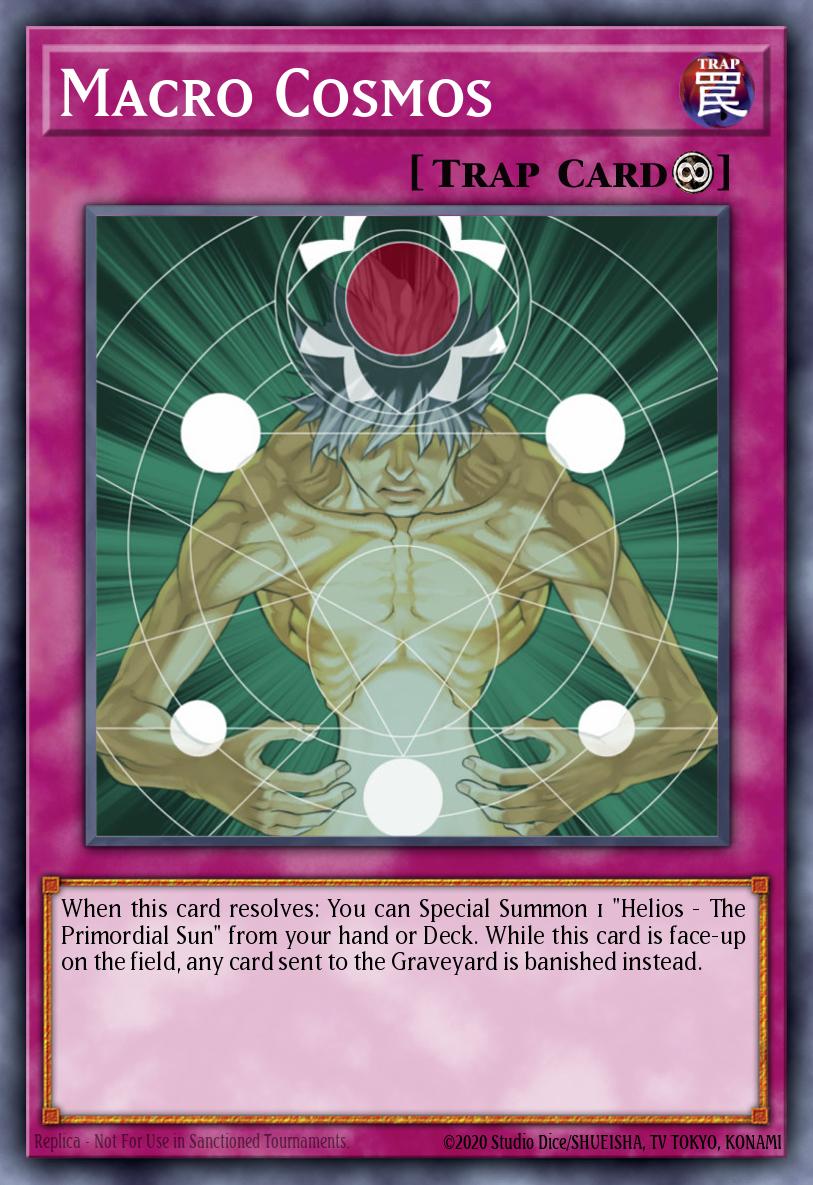
Although the grave may not be needed in a combo, in the long run the grave is a place for Battlin' Boxer to maintain the stability of the deck. The monsters after the combo need to be sent to the grave so that Switchitter or Uppercutter can revive at any time. You also need to pay attention to cards like Macro Cosmos , these cards will not immediately affect your strategy but they will prevent the deck's ability to recover.
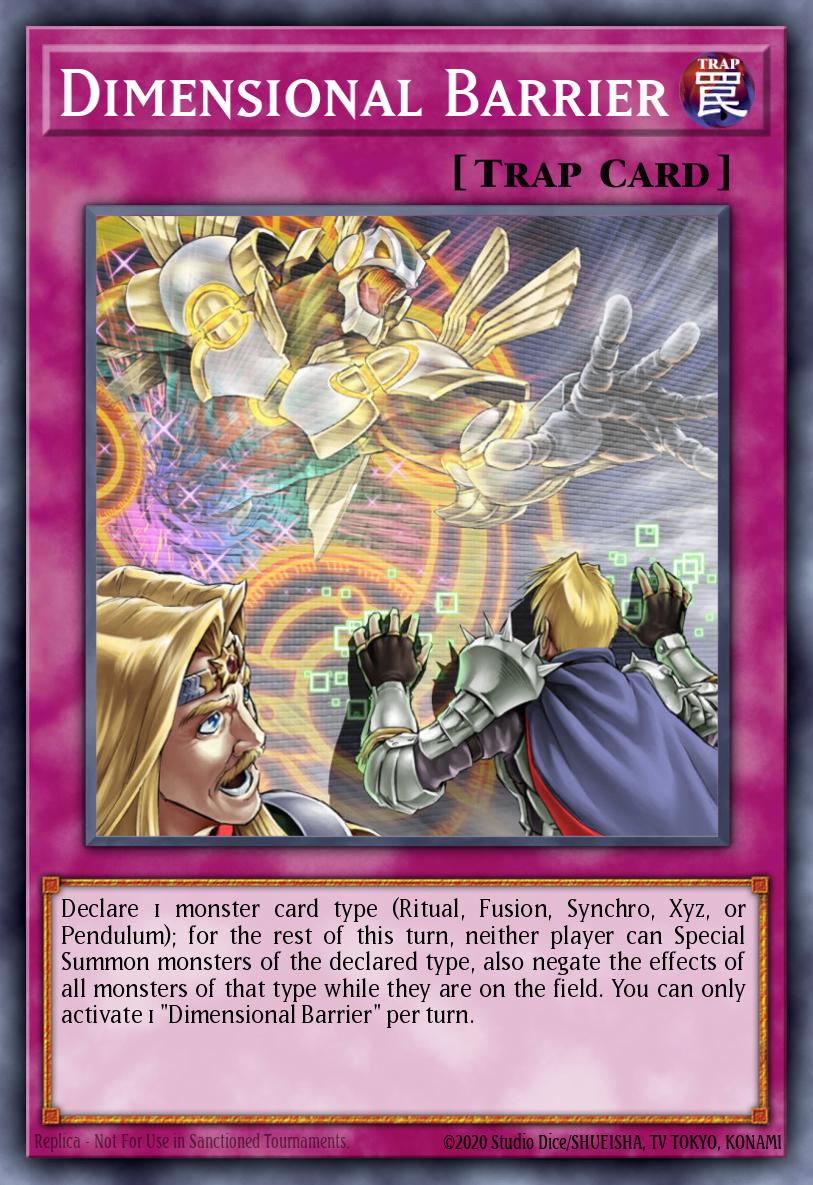
Dimensional Barrier is always the choice to fight combo decks with extra decks of one color.
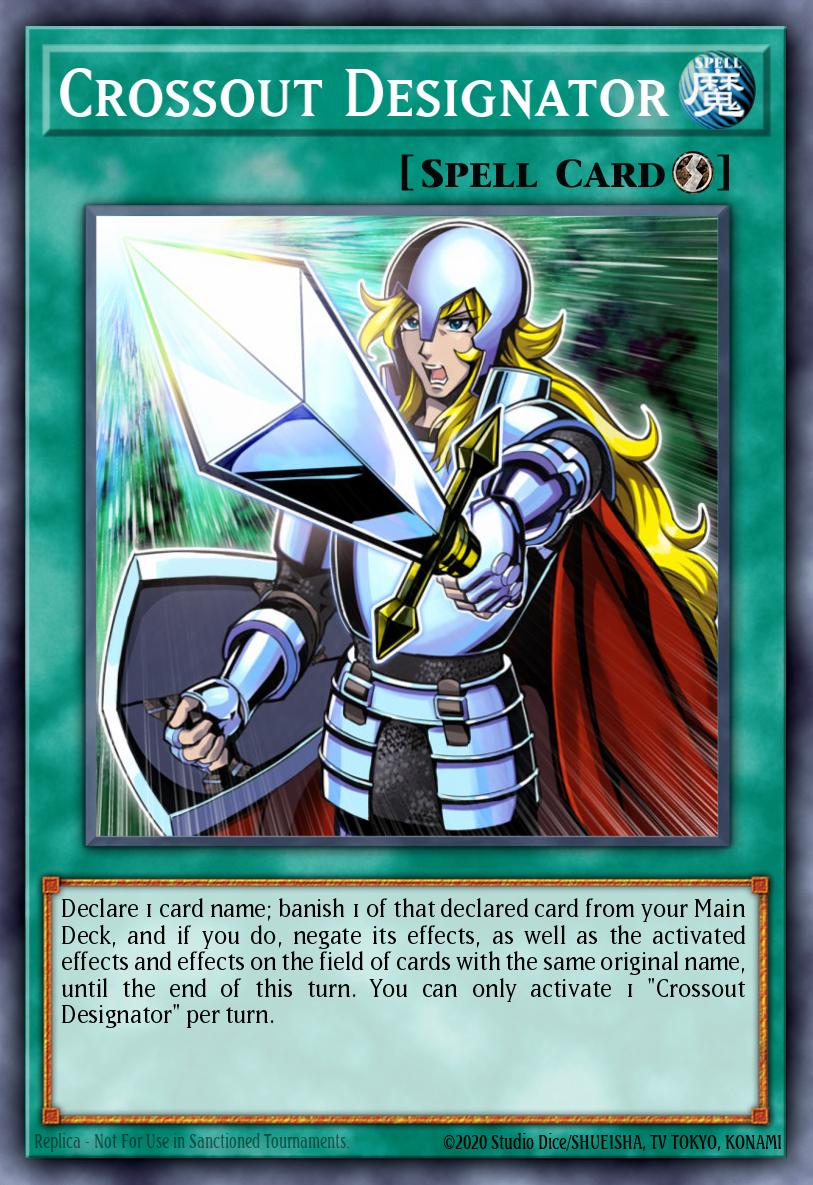
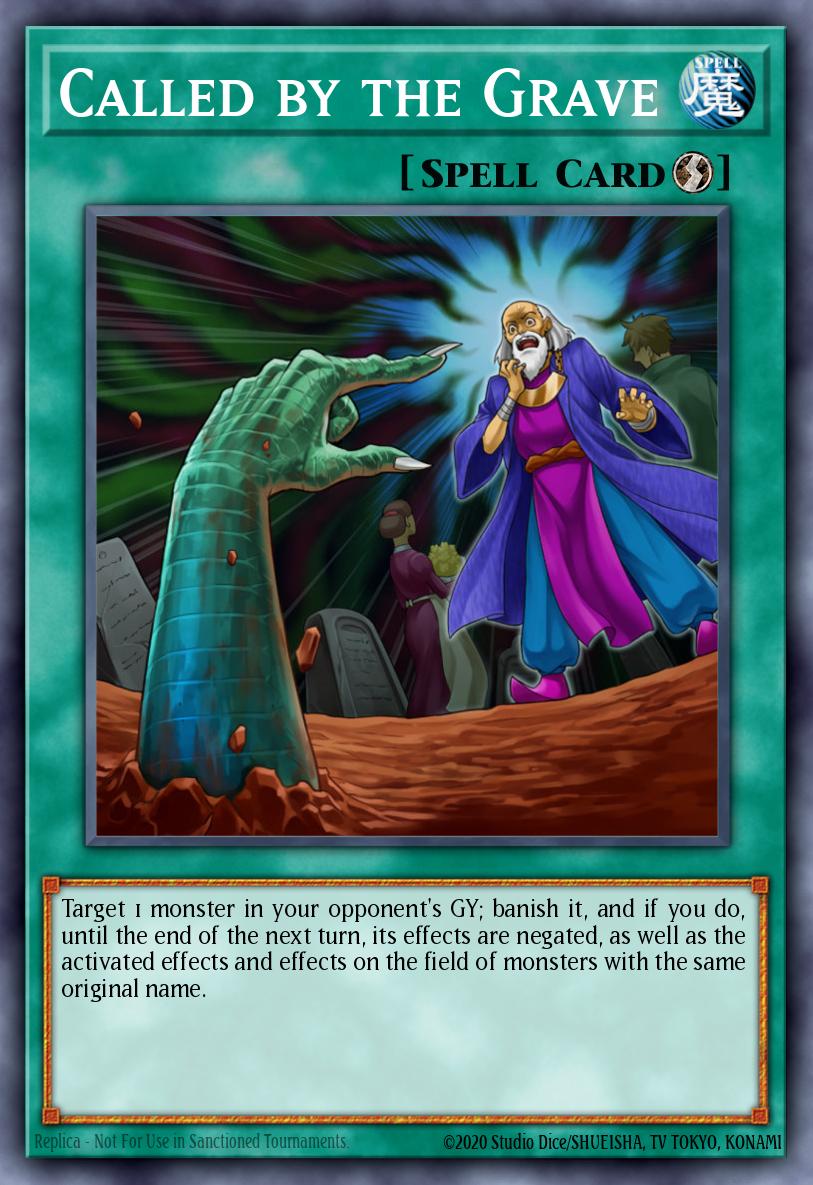
Called by the Grave , Crossout Designator are always anti-hand trap options for every deck.
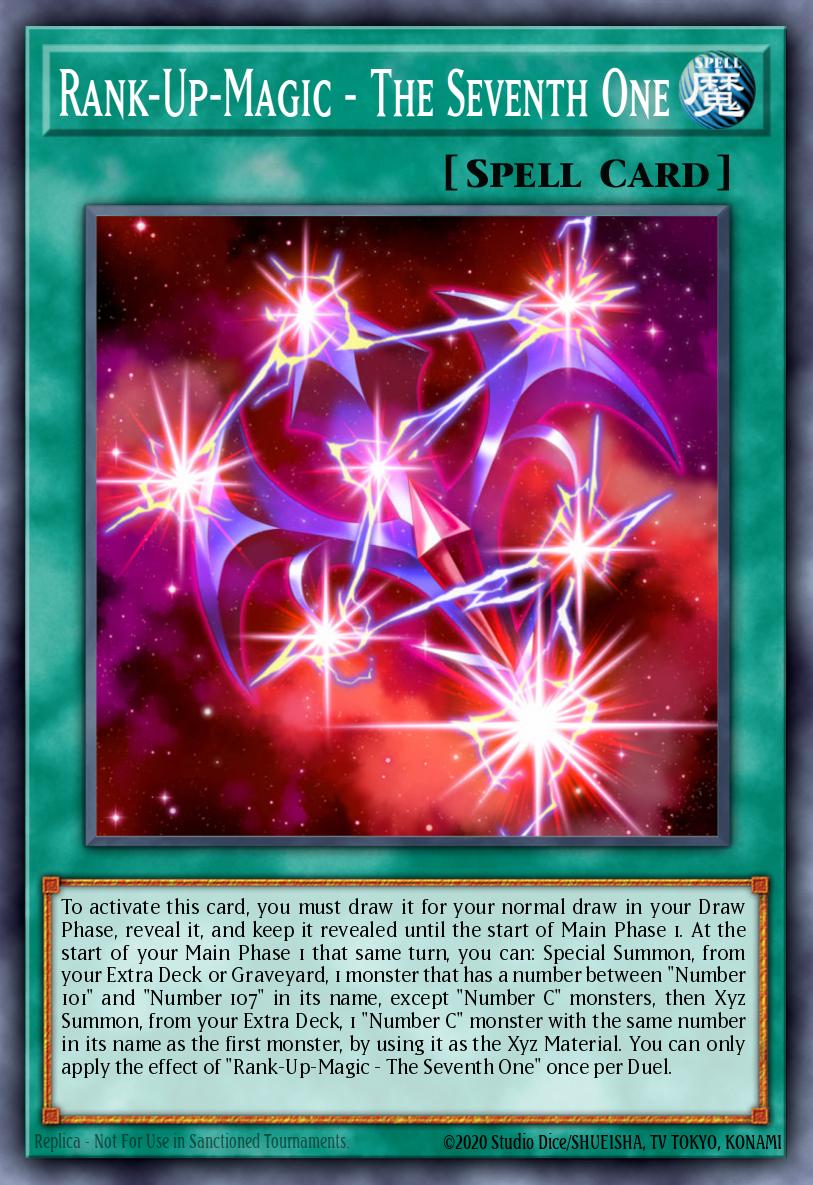
It is very difficult for your Promoter to successfully use the effect without being blocked if the opponent has Ash Blossom . The only way is to exchange your Promoter 1:1 with the opponent's Ash Blossom .
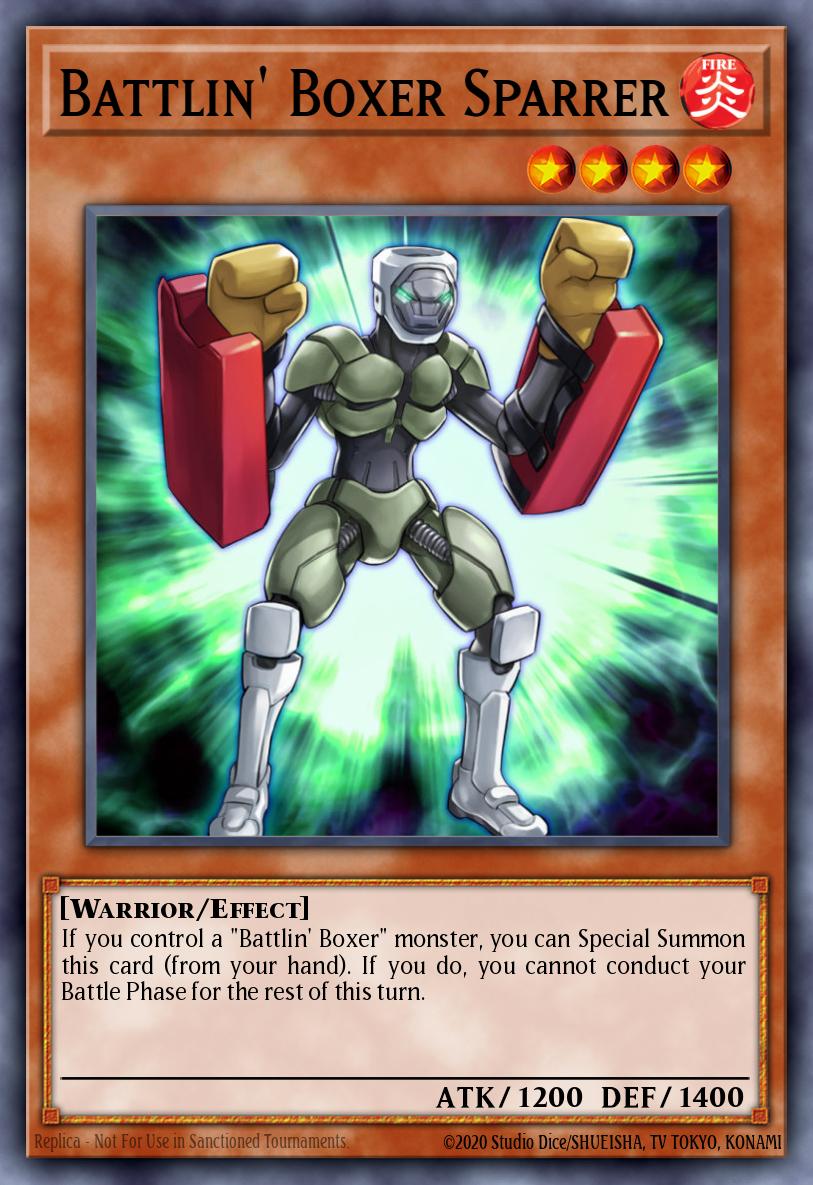
You can use Battlin' Boxer extender monsters like Sparrer to summon as backup when the Promoter fails to use its effect. A more difficult step is to use Sparrer with Promoter to summon xyz King Dempsey to search for Switchitter to revive Promoter and use this monster's effect.
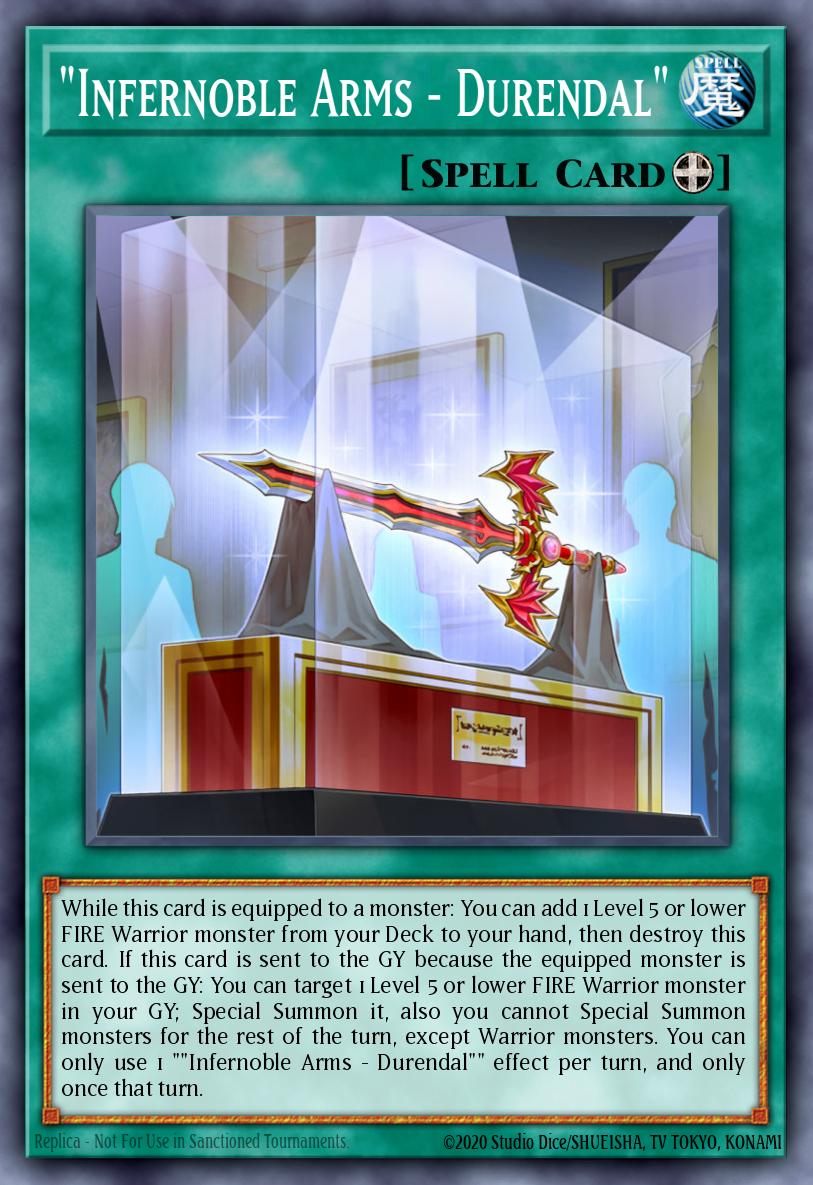
“Infernoble Arms – Durendal” can help you get the necessary Battlin' Boxer monsters into your hand in situations like this.
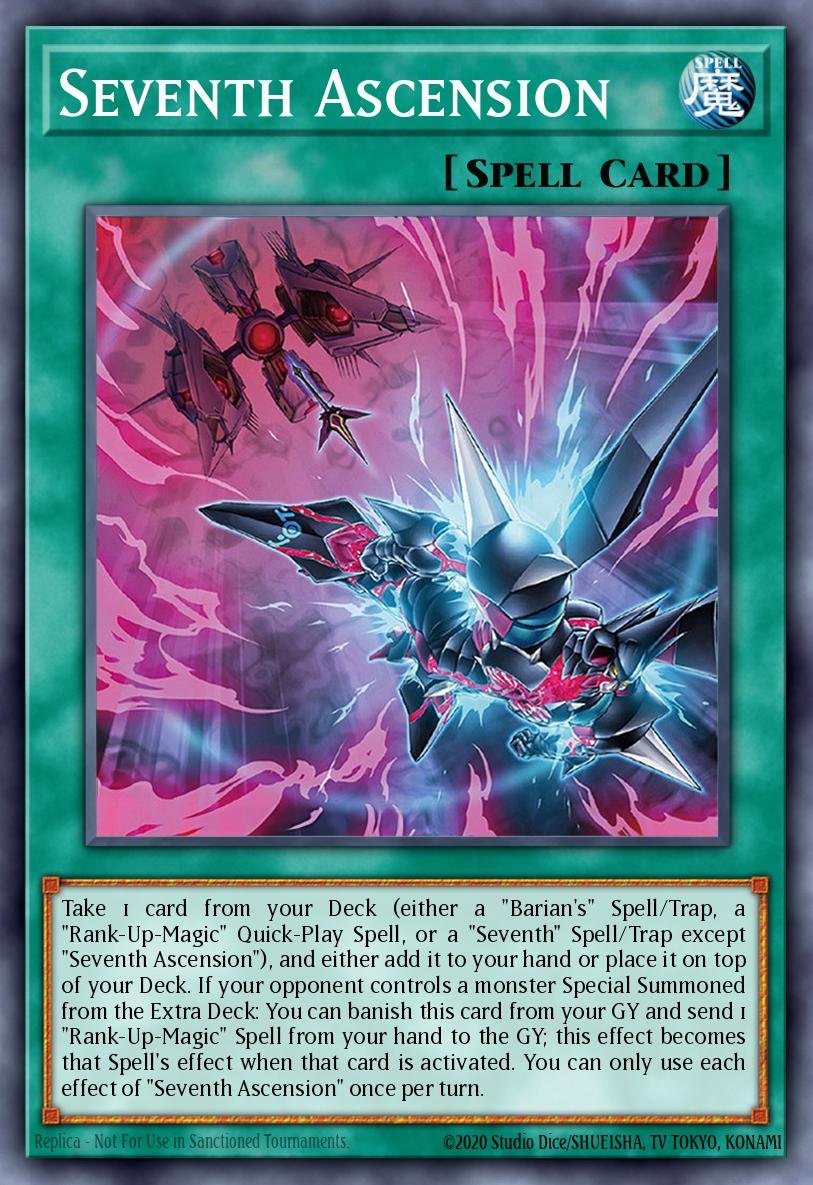
Place Rank-Up-Magic – The Seventh One on top of your deck with Seventh Ascension so your next turn is probably the last thing on your mind.
Infinite Impermanence or Effect Veiler are also dangers to your deck. Promoter , Chief Second , Uppercutter or even any other monster can become targets for these hand traps.
For trap hands like Infinite Impermanence or Effect Veiler , when you have an extender in your hand, cards like Sparrer will be able to help you continue that combo.
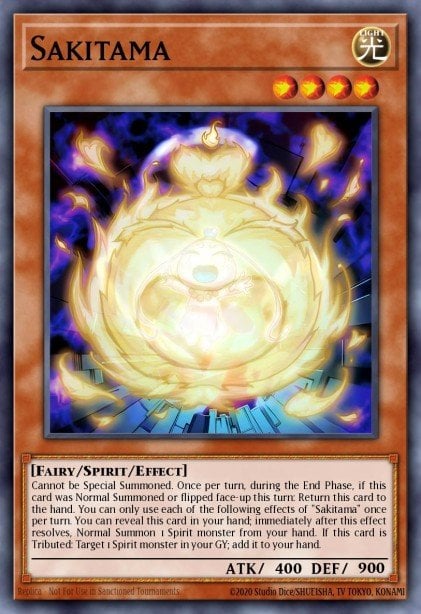
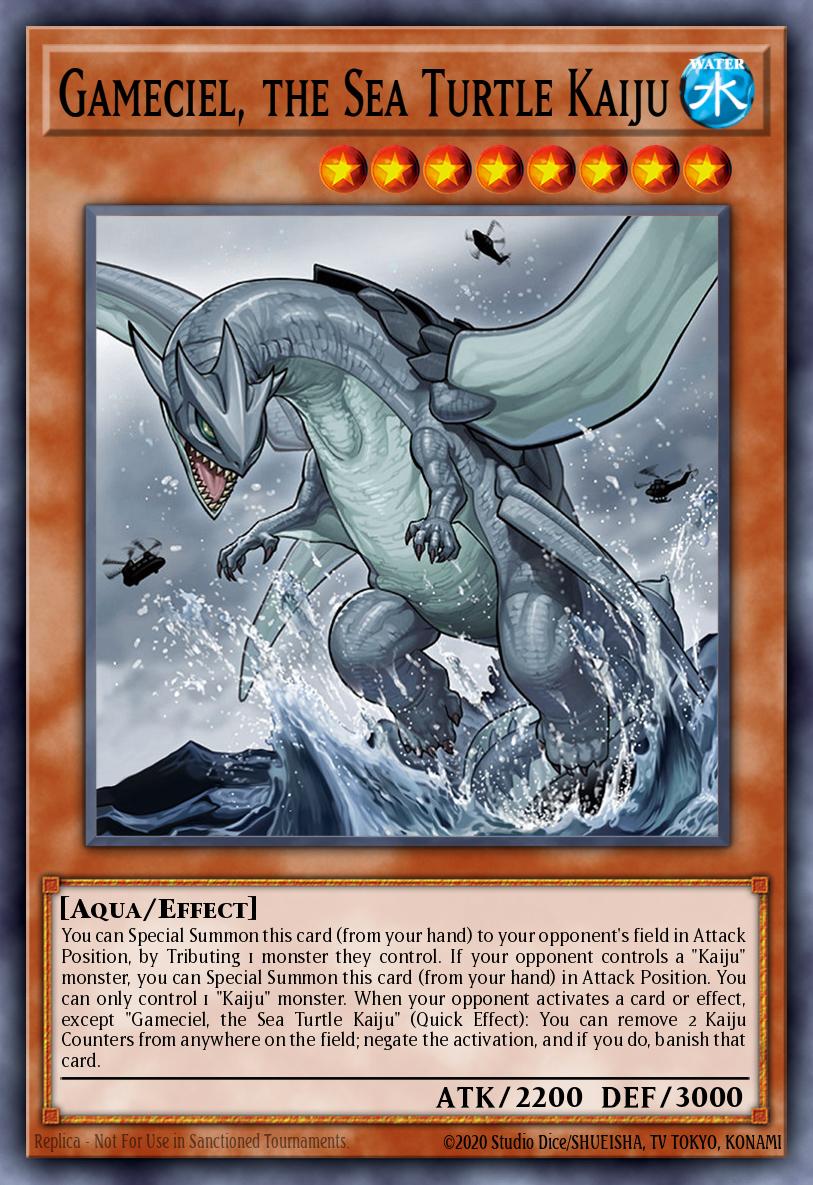
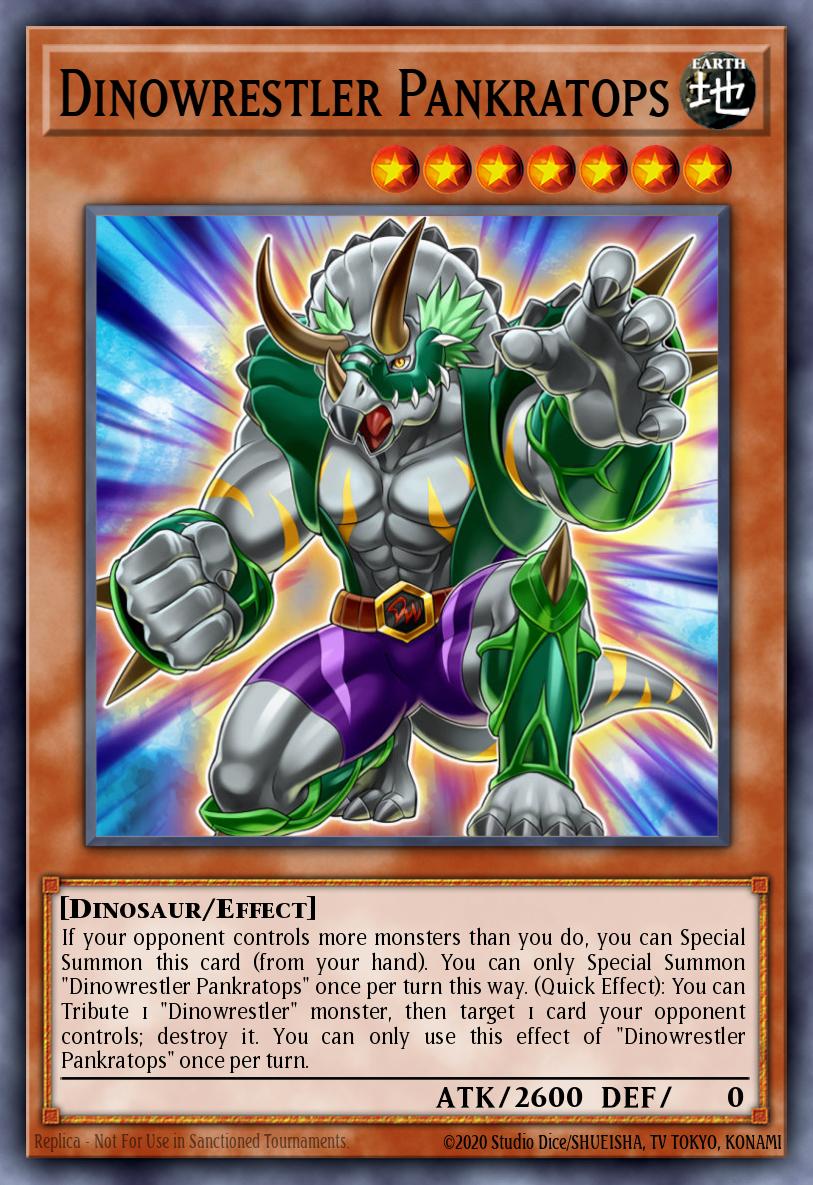
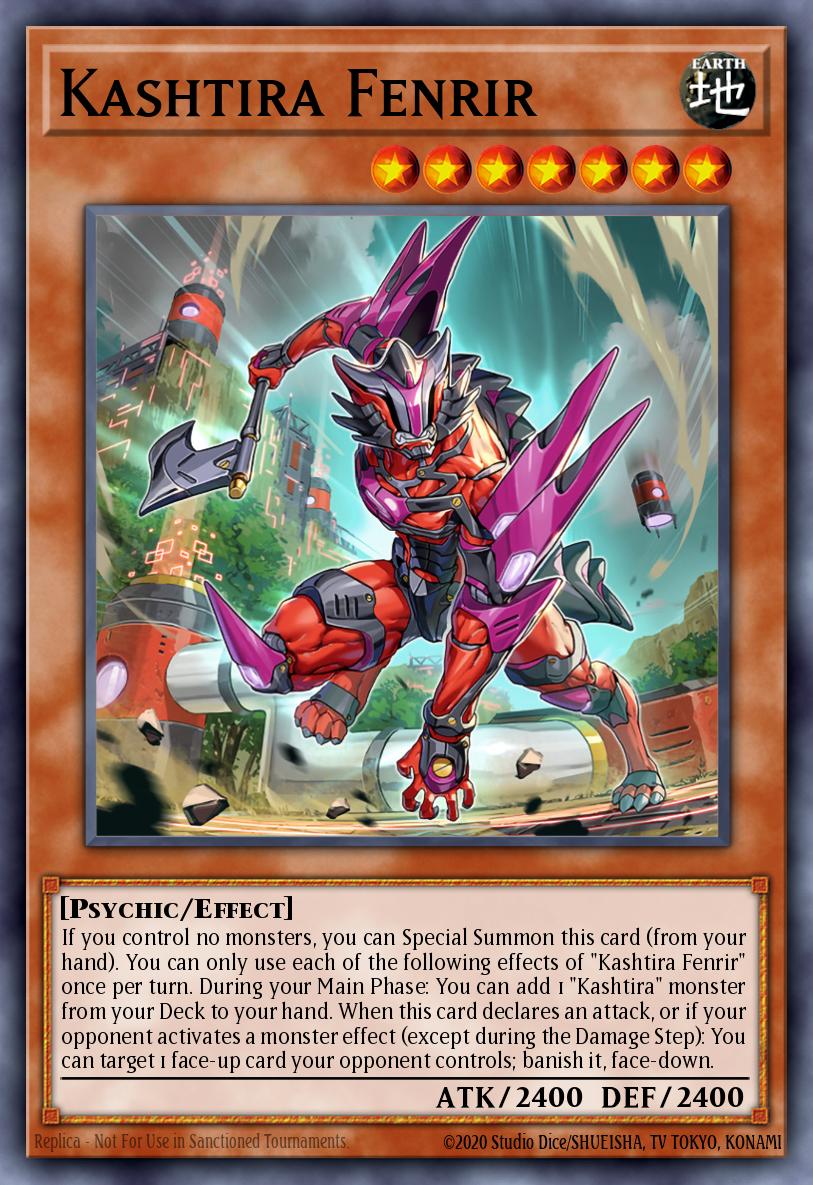
Although King Dempsey 's material requirement is any 2 level 4 monsters, you will not be able to use extenders other than the Battlin' Boxer card family. The reason is that Promoter and Switchitter will not allow you to special summon monsters, other than Battlin' Boxer, during the turn their effect is activated.
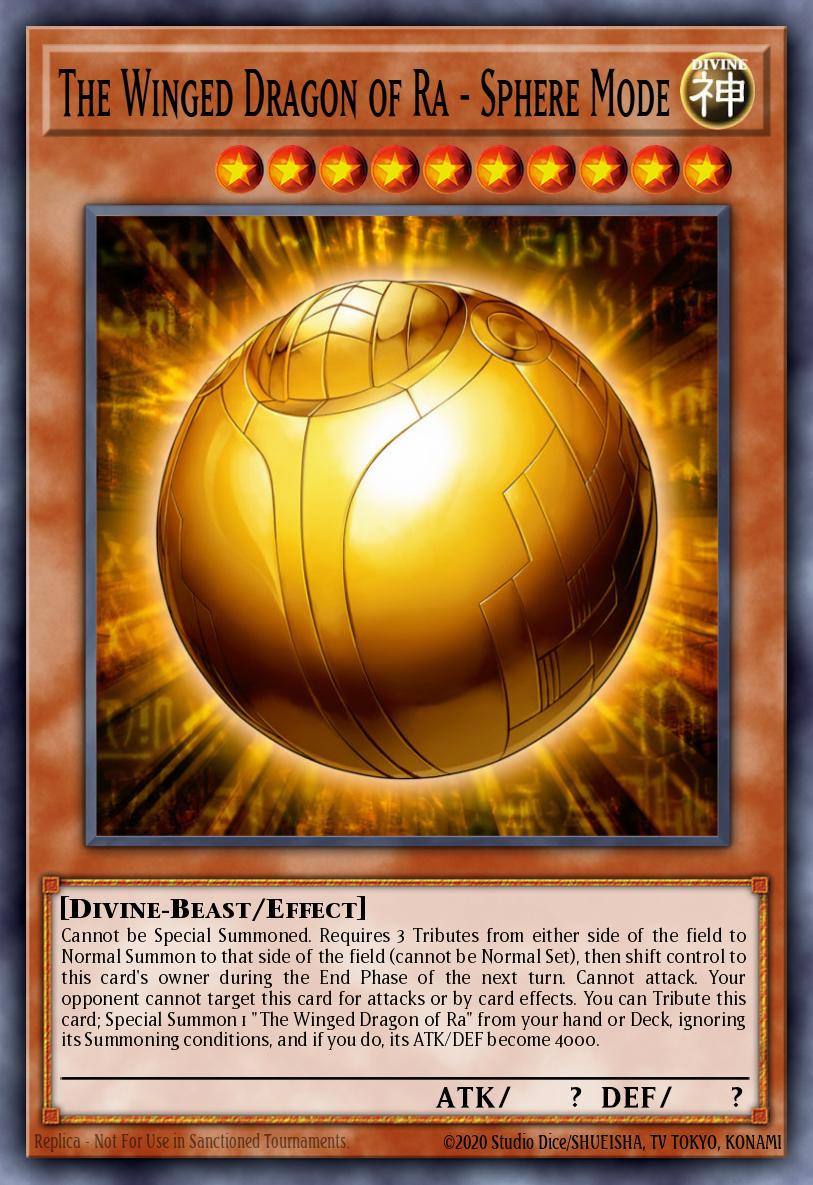
For this reason, break board monsters like Pankratops , Kashtira Fenrir , and Kaiju monsters are very difficult to play with Battlin' Boxer. One option you can play in the Battlin' Boxer deck is Sphere Mode .
Sakitama is a rare monster that can become a backup extender monster for Battlin' Boxer, an effect that allows this monster to be summoned to the field via normal summon rather than special summon.
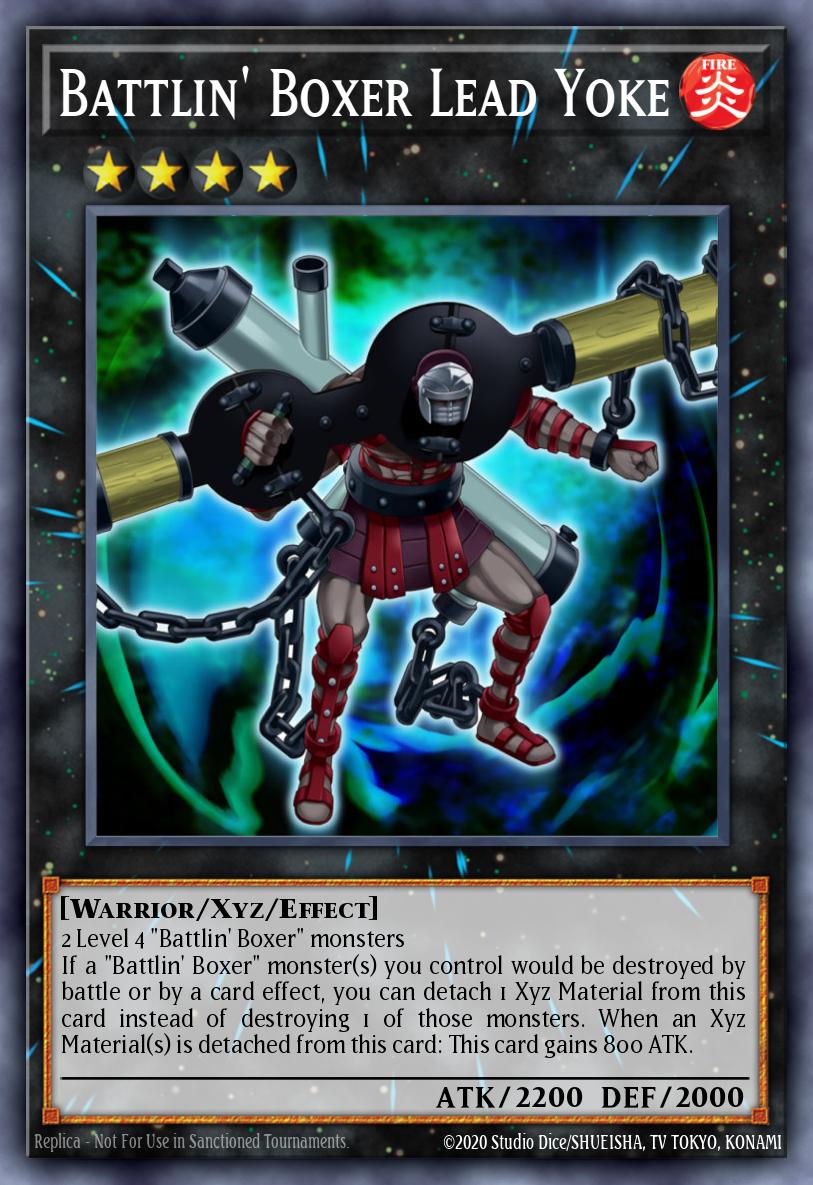
When you need to deal with mass destruction cards like Raigeki , Lead Yoke will help you keep 1 Battlin' Boxer monster on the field. Normally, Battlin' Boxer's combo only has a maximum of 2 xyz monsters when the combo runs out.
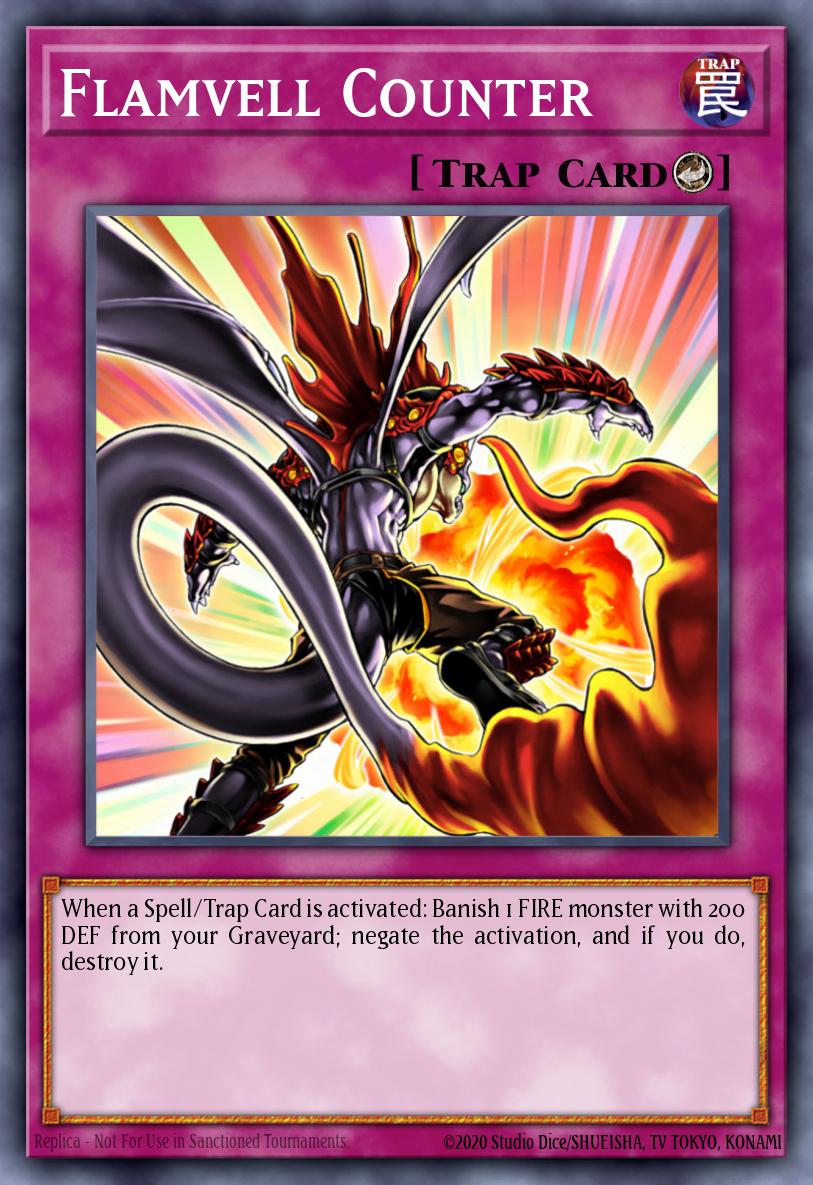
Raigeki or Evenly Matched can be negated with Flamvell Counter , a card searchable with Uppercutter .
Dimensional Barrier is a very difficult card to deal with. What you need to do is focus on breaking your opponent's board that turn with common break board cards. Anyway, the Battlin' Boxer monsters in the main deck hurt a lot.
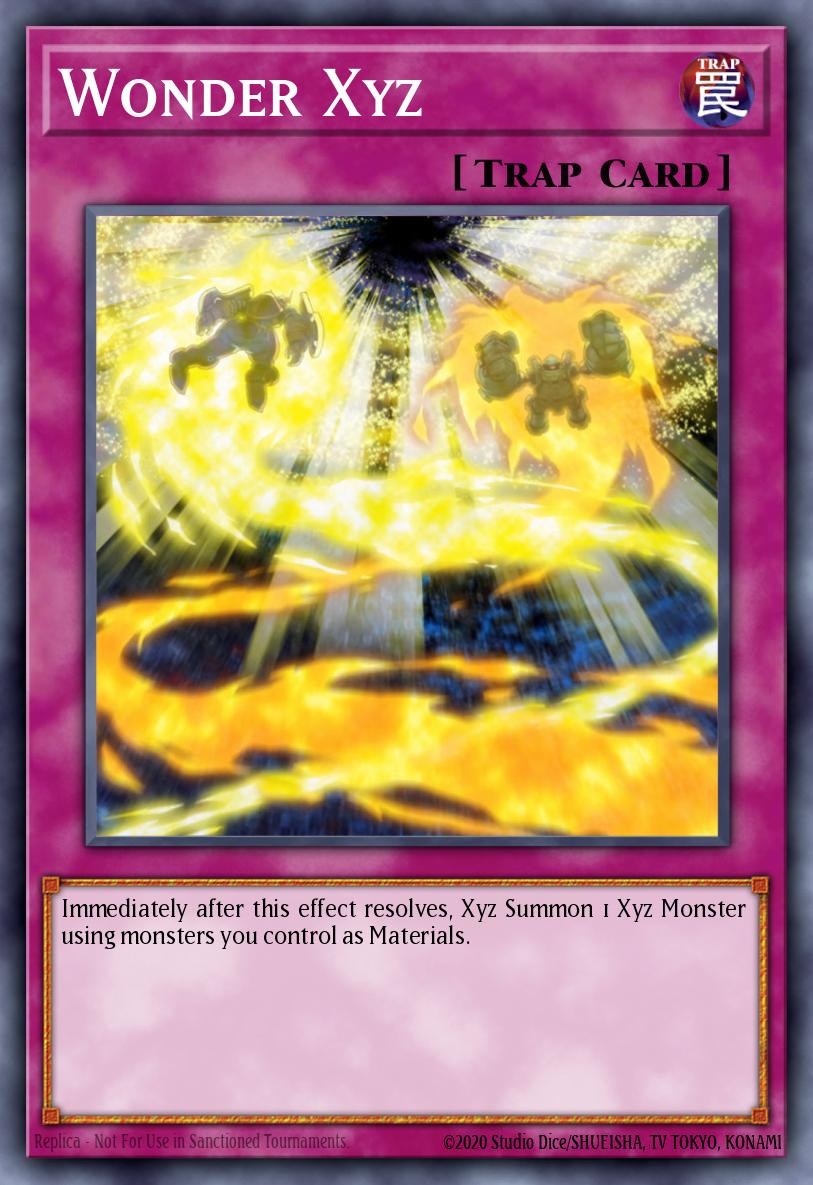
If you can't summon xyz monsters during your turn, you can summon them during your opponent's turn with Wonder Xyz !
The enemy's Nibiru will sometimes help you finish the combo. With a deck that is not able to counter Nibiru like Battlin' Boxer, you need to consider a lot about the deck's combo.
If you end up comboing with 2 xyz monsters on the field, it is likely that your field will be wiped out by Nibiru without any counter ( Crossout Designator ). Even if this archetype has a Cross Counter card with the ability to negate monster effects, it still cannot stop Nibiru because it is a counter trap that requires 1 turn to set first.
A safer combo can be done with 1 or 2 cards that can help you avoid Nibiru or receive the least damage caused by Maxx “C” .
Cards in hand: 1 Promoter
Step 1: Normal summon Promoter .
Step 2: Activate Promoter 's effect, sacrifice Promoter (cost), special summon 1 Uppercutter and 1 Glassjaw from the deck.
Step 3: Activate Uppercutter 's trigger effect, take Flamvell Counter from the deck to your hand.
B4: Summon xyz King Dempsey , using Uppercutter and Glassjaw as materials.
B5: Activate King Dempsey 's trigger effect, take Cross Counter from the deck to your hand.
Step 6: Activate King Dempsey 's quick effect, detach Glassjaw .
B7: Activate Glassjaw 's trigger effect, regain Promoter from grave to hand (with target).
B8: Set Flamvell Counter and Cross Counter from hand. End combo.
After the combo you have:
You only summon 4 monsters so your opponent's Nibiru cannot activate, plus if Maxx "C" prevents your combo, your opponent can only draw 2 cards.
You will use Cross Counter first to send Uppercutter to the grave before you can use Flamvell Counter (because you need Uppercutter in the grave as a cost for this card).
To be able to use Flamvell Counter first, you can use King Dempsey 's quick effect on the opponent's turn before they enter Main Phase, detach Uppercutter to the grave. So you can use both of your couter traps without worrying about the activation order.
When Uppercutter is sent to the grave, you can re-summon the Glassjaw that was detached from the previous turn. Summon Lead Yoke with Cross Counter to avoid Glassjaw 's unnecessary self-destructs during the Battle Phase.
A combo can also be performed with 2 different cards from the 5 cards Chief Second , Sparrer , Sakitama , “Infernoble Arms – Durendal” , any level 4 Battlin' Boxer monster.
Priority to normal summoning Chief Second .
If you have Sparrer , you will prioritize normal summoning the remaining monsters in your hand.
Always activate Sakitama 's effect to create additional normal summons of this monster.
“Infernoble Arms – Durendal” will help you pull up the necessary monster.
With just 2 different cards out of the 5 cards I mentioned above in your hand, you will be able to summon King Dempsey .
Ending the combo early can make the opponent's Nibiru ineligible to activate, Maxx "C" will also only be able to draw 1 or 2 cards.
Of course, your disruption count will be reduced if you fail to summon Uppercutter that turn.
 FIRE
FIRE 4
4ATK:
1600
DEF:
200
If this card is Normal or Special Summoned: You can add 1 "Battlin' Boxer" monster or 1 "Counter" Counter Trap from your Deck to your hand, except "Battlin' Boxer Uppercutter". If this card is sent to the GY by card effect: You can activate 1 of these effects; ● Special Summon 1 "Battlin' Boxer" monster from your GY, except "Battlin’ Boxer Uppercutter". ● Set 1 "Counter" Counter Trap from your GY to your field. You can only use 1 "Battlin' Boxer Uppercutter" effect per turn, and only once that turn.
FIRE
ATK:
2300
DEF:
1600
2 Level 4 monsters Once per turn: You can attach 1 "Battlin' Boxer" monster from your hand or Graveyard to this card as an Xyz Material. This card gains 100 ATK for each Xyz Material attached to it. When this card you control is destroyed by your opponent's card (by battle or card effect) and sent to your Graveyard: You can target Level 4 or lower "Battlin' Boxer" monsters in your Graveyard, up to the number of Xyz Materials this card had on the field; Special Summon those targets.
 DIVINE
10
DIVINE
10ATK:
0
DEF:
0
Cannot be Special Summoned. Requires 3 Tributes from either side of the field to Normal Summon to that side of the field (cannot be Normal Set), then shift control to this card's owner during the End Phase of the next turn. Cannot attack. Your opponent cannot target this card for attacks or by card effects. You can Tribute this card; Special Summon 1 "The Winged Dragon of Ra" from your hand or Deck, ignoring its Summoning conditions, and if you do, its ATK/DEF become 4000.
 Trap
Trap Continuous
Each player can only control 1 monster of each Type. If a player controls 2 or more monsters of the same Type, they must send some to the GY so they control no more than 1 monster of that Type.
Trap Normal
At the end of the Battle Phase, if your opponent controls more cards than you do: You can make your opponent banish cards from their field face-down so they control the same number of cards as you do. If you control no cards, you can activate this card from your hand.
 Spell
Spell Equip
EquipWhile this card is equipped to a monster: You can add 1 Level 5 or lower FIRE Warrior monster from your Deck to your hand, then destroy this card. If this card is sent to the GY because the equipped monster is sent to the GY: You can target 1 Level 5 or lower FIRE Warrior monster in your GY; Special Summon it, also you cannot Special Summon monsters for the rest of the turn, except Warrior monsters. You can only use 1 ""Infernoble Arms - Durendal"" effect per turn, and only once that turn.
Spell Quick
QuickSend any number of other cards from your hand and/or field to the GY; choose that many Effect Monsters your opponent controls, and until the end of this turn, their ATK is halved, also their effects are negated. In response to this card's activation, your opponent cannot activate cards, or the effects of cards, with the same original type (Monster/Spell/Trap) as the cards sent to the GY to activate this card. You can only activate 1 "Forbidden Droplet" per turn.
Spell
QuickDeclare 1 card name; banish 1 of that declared card from your Main Deck, and if you do, negate its effects, as well as the activated effects and effects on the field of cards with the same original name, until the end of this turn. You can only activate 1 "Crossout Designator" per turn.
Spell
QuickTarget 1 monster in your opponent's GY; banish it, and if you do, until the end of the next turn, its effects are negated, as well as the activated effects and effects on the field of monsters with the same original name.
Trap Counter
When a Spell/Trap Card is activated: Banish 1 FIRE monster with 200 DEF from your Graveyard; negate the activation, and if you do, destroy it.
Spell
NormalTo activate this card, you must draw it for your normal draw in your Draw Phase, reveal it, and keep it revealed until the start of Main Phase 1. At the start of your Main Phase 1 that same turn, you can: Special Summon, from your Extra Deck or Graveyard, 1 monster that has a number between "Number 101" and "Number 107" in its name, except "Number C" monsters, then Xyz Summon, from your Extra Deck, 1 "Number C" monster with the same number in its name as the first monster, by using it as the Xyz Material. You can only apply the effect of "Rank-Up-Magic - The Seventh One" once per Duel.
Trap
NormalTarget 1 face-up monster your opponent controls; negate its effects (until the end of this turn), then, if this card was Set before activation and is on the field at resolution, for the rest of this turn all other Spell/Trap effects in this column are negated. If you control no cards, you can activate this card from your hand.
FIREATK:
2300
DEF:
1800
2 Level 4 monsters If this card is Special Summoned: You can take 1 Level 4 or lower FIRE Warrior monster or 1 "Battlin' Boxing" Spell/Trap from your Deck, and either add it to your hand or send it to the GY. (Quick Effect): You can detach 1 material from a monster you control, and if you do, apply the following effect. ● Your opponent cannot target "Battlin' Boxer" monsters you control with card effects for the rest of this turn. You can only use each effect of "Battlin' Boxer King Dempsey" once per turn.
FIRE
4ATK:
1500
DEF:
1400
When this card is Normal Summoned: You can target 1 "Battlin' Boxer" monster in your Graveyard; Special Summon that target. You cannot Special Summon any monsters during the turn you activate this effect, except "Battlin' Boxer" monsters.
 LIGHT
4
LIGHT
4ATK:
400
DEF:
900
Cannot be Special Summoned. Once per turn, during the End Phase, if this card was Normal Summoned or flipped face-up this turn: Return this card to the hand. You can only use each of the following effects of "Sakitama" once per turn. You can reveal this card in your hand; immediately after this effect resolves, Normal Summon 1 Spirit monster from your hand. If this card is Tributed: Target 1 Spirit monster in your GY; add it to your hand.
 WATER
8
WATER
8ATK:
2200
DEF:
3000
You can Special Summon this card (from your hand) to your opponent's field in Attack Position, by Tributing 1 monster they control. If your opponent controls a "Kaiju" monster, you can Special Summon this card (from your hand) in Attack Position. You can only control 1 "Kaiju" monster. When your opponent activates a card or effect, except "Gameciel, the Sea Turtle Kaiju" (Quick Effect): You can remove 2 Kaiju Counters from anywhere on the field; negate the activation, and if you do, banish that card.
 EARTH
3
EARTH
3ATK:
0
DEF:
1800
When a card or effect is activated that includes any of these effects (Quick Effect): You can discard this card; negate that activation. ● Add a card(s) from the GY to the hand, Deck, and/or Extra Deck. ● Special Summon a Monster Card(s) from the GY. ● Banish a card(s) from the GY. You can only use this effect of "Ghost Belle & Haunted Mansion" once per turn.
Trap
ContinuousWhen this card resolves: You can Special Summon 1 "Helios - The Primordial Sun" from your hand or Deck. While this card is face-up on the field, any card sent to the Graveyard is banished instead.
Trap
NormalDeclare 1 monster card type (Ritual, Fusion, Synchro, Xyz, or Pendulum); for the rest of this turn, neither player can Special Summon monsters of the declared type, also negate the effects of all monsters of that type while they are on the field. You can only activate 1 "Dimensional Barrier" per turn.
Spell
NormalTake 1 card from your Deck (either a "Barian's" Spell/Trap, a "Rank-Up-Magic" Quick-Play Spell, or a "Seventh" Spell/Trap except "Seventh Ascension"), and either add it to your hand or place it on top of your Deck. If your opponent controls a monster Special Summoned from the Extra Deck: You can banish this card from your GY and send 1 "Rank-Up-Magic" Spell from your hand to the GY; this effect becomes that Spell's effect when that card is activated. You can only use each effect of "Seventh Ascension" once per turn.
FIREATK:
2200
DEF:
2000
2 Level 4 "Battlin' Boxer" monsters If a "Battlin' Boxer" monster(s) you control would be destroyed by battle or by a card effect, you can detach 1 Xyz Material from this card instead of destroying 1 of those monsters. When an Xyz Material(s) is detached from this card: This card gains 800 ATK.
EARTH
7ATK:
2600
DEF:
0
If your opponent controls more monsters than you do, you can Special Summon this card (from your hand). You can only Special Summon "Dinowrestler Pankratops" once per turn this way. (Quick Effect): You can Tribute 1 "Dinowrestler" monster, then target 1 card your opponent controls; destroy it. You can only use this effect of "Dinowrestler Pankratops" once per turn.
Spell
NormalNegate the effects of all face-up monsters your opponent currently controls, until the end of this turn, also, for the rest of this turn after this card resolves, your opponent takes no damage. Neither player can activate monster effects in response to this card's activation.
FIRE
4ATK:
2000
DEF:
0
When this card is targeted for an attack: Destroy this card. When this card is sent to the Graveyard by a card effect: You can target 1 "Battlin' Boxer" monster in your Graveyard, except "Battlin' Boxer Glassjaw"; add that target to your hand.
EARTH
7ATK:
2400
DEF:
2400
If you control no monsters, you can Special Summon this card (from your hand). You can only use each of the following effects of "Kashtira Fenrir" once per turn. During your Main Phase: You can add 1 "Kashtira" monster from your Deck to your hand. When this card declares an attack, or if your opponent activates a monster effect (except during the Damage Step): You can target 1 face-up card your opponent controls; banish it, face-down.
Spell
NormalIf you control no face-up cards: Activate 1 of these effects; ● Destroy all Attack Position monsters your opponent controls. ● Destroy all Spells and Traps your opponent controls. You can only activate 1 "Lightning Storm" per turn.
LIGHT
11ATK:
3000
DEF:
600
During the Main Phase, if your opponent Normal or Special Summoned 5 or more monsters this turn (Quick Effect): You can Tribute as many face-up monsters on the field as possible, and if you do, Special Summon this card from your hand, then Special Summon 1 "Primal Being Token" (Rock/LIGHT/Level 11/ATK ?/DEF ?) to your opponent's field. (This Token's ATK/DEF become the combined original ATK/DEF of the Tributed monsters.) You can only use this effect of "Nibiru, the Primal Being" once per turn.
FIRE
4ATK:
500
DEF:
2000
During your Main Phase, you can Normal Summon 1 "Battlin' Boxer" monster in addition to your Normal Summon/Set. (You can only gain this effect once per turn.) When an opponent's monster declares an attack, while you control a Warrior or FIRE monster: You can Special Summon this card from your hand, and if you do, negate that attack, then banish 1 monster on the field until the End Phase. You can only use this effect of "Battlin' Boxer Chief Second" once per turn.
FIRE
3ATK:
0
DEF:
1800
When a card or effect is activated that includes any of these effects (Quick Effect): You can discard this card; negate that effect. ● Add a card from the Deck to the hand. ● Special Summon from the Deck. ● Send a card from the Deck to the GY. You can only use this effect of "Ash Blossom & Joyous Spring" once per turn.
 DARK
1
DARK
1ATK:
100
DEF:
100
(Quick Effect): You can discard this card to the GY, then target 1 card in your opponent's GY; banish that target.
LIGHT
1ATK:
0
DEF:
0
During your opponent's Main Phase (Quick Effect): You can send this card from your hand to the GY, then target 1 Effect Monster your opponent controls; negate the effects of that face-up monster your opponent controls, until the end of this turn.
FIRE
4ATK:
1700
DEF:
800
If your opponent controls a monster: You can Special Summon this card from your hand. You can Tribute this card; Special Summon up to 2 "Battlin' Boxer" monsters with different names from your Deck, except "Battlin' Boxer Promoter". You can banish this card from your GY; increase or decrease the Levels of all "Battlin' Boxer" monsters you currently control by 1. You can only use each effect of "Battlin' Boxer Promoter" once per turn, also you cannot Special Summon monsters during the turn you activate any of this card's effects, except "Battlin' Boxer" monsters.
Trap
CounterWhen your opponent activates a monster effect: Destroy 1 "Battlin' Boxer" or "Number" Xyz Monster you control, and if you do, negate the activation, and if you do that, destroy that monster, then you can apply the following effect. ● Special Summon 1 "Battlin' Boxer" Xyz Monster from your Extra Deck with a different name than the first monster, and if you do, attach this card to it as material. You can only activate 1 "Battlin' Boxing Cross Counter" per turn.
FIREATK:
2600
DEF:
2000
3 Level 5 monsters Gains 200 ATK for each material attached to it. Once per turn, when your opponent would Special Summon a monster(s) (Quick Effect): You can detach 2 materials from this card, and if you do, negate the Summon, and if you do that, destroy that monster(s). If this card has "Number 79: Battlin' Boxer Nova Kaiser" as material, it gains this effect. ● Once per turn, when an attack is declared involving your "Battlin' Boxer" monster and an opponent's monster: You can send 1 "Battlin' Boxer" monster from your hand or Deck to the GY, and if you do, attach that opponent's monster to this card as material.
Trap
NormalImmediately after this effect resolves, Xyz Summon 1 Xyz Monster using monsters you control as Materials.
FIREATK:
0
DEF:
1300
2 Level 3 monsters All monsters your opponent controls must attack, if able. While you control another "Battlin' Boxer" monster, your opponent cannot target this card for attacks. When an attack is declared involving another "Battlin' Boxer" monster you control: You can detach 2 Xyz Materials from this card; look at your opponent's hand, then Set 1 Spell Card from their hand to your side of the field.
FIRE
4ATK:
1200
DEF:
1400
If you control a "Battlin' Boxer" monster, you can Special Summon this card (from your hand). If you do, you cannot conduct your Battle Phase for the rest of this turn.


