
Have you noticed that recently there are some decks using level 8 monsters with the ability to massively spam from the grave? They are crowded, difficult to deal with, and when you deal with them, you get hit with some effect and they continue to reappear.
Instructions for playing Horus - Part 3
Sections covered in this guide:
Core deck
You can review Part 1 and Part 2 to learn more about the playing style of this card clan.
Imsety Glory of Horus (Play the maximum amount)
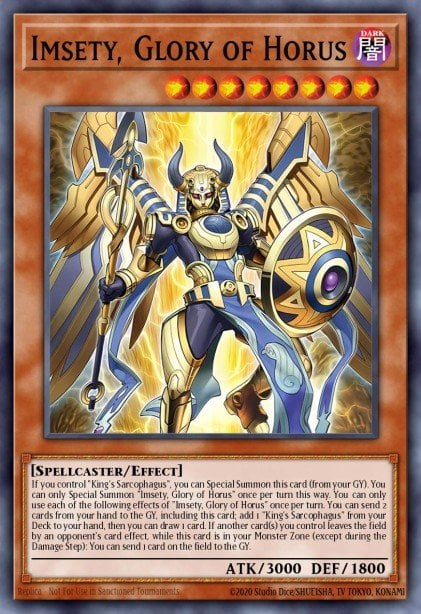
Play maximum Imsety because it is the deck's important searcher.
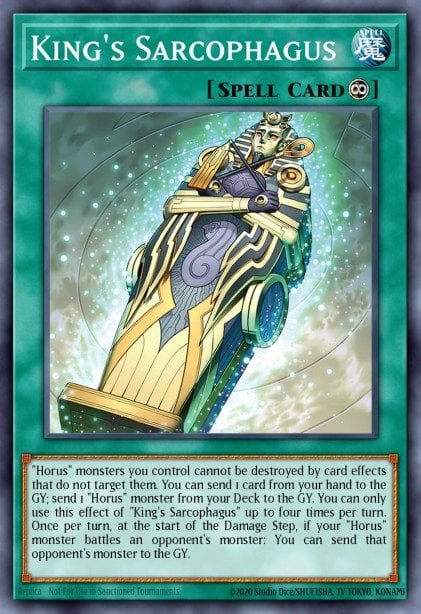
King's Sarcophagus (Play 2 or 3)
Hapi, Guidance of Horus, Qebehsenuef, Protection of Horus, Duamutef and Blessing of Horus (Play 2)
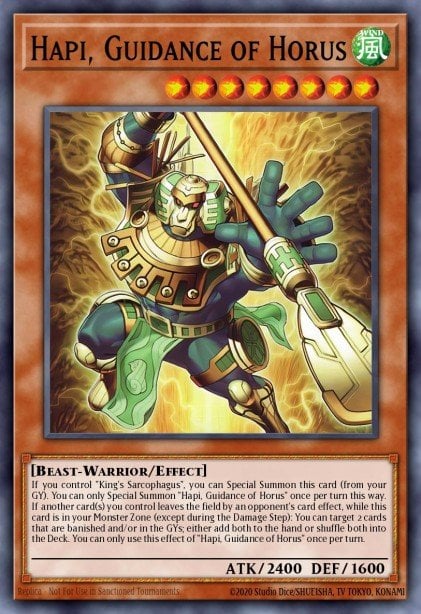
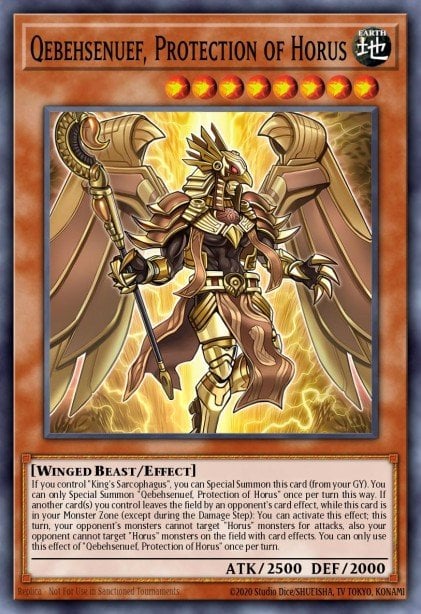
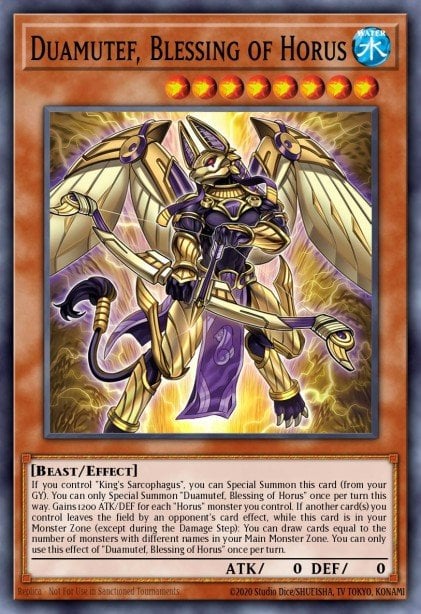
Horus monsters such as Hapi , Duamutef , Qebehsenuef can be played 2 each.
Horus the Black Flame Deity (Play 2)
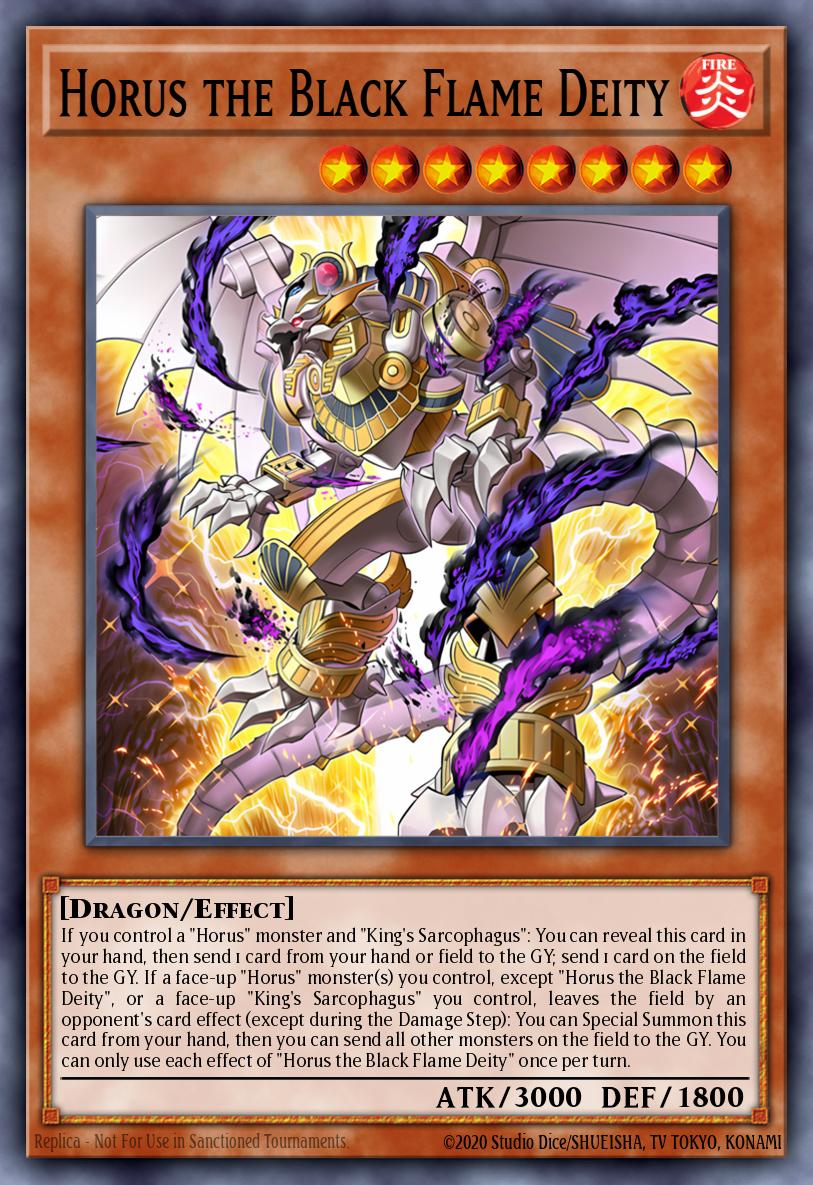
Horus the Black Flame Deity is one of the main monsters in this strategy, a necessary monster in the strategy but this monster should not always appear in hand, playing 2 is a suitable choice. physical.
This monster plays differently than the rest of the Horus monsters because you need this monster in your hand rather than in your grave.
Walls of the Imperial Tomb (Play 2 or 3)
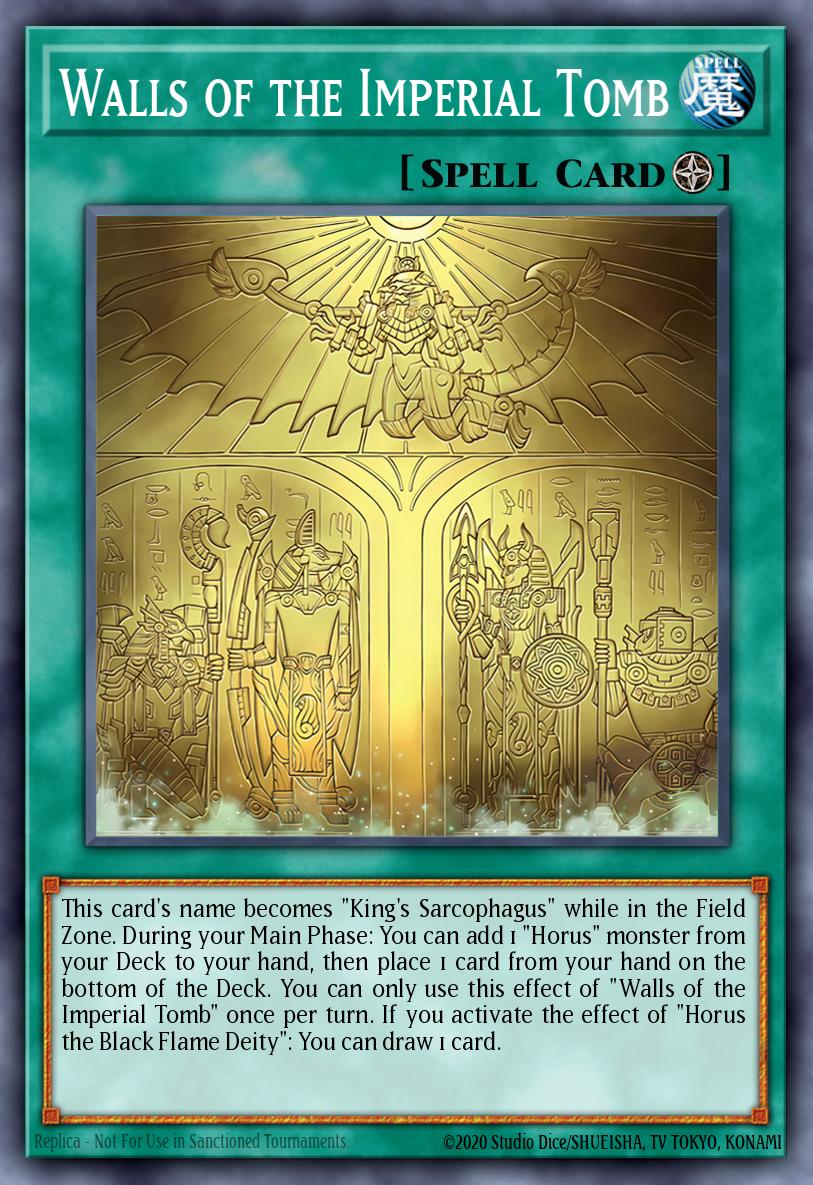
Play 2 or 3 Walls of the Imperial Tomb depending on your play style. The two main targets that this environmental spell card can put in your hand are Imsety and Horus the Black Flame Deity .
Canopic Protector (Play 3)
Canopic Protector should be used 3 in the deck because this card cannot be searched with other Horus cards. This card can be returned face-down from the Graveyard immediately after you use it as a cost for Imsety or King's Sarcophagus .
The deck's gameplay

Main goal of the deck: Get King's Sarcophagus out of the deck and protect this card while on the field.
Spam level 8 monsters
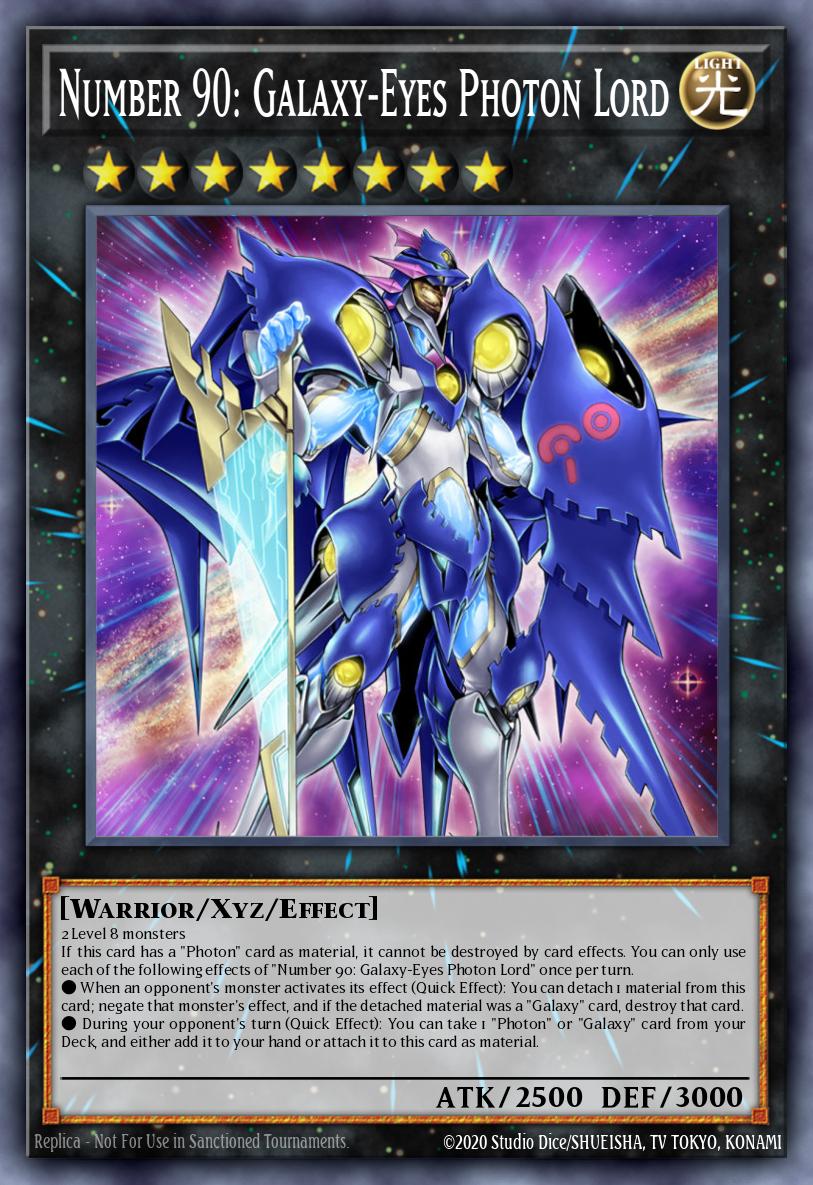
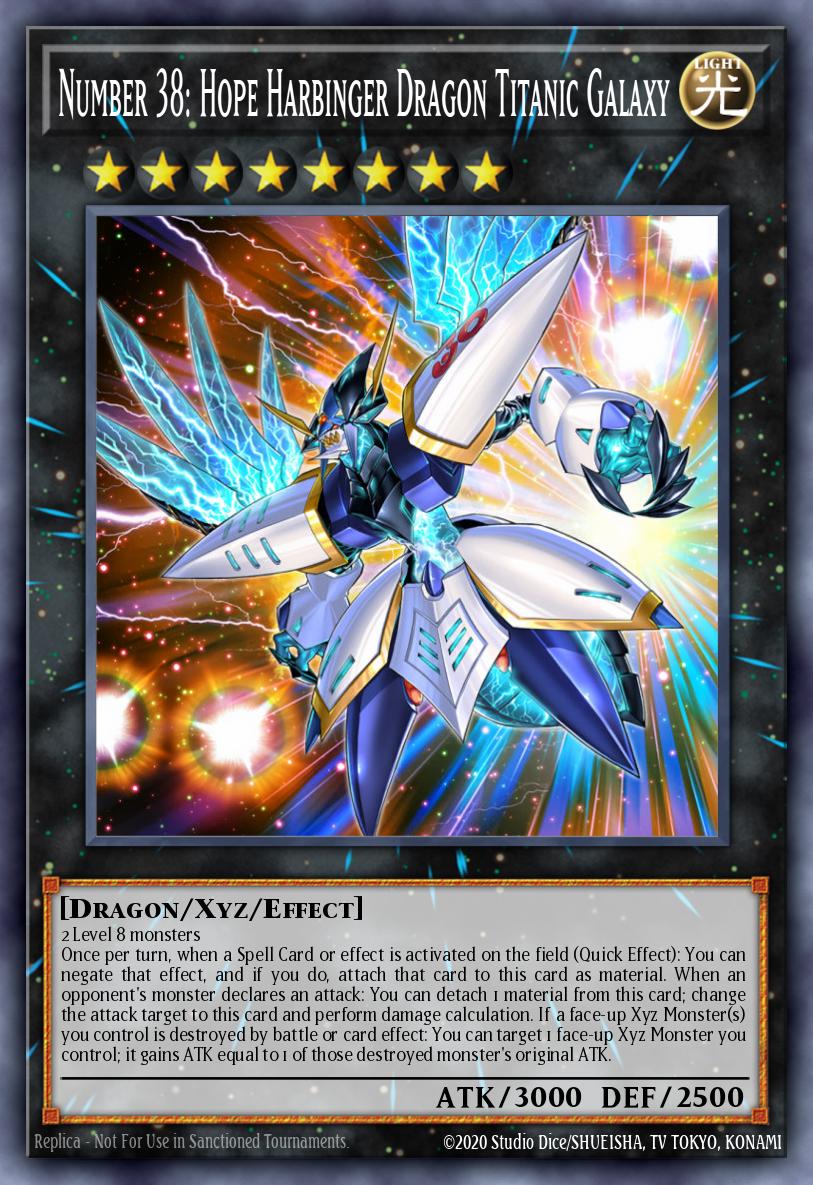
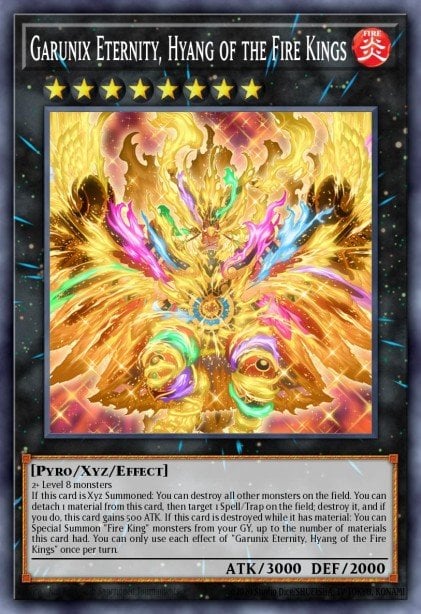
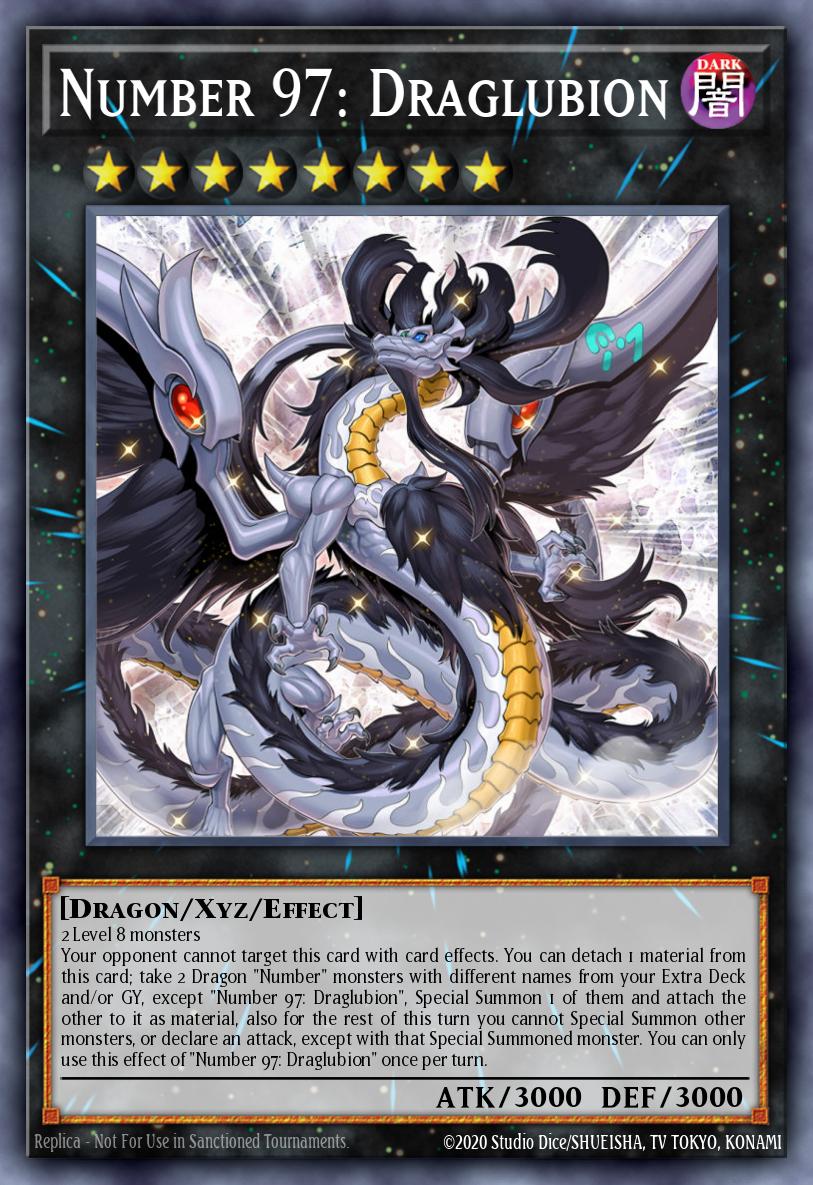
The deck's gameplay when going first is to call xyz 8 monsters to stay on the field using Horus monsters as materials. Number 38 or Number 90 are both the best disruptions and also two large monsters that are difficult to handle by the opponent.
In the next turn, Horus monsters will be revived and attack, bringing the opponent's LP to 0.
Coach King will help you dig up the important pieces of your strategy
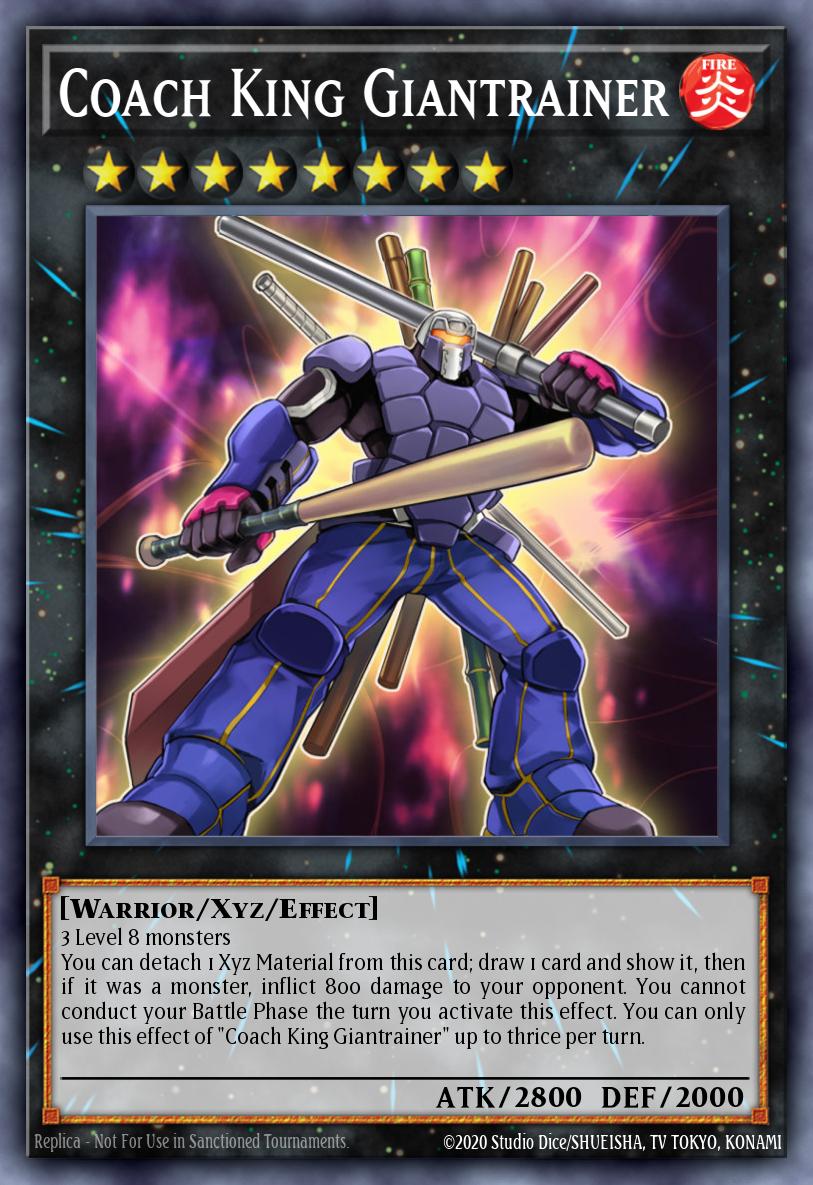
You can play card mining style by summoning Coach King Giantrainer , this monster allows you to draw 3 cards to search for Horus the Black Flame Deity or strong staples of the deck.
The Horus monsters themselves are also disruptions
Leaving Imsety or Hapi on the field with other disruptors on the field can also make it harder for the opponent to deal with when they don't know what to deal with first.
And yet, if your opponent decides to attack Horus monsters, King's Sarcophagus can send them to the grave immediately!!! This card also protects your Horus from being destroyed by effects unless they are targeted (while people prefer non-target effects in the current meta).
Canopic Protector lets you revive Horus monsters from the grave during your opponent's turn. This is a once per chain effect, not once per turn, meaning you can summon all of them that turn. . In return, each monster of the same name can only be summoned once per turn using this effect.
Canopic Protector 's chain of effects immediately after your opponent activates a card or effect causes your card to leave the field so that Imsety or Hapi 's effect can be triggered right in the new chain.
The reason is that these Horus monsters will appear first on the field (because Canopic Protector is resolved at a higher chain link) and "witness" your cards leaving the field with your opponent's effects.
They also cannot be targeted because the moment your opponent uses an effect, these monsters are no longer on the field. If your opponent activates the mass destruction effect, your Horus monsters will be safe thanks to King's Sarcophagus .
Solution when going later
Horus the Black Flame Deity is a good choice for both front and back. When going next, this card can destroy 1 opponent's card with its first effect. If your opponent tries to clear your Horus, Horus the Black Flame Deity will clear all their monsters!!!
If you use the effect while Walls of Imperial Tomb is on the field, you will draw 1 additional card from the deck.
Duamutef is often a forgotten beast until you realize how "muscular" it is.
King's Sarcophagus can help you clear monsters that are difficult to defeat by battle.
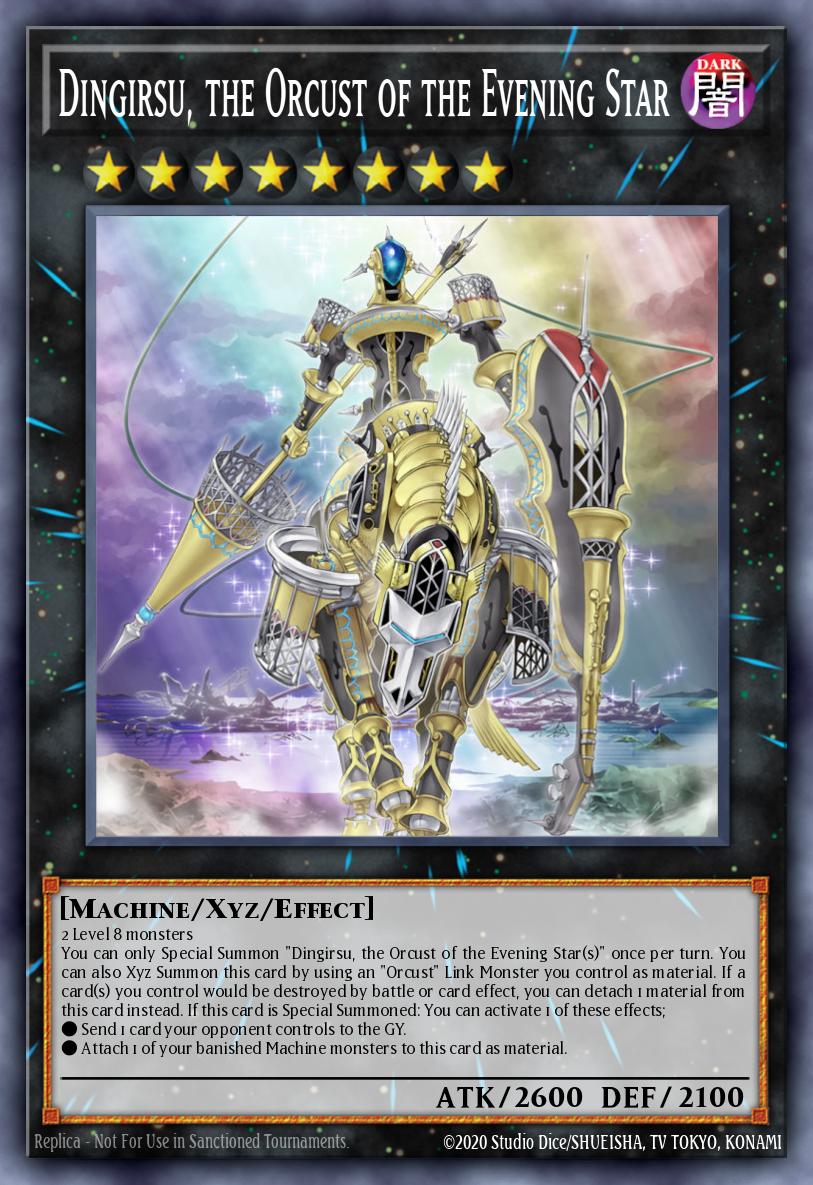
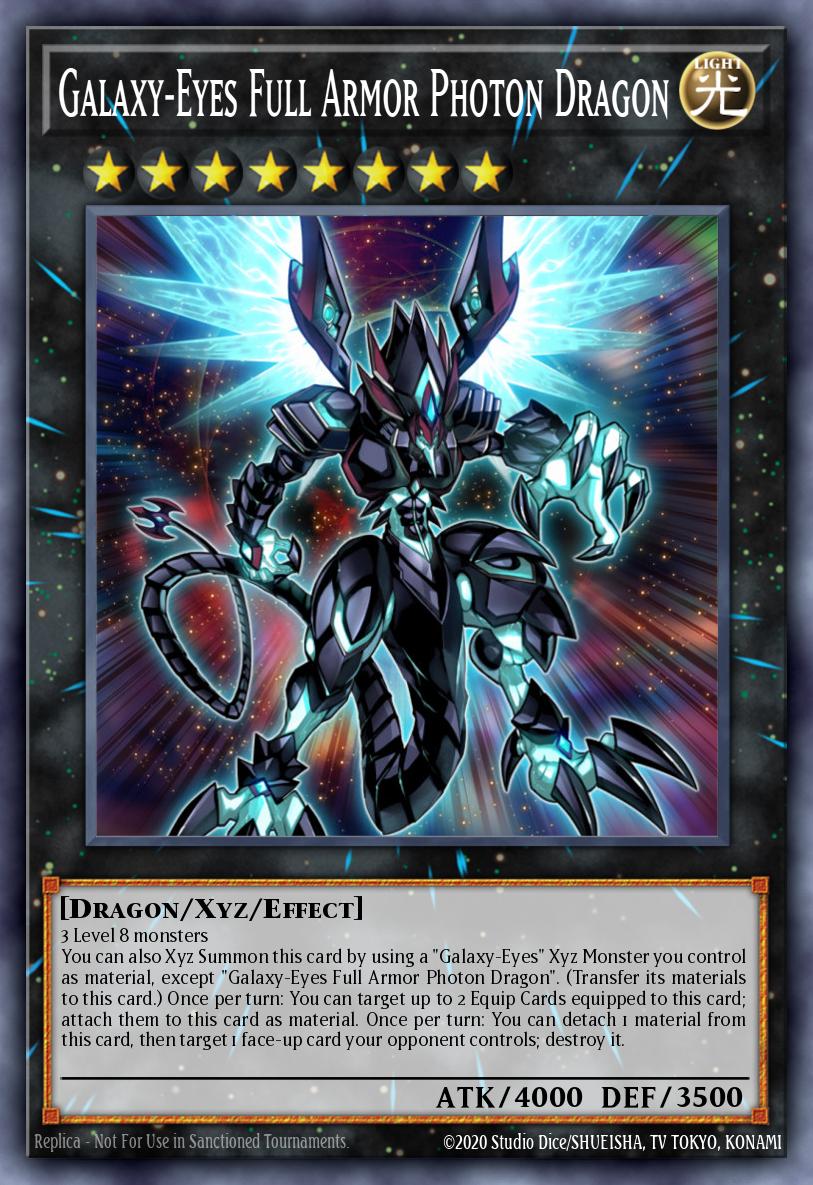
Rank 8 has a variety of break board effects
Necessary staples and engines for the deck
Trade-In (Support drawing cards)
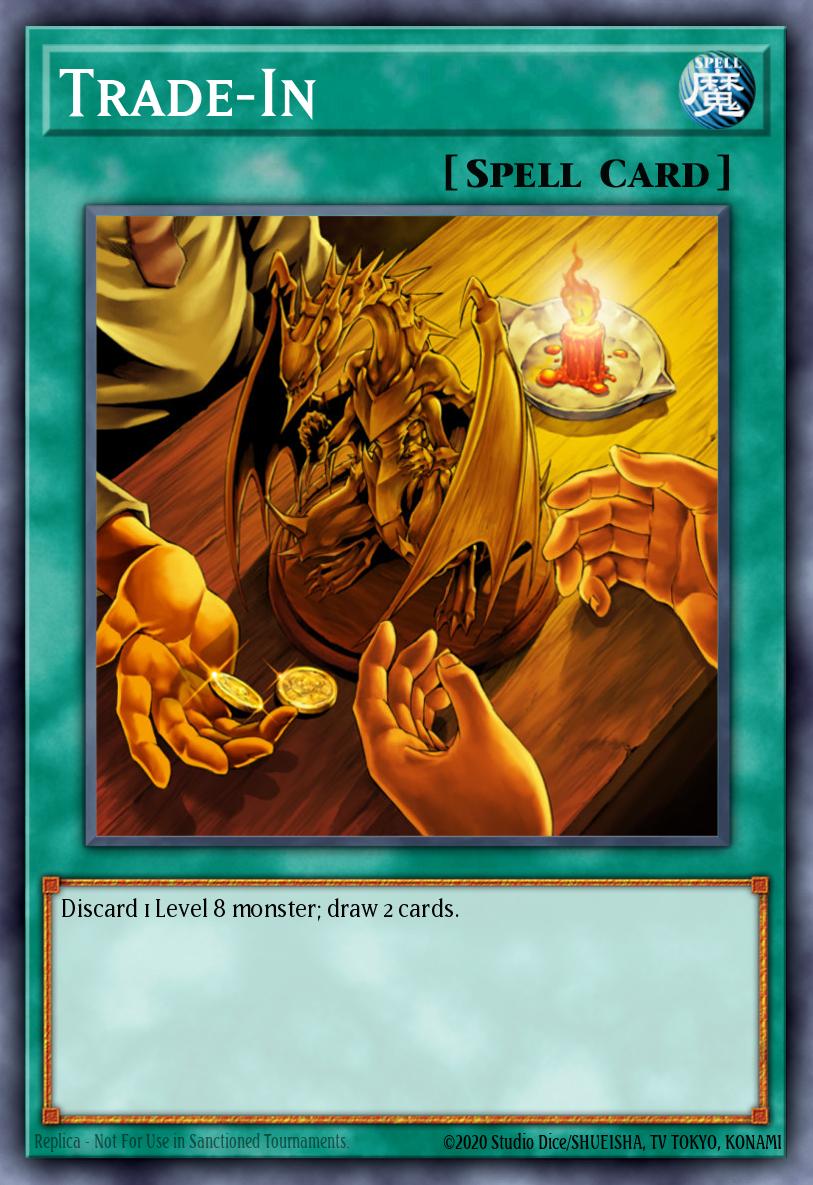
Trade-In is indispensable in strategies with many level 8 monsters. This card can help you filter the cards in your hand by discarding 1 level 8 monster in your hand (cost) to draw 2 cards.
Vision Resonator, Baronne de Fleur and Crimson Gaia (Supports synchro summoning)
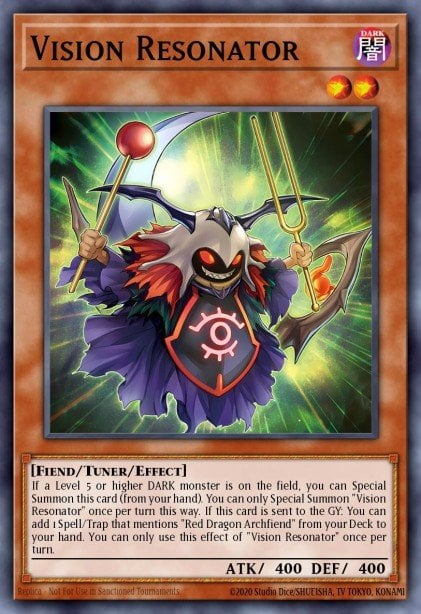
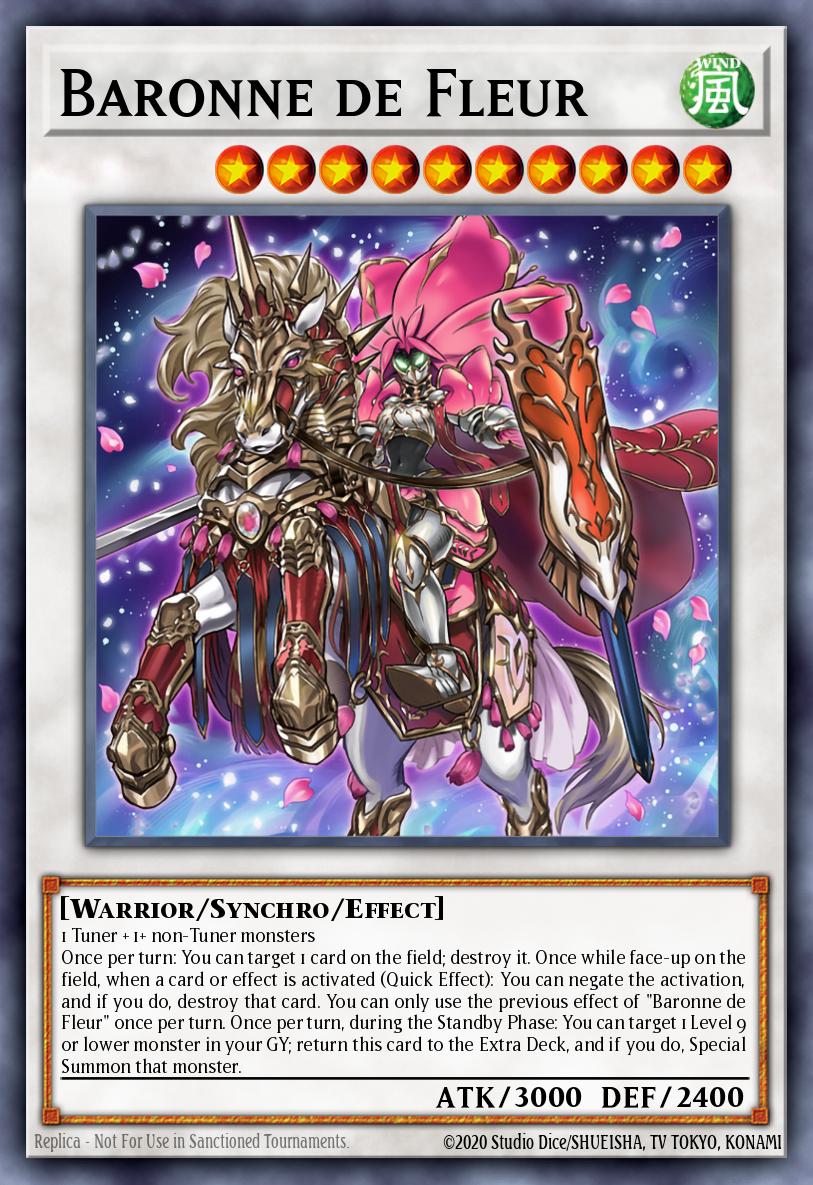
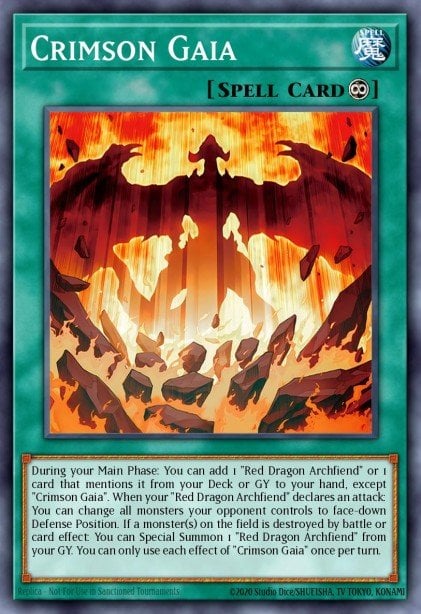
In addition to rank 8 xyz monsters, the deck also has the ability to summon synchro 10 monsters thanks to the Resonator engine (3 Vision Resonator , 1 Crimson Gaia ).
Vision Resonator can be special summoned from the hand if there is a level 5 DARK monster or higher on the field ( Imsety ). You can only summon Vision Resonator this way once per turn.
Crimson Gaia can be added from the deck to the hand using Vision Resonator 's trigger effect when this monster is sent to the grave. This card allows you to get 1 Vision Resonator from the deck or grave once per turn. Monsters added to the hand can be used for normal summons to upgrade synchro monsters 10, 12 or link monsters depending on the situation, or can also be used to pay the cost of effects that require discarding. cards in hand ( King's Sarcophagus ).
Deep Sea Diva (Option for normal summon)
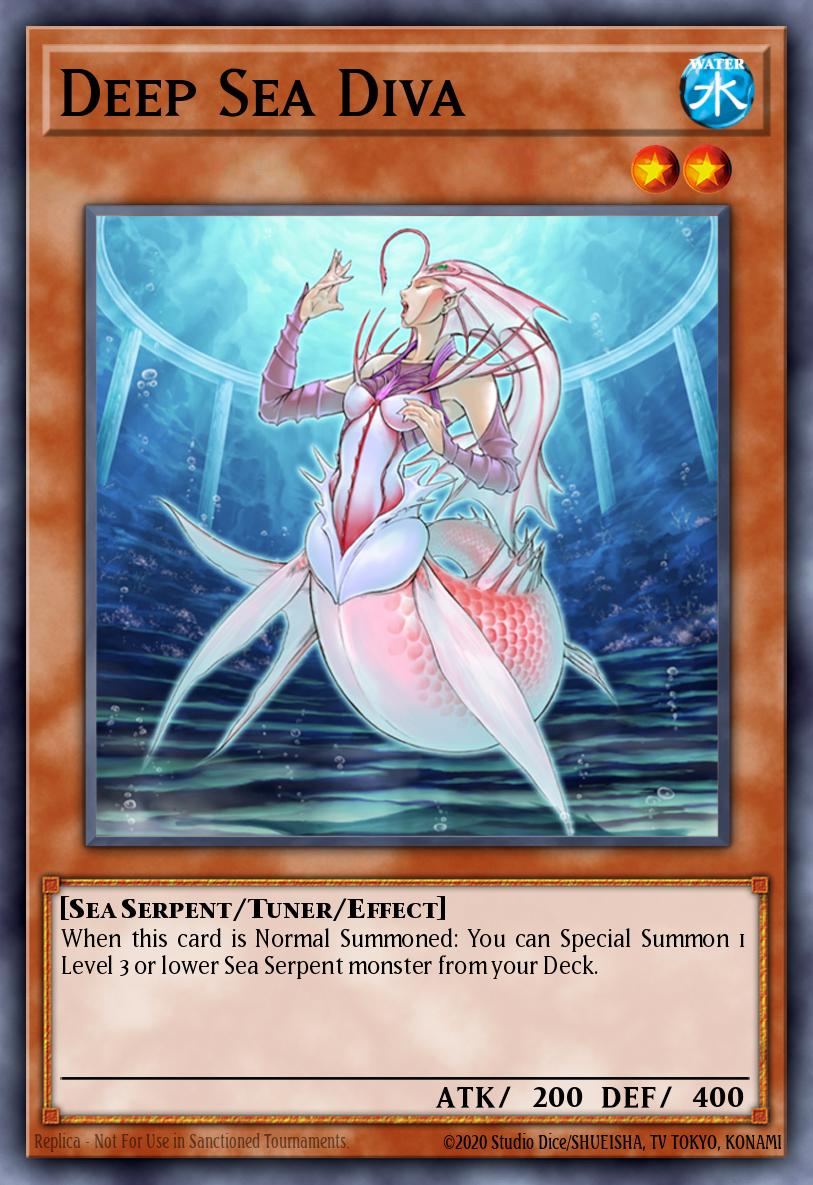
In addition to the Resonator engine, you can use the Deep Sea Diva engine (3 Deep Sea Diva ) to summon more synchro or link monsters from the extra deck. You can take advantage of the normal summon during your turn to summon Deep Sea Diva and use this monster's effect to summon another Deep Sea Diva from your deck.
Blackwing - Sharnga the Waning Moon and Blackwing Full Armor Master (Build a tower and bombard it )
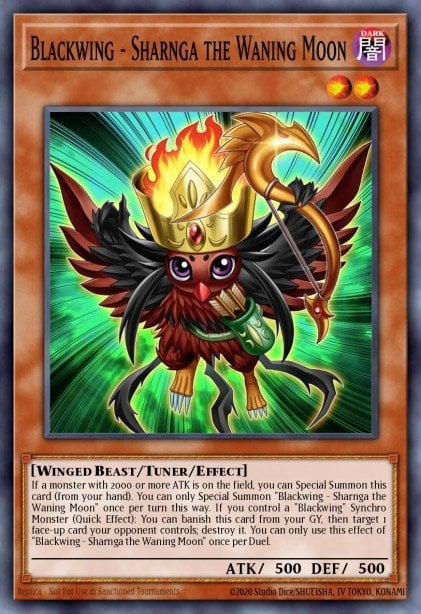
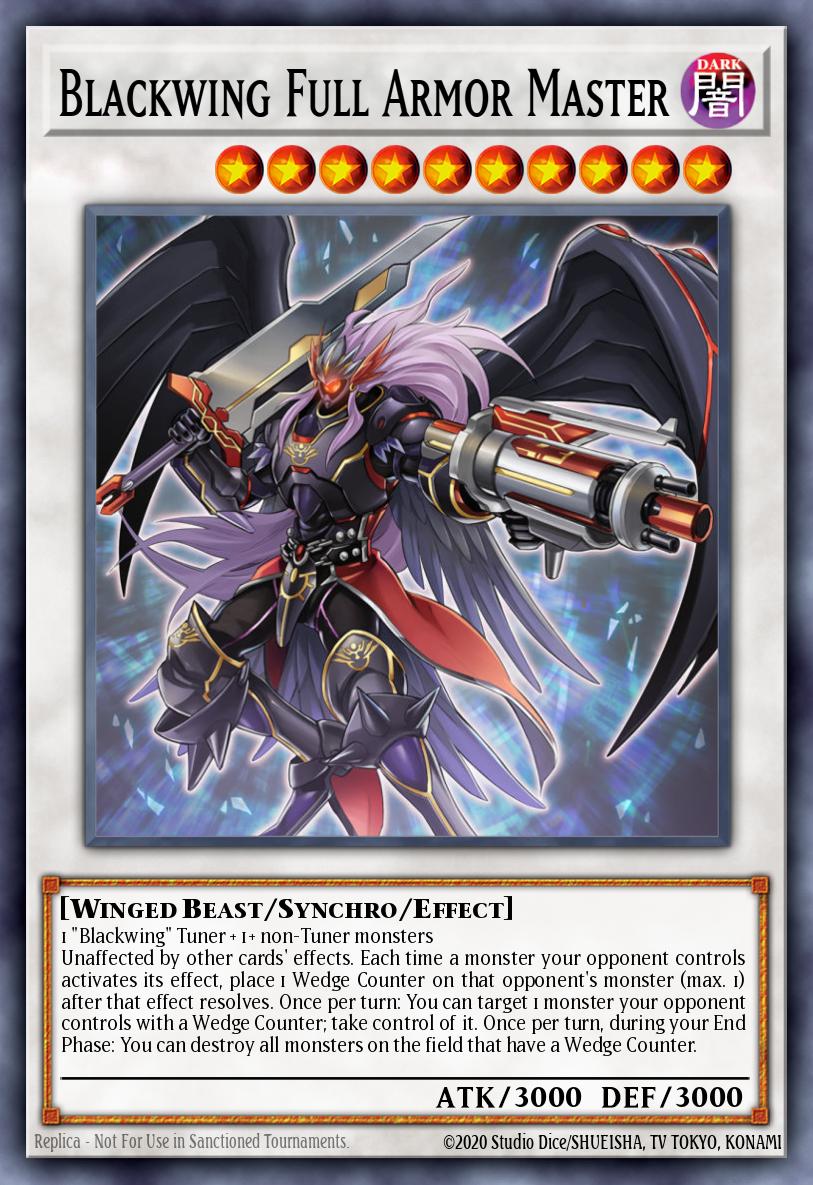
Blackwing – Sharnga the Waning Moon can be summoned from the hand if there is a monster with 2000 ATK or more on the field.
Blackwing – Sharnga the Waning Moon can combine with a Horus monster to synchro summon Blackwing Full Armor Master , a monster with an effect that is immune to other effects and can change control or destroy its monster. enemy.
Furthermore, when Blackwing – Sharnga the Waning Moon is in the grave and Blackwing Full Armor Master is on the field, you can target and shoot 1 face-up card of your opponent by removing Blackwing – Sharnga the Waning Moon from the grave (cost).
Crystal Beast engine
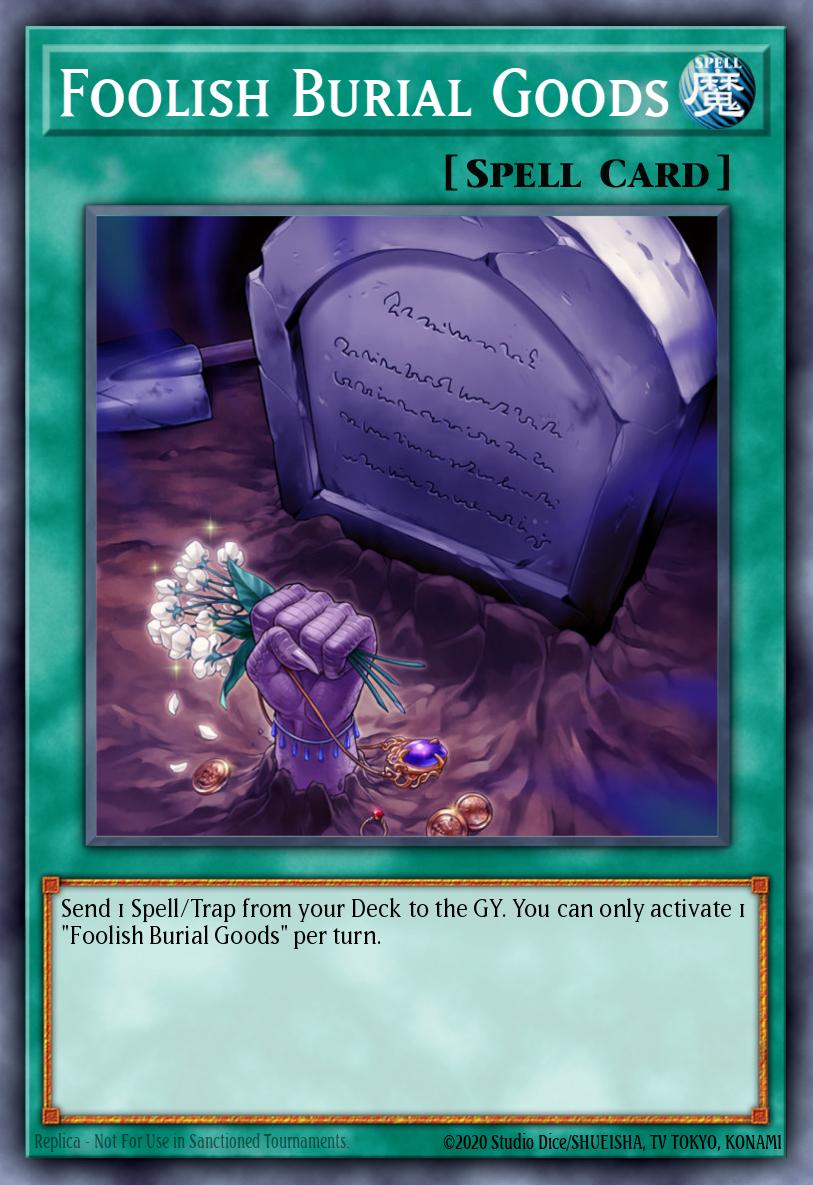
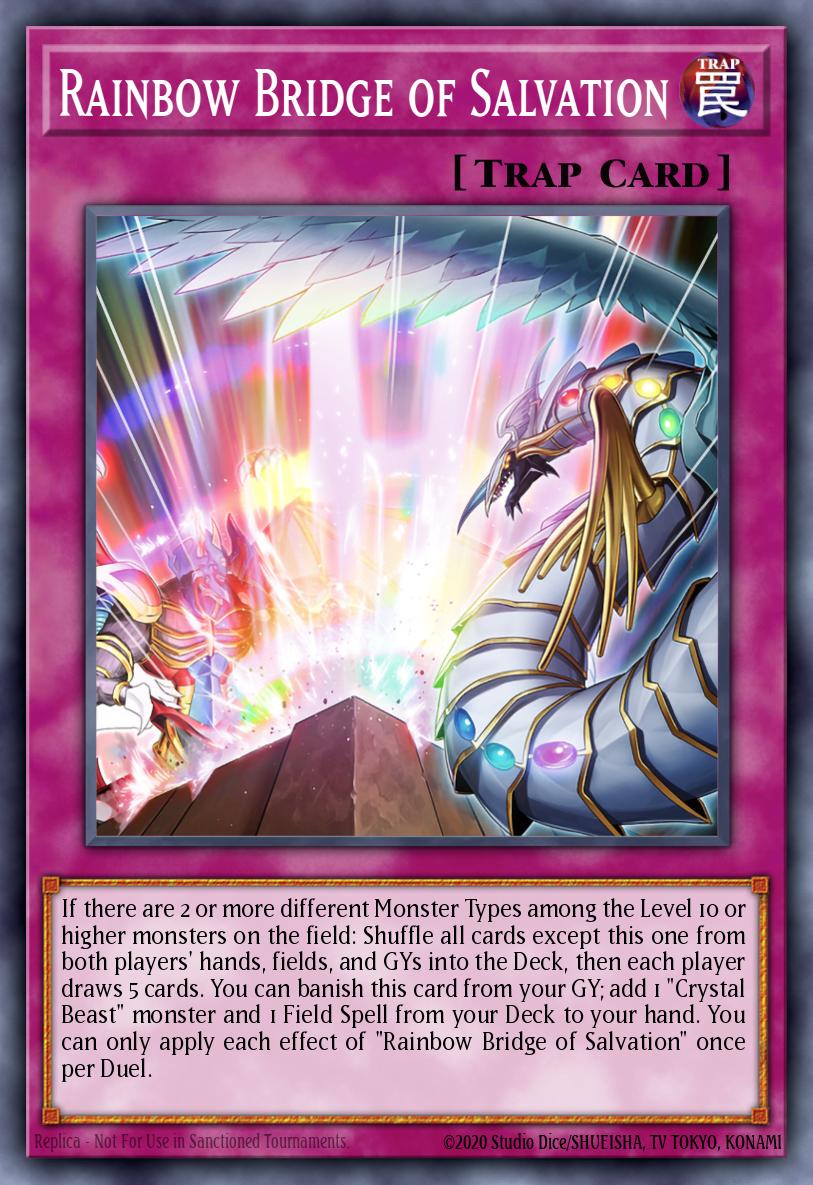
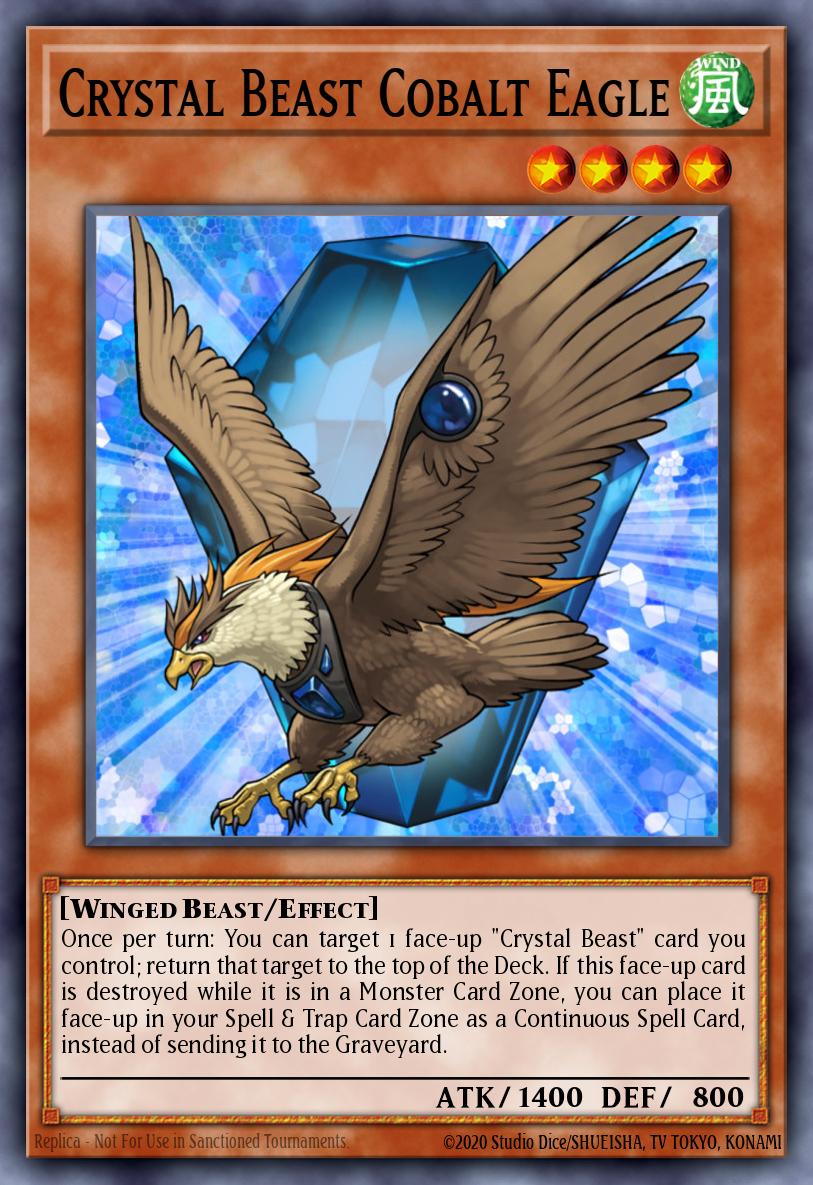
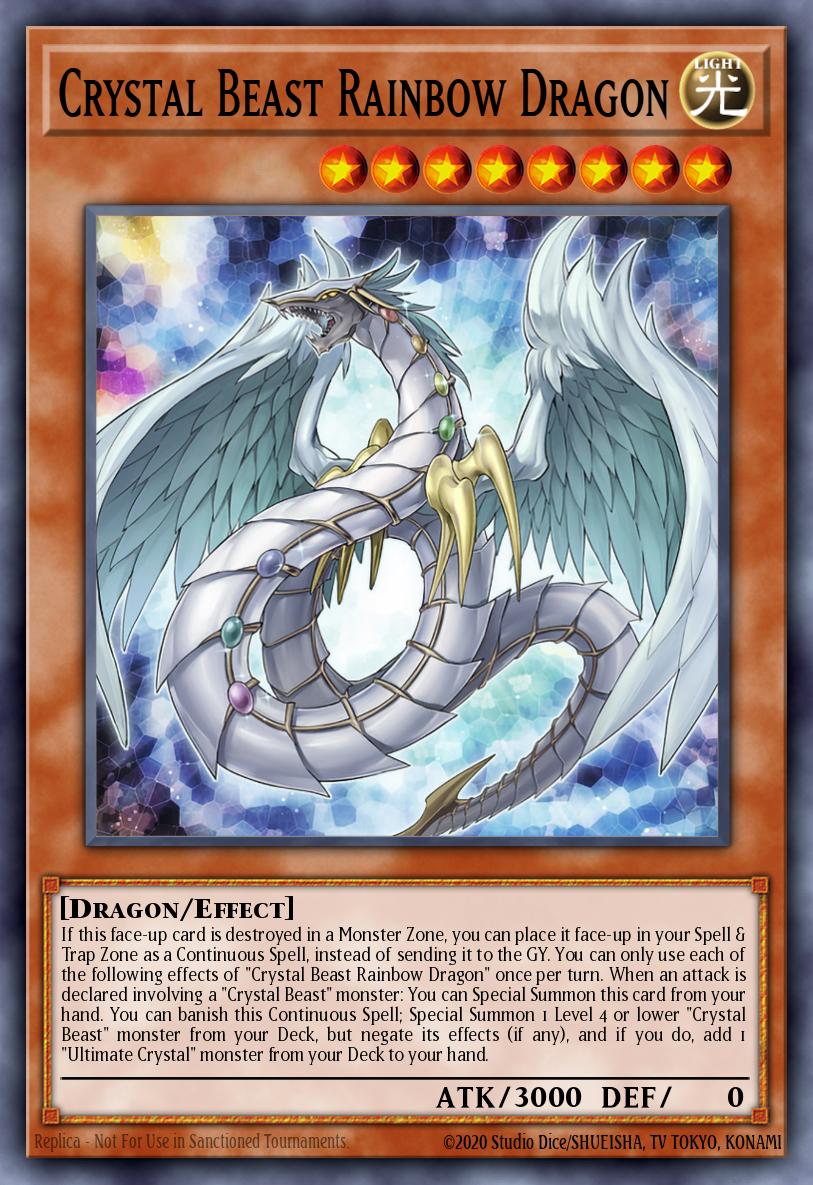
Using the Rainbow Bridge of Salvation engine can help the deck pull up the deck's important environmental spell card, Walls of the Imperial Tomb .
Engine includes:
- Rainbow Bridge of Salvation (3 or 2);
- Crystal Beast Rainbow Dragon (2 or 1);
- Crystal Beast Cobalt Eagle (1 or 0);
- Foolish Burial Goods (3 or 2).
The main purpose of this engine is to search for environmental magic cards you want.
B1: Use Rainbow Bridge of Salvation 's grave effect to search Walls of the Imperial Tomb on your hand.
Step 2: Activate Walls of the Imperial Tomb and search for Imsety on your hand.
B3: Activate Imsety 's effect, get King's Sarcophagus in your hand and perform Horus's combos.
This engine can help you get environmental spells very quickly instead of Terraforming being limited to only 1. Foolish Burial Goods are used in this engine with the purpose of sending Rainbow Bridge of Salvation from the deck to the grave (effectively). The search effect can only be activated when this card is in the grave!), in addition, you can also add 1 Crystal Beast monster from your deck to your hand.
This engine has an extremely fatal weakness, which is in the Crystal Beast monsters. They do not have any effect if you draw them and Rainbow Bridge of Salvation may become useless because the Crystal Beast monster search effect is a mandatory effect you use when you want to get a lip spell card. school up.
In other words, to use this effect of Rainbow Bridge of Salvation , there must be at least 1 Crystal Beast monster in the main deck when activating and resolving the effect.
Playing 2 Crystal Beast Rainbow Dragon can make the engine "live" if you draw 1 Crystal Beast Rainbow Dragon because there is still 1 Crystal Beast Rainbow Dragon in the deck. This monster can be used to pay the cost of Trade-In or King's Sarcophagus .
Utilize normal summons during your turn (Horus does not consume normal summons during your turn) to summon Cobalt Eagle . This monster can push itself back into the deck to help Rainbow Bridge of Salvation activate its effect if you draw Cobalt Eagle .
Rainbow Bridge of Salvation, Baronne de Fleur and Barricadeborg Blocker (How to deal with useless cards from the Crystal Beast engine)
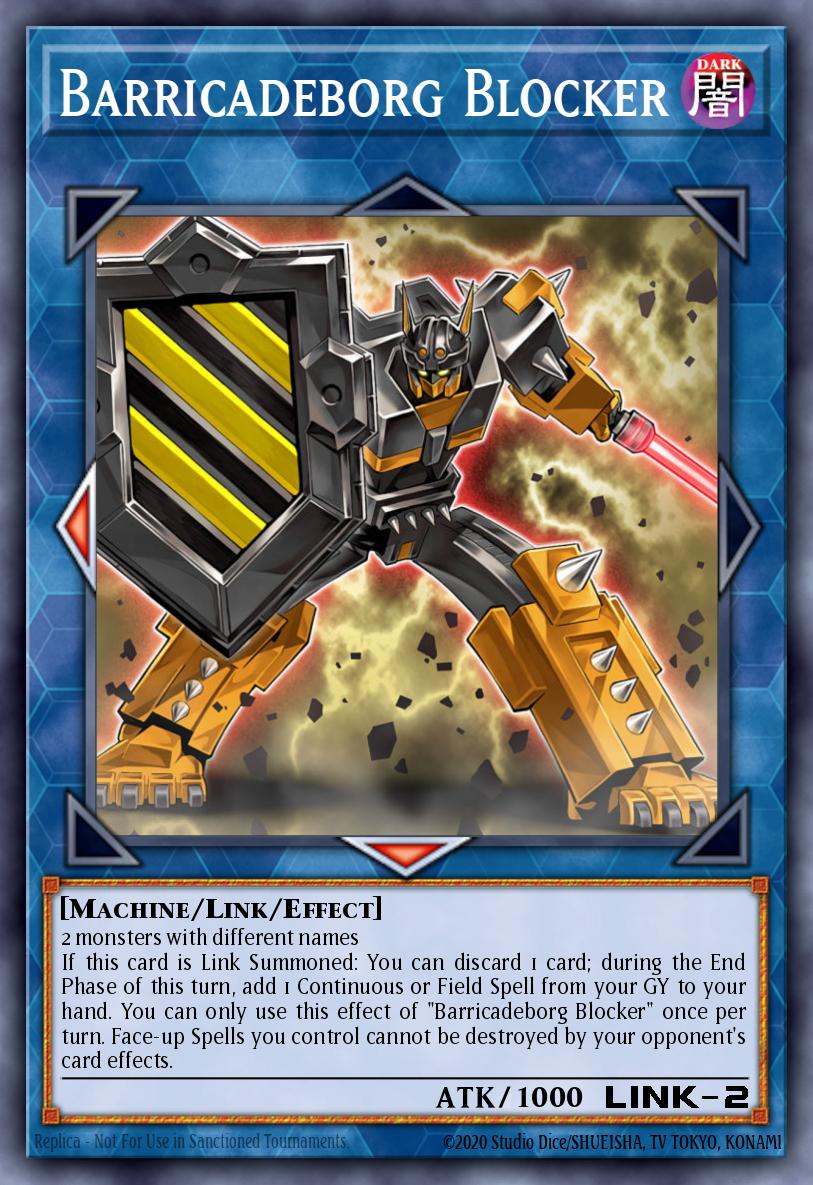
A situation that can be quite difficult to handle is when you draw Rainbow Bridge of Salvation to your hand, this card is often sent directly from the deck to the grave thanks to Foolish Burial Goods .
In the Horus deck, one of the ways for you to move cards from hand to grave is through King's Sarcophagus or Imsety , however this is a bit unreasonable because the ultimate purpose of this engine is to search for King's Sarcophagus in your hand.
In this situation, you can use the effect of Baronne de Fleur , this monster has an effect that allows you to target and destroy 1 card on the field.
Another monster that can better handle this situation is Barricadeborg Blocker , the summoning condition of this monster is 2 monsters with different names. You can use Rainbow Bridge of Salvation to pay the cost, and at the end of your turn you will regain 1 continuous spell or field spell from your grave to your hand. Furthermore, when Barricadeborg Blocker is on the field, this monster can protect your King's Sarcophagus and Walls of the Imperial Tomb from being destroyed by the opponent.
Light and Darkness Dragon and Mausoleum of the Emperor (Boss trong main deck)
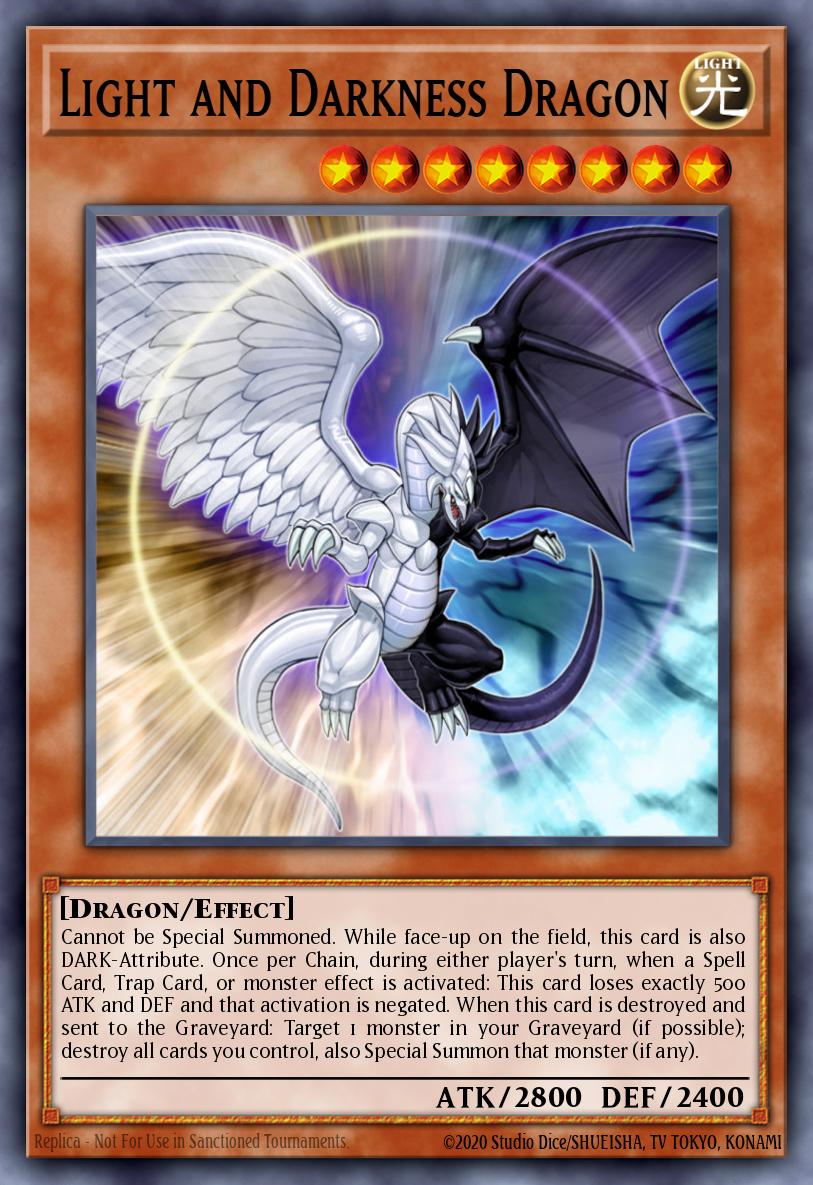
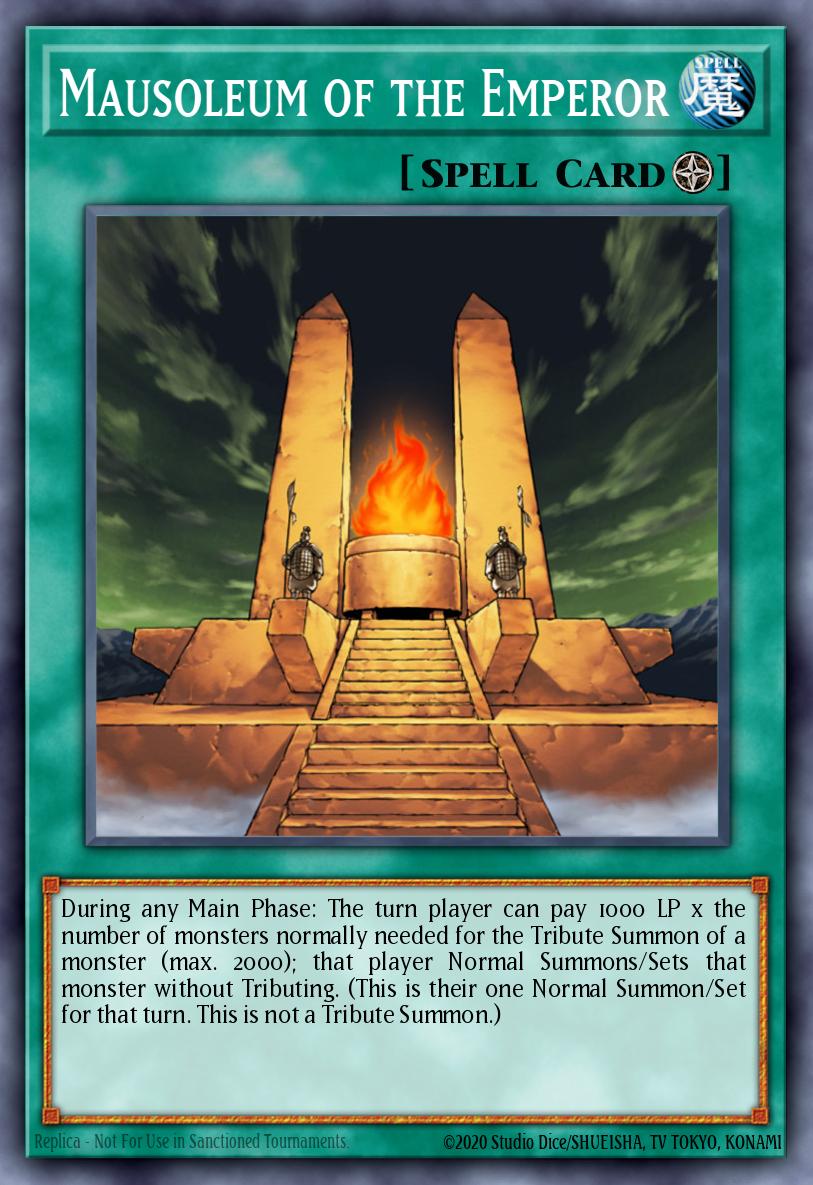
In addition to the bosses called from the extra deck, Horus can be played with a main monster of the main deck that has been feared by many duelists in the past, which is Light and Darkness Dragon .
Light and Darkness Dragon is a level 8 monster and must be normal summoned (cannot be special summoned), completely consistent with Horus's current strategy. Each time 1 chain, when a spell/trap card or monster's effect activates, Light and Darkness Dragon will automatically activate an effect that negates that activation and this monster loses exactly 500 ATK/DEF . Light and Darkness Dragon 's disabling ability does not occur once per turn, but can be activated up to 4 times.
Of course, in most cases, you will not use 2 monsters to summon and sacrifice this monster. Instead, we will use the effect of the environmental magic Mausoleum of the Emperor . This card will help you to normal summon Light and Darkness Dragon by paying 2000 LP instead of 2 sacrifices for the summon of this monster. Mausoleum of the Emperor is also another search target for Rainbow Bridge of Salvation besides Walls of the Imperial Tomb .
Several link monsters can be used
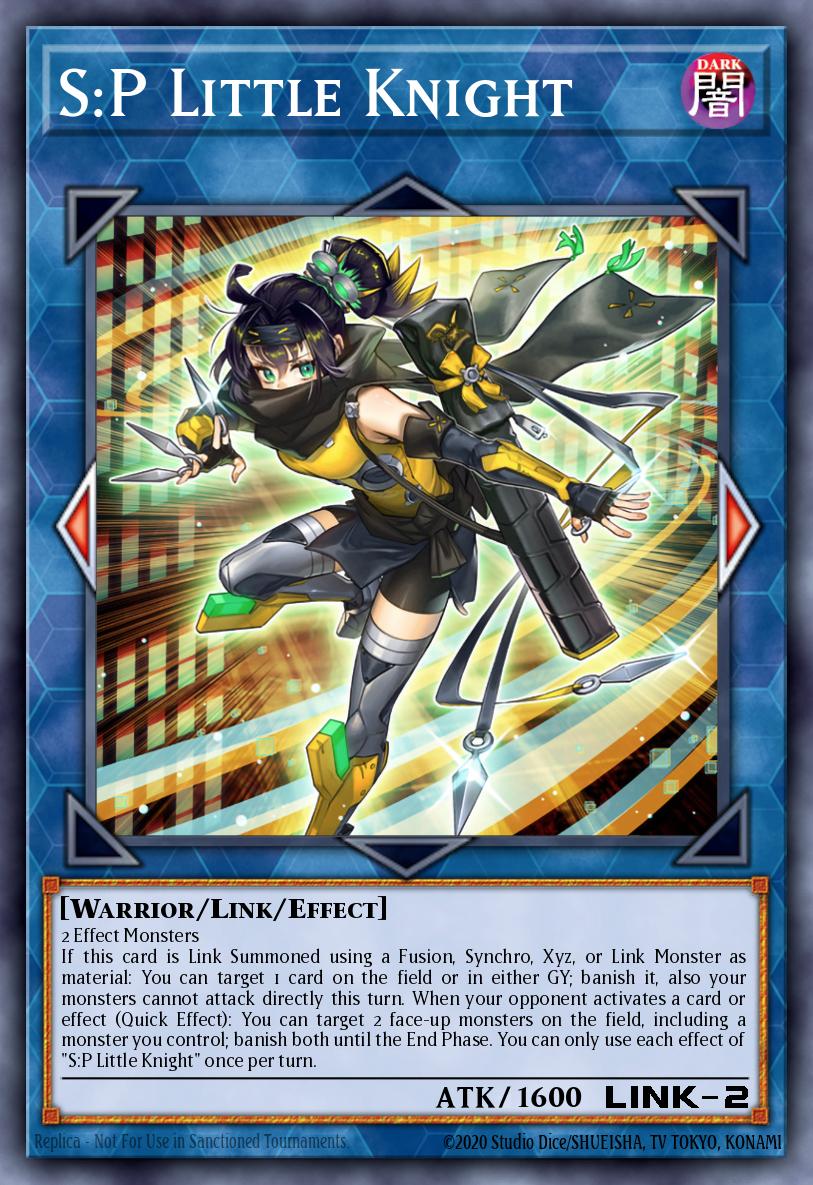
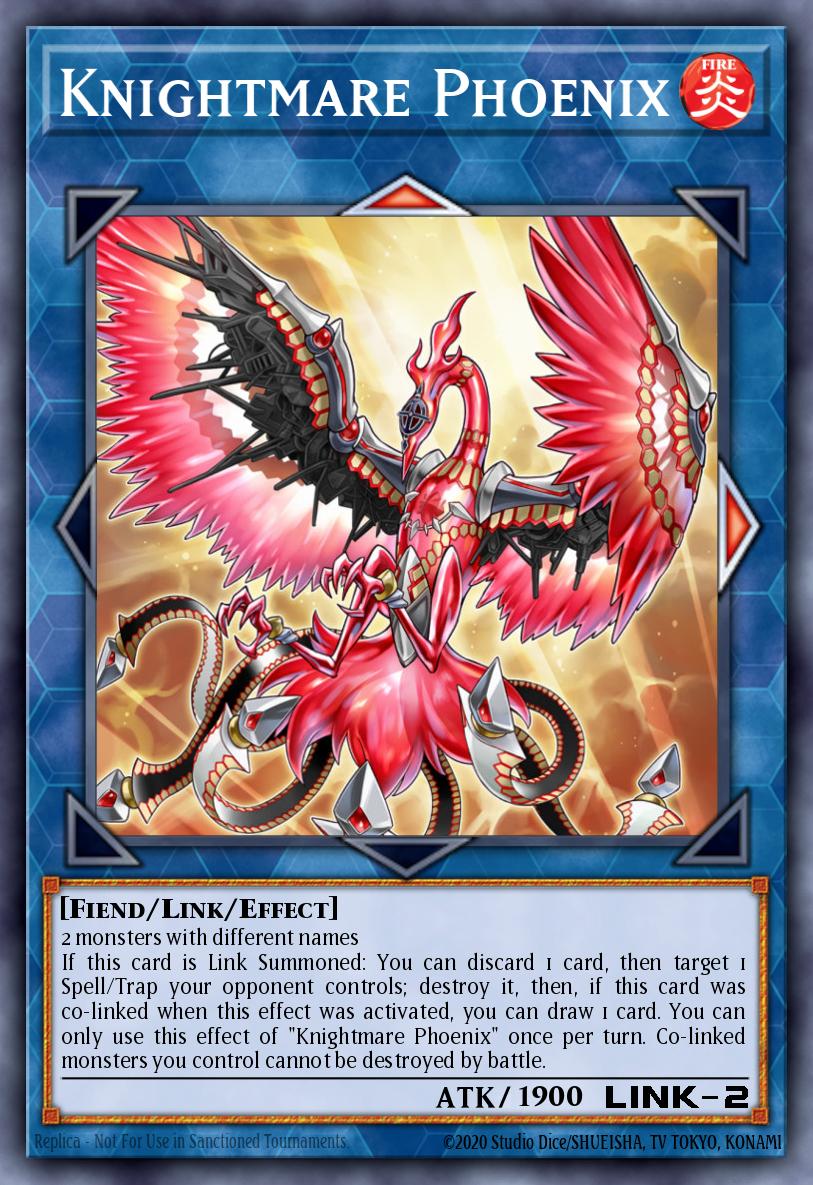
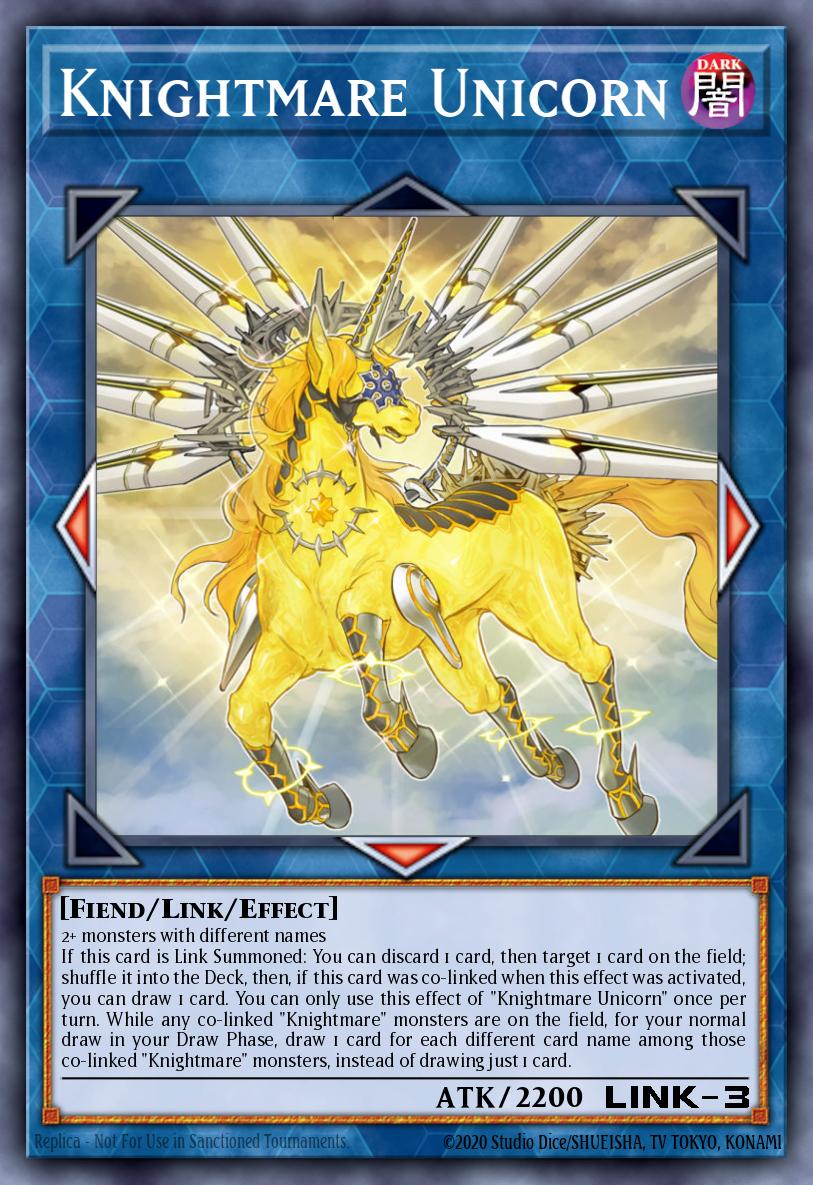
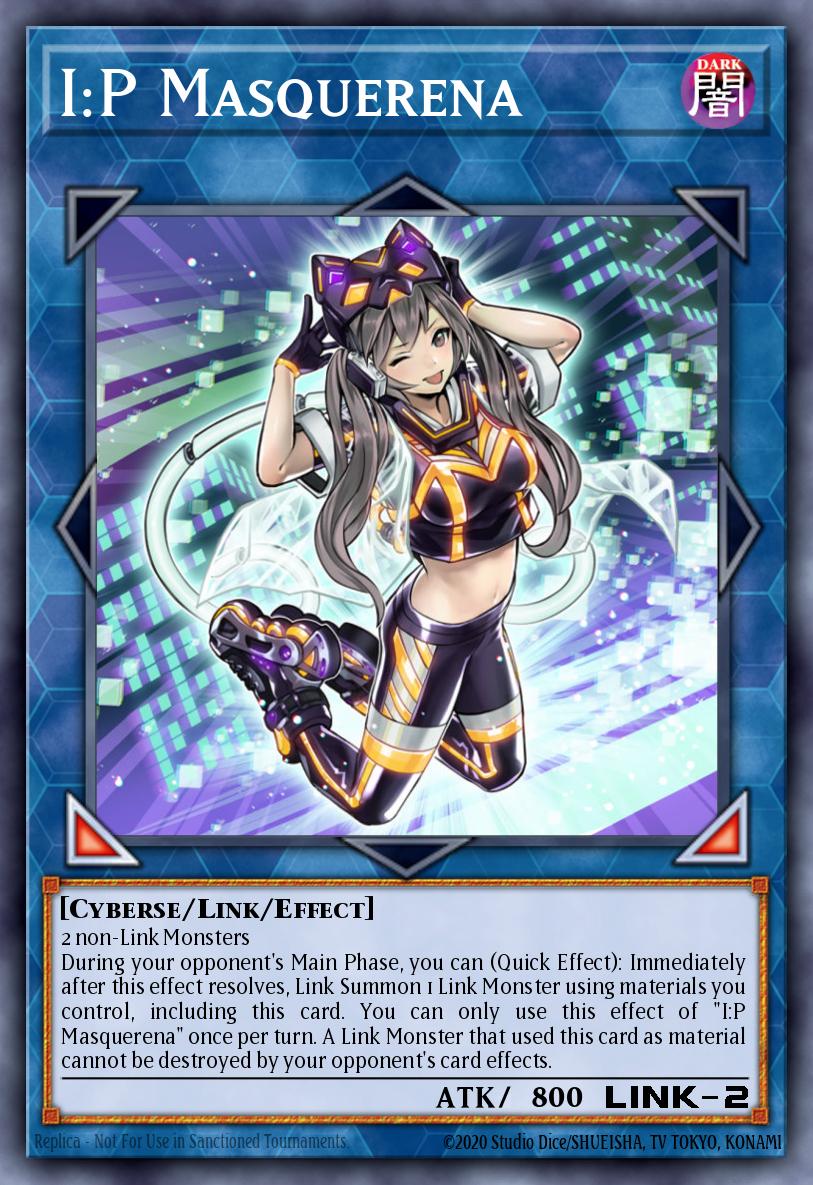
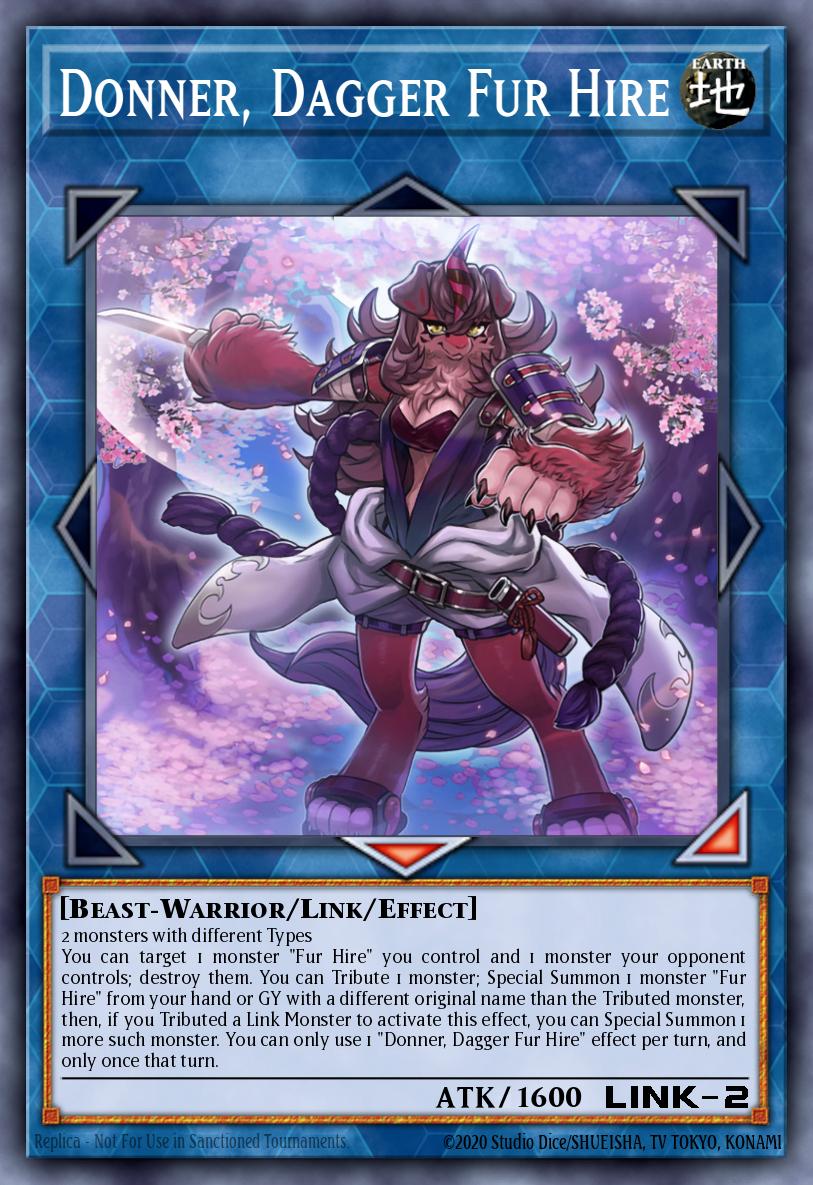
Some other options

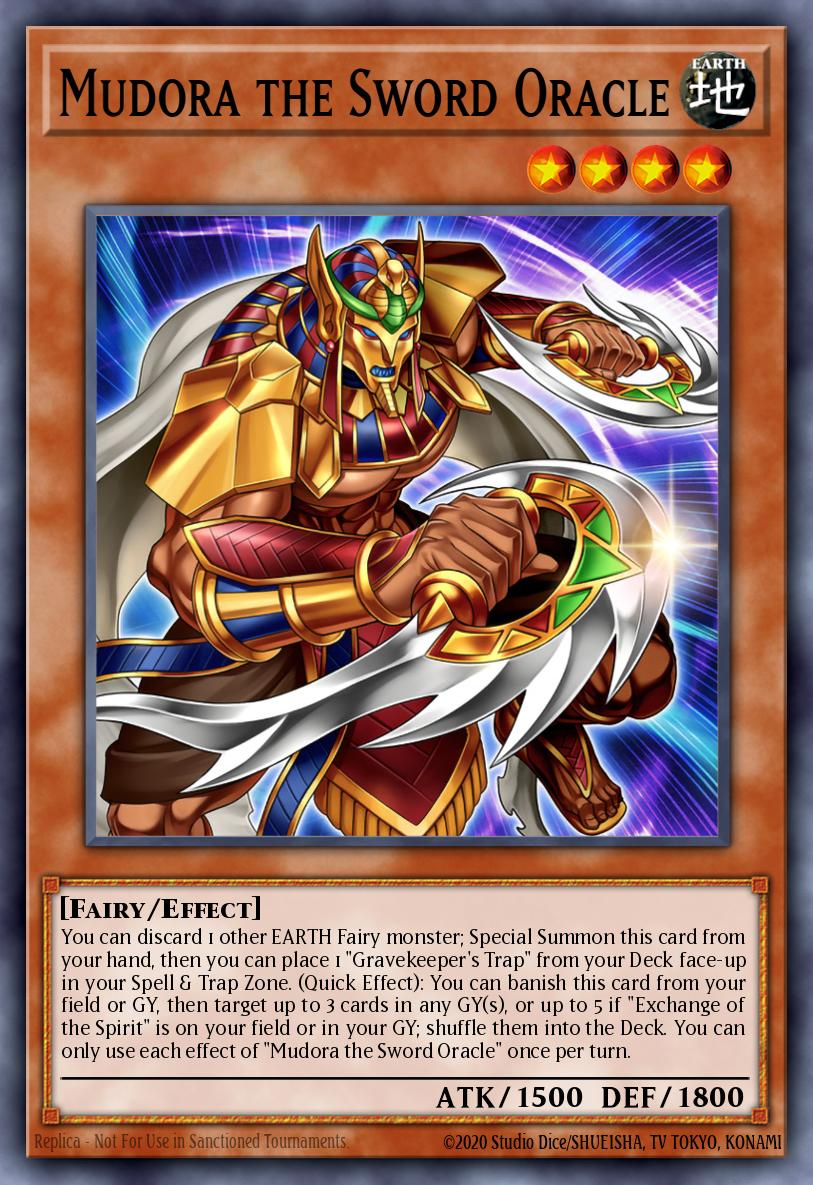
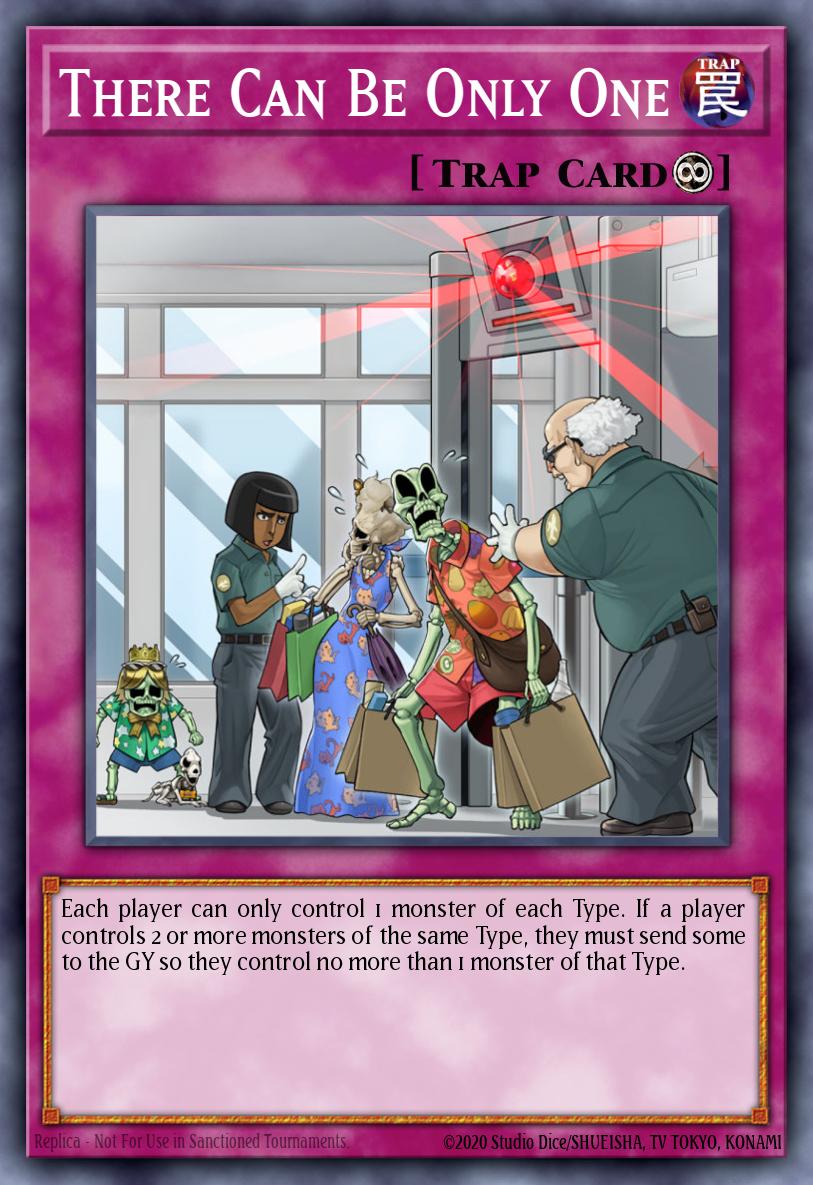
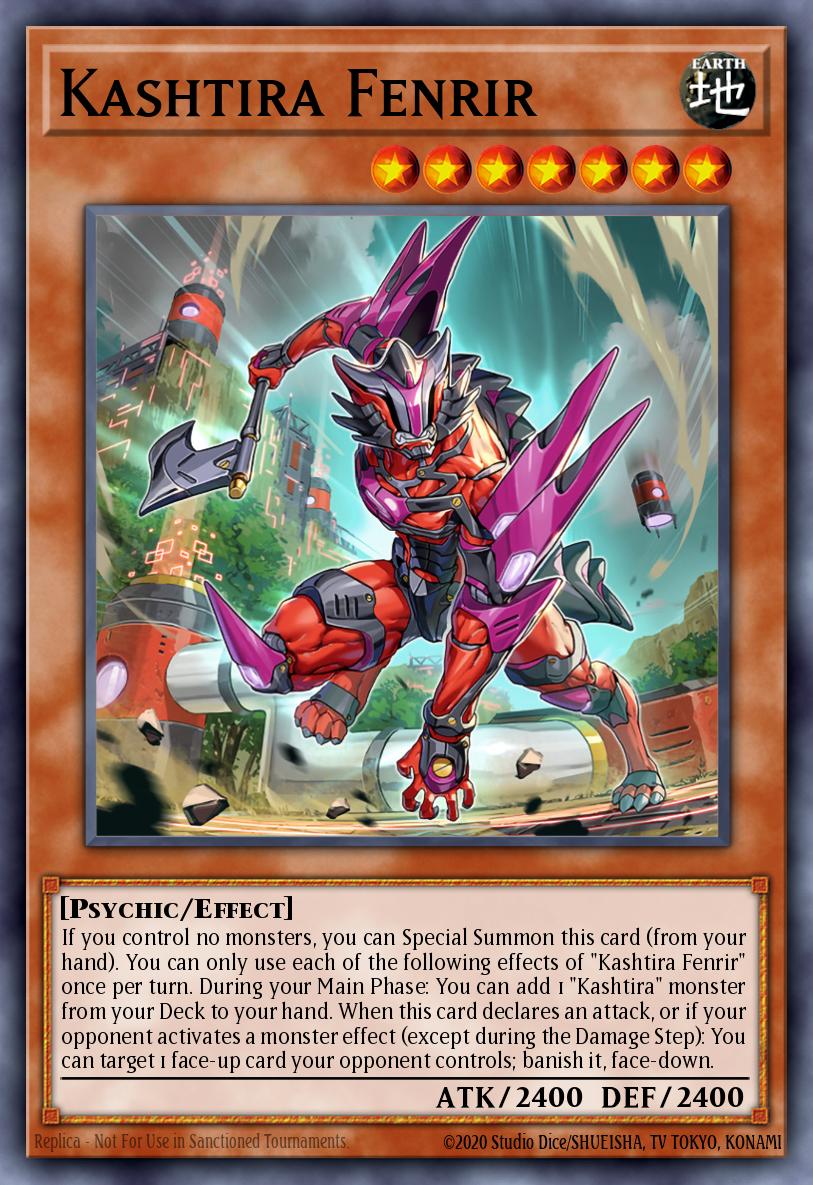
Pot of Extravagance and Pot of Prosperity (Should NOT be used)
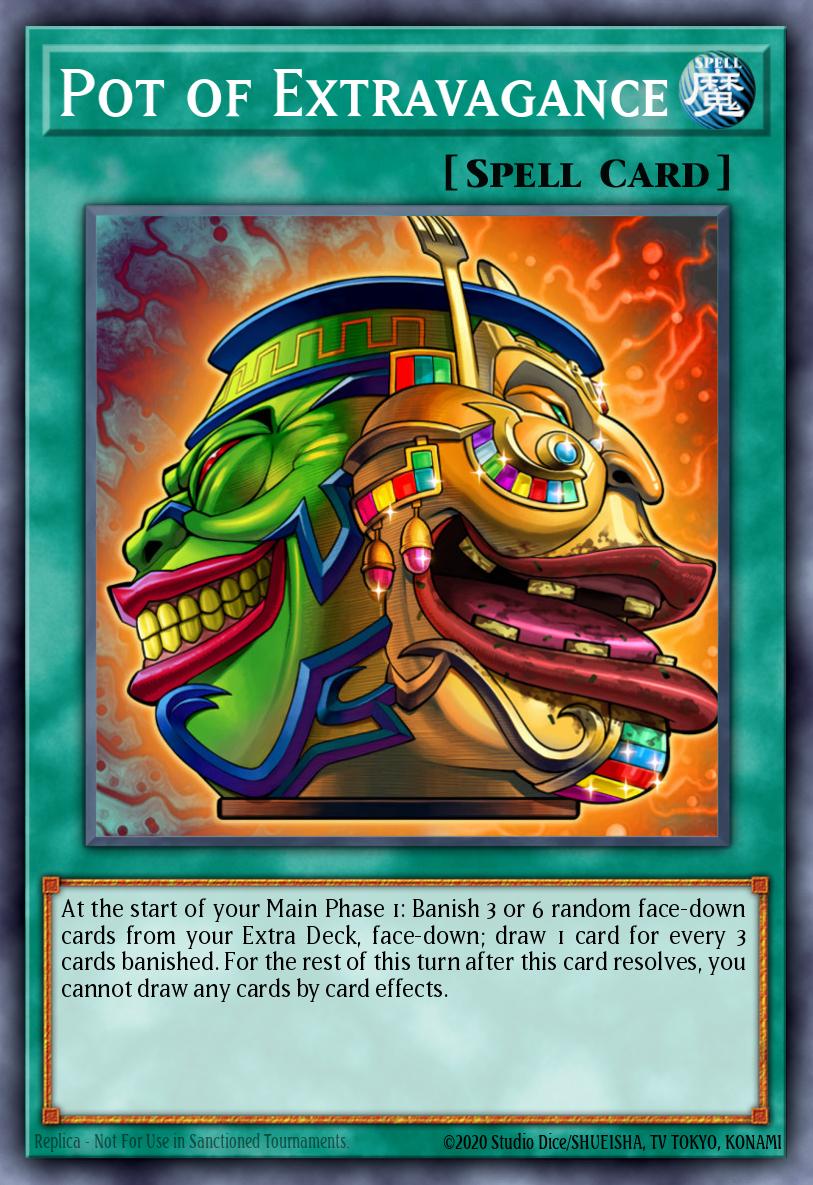
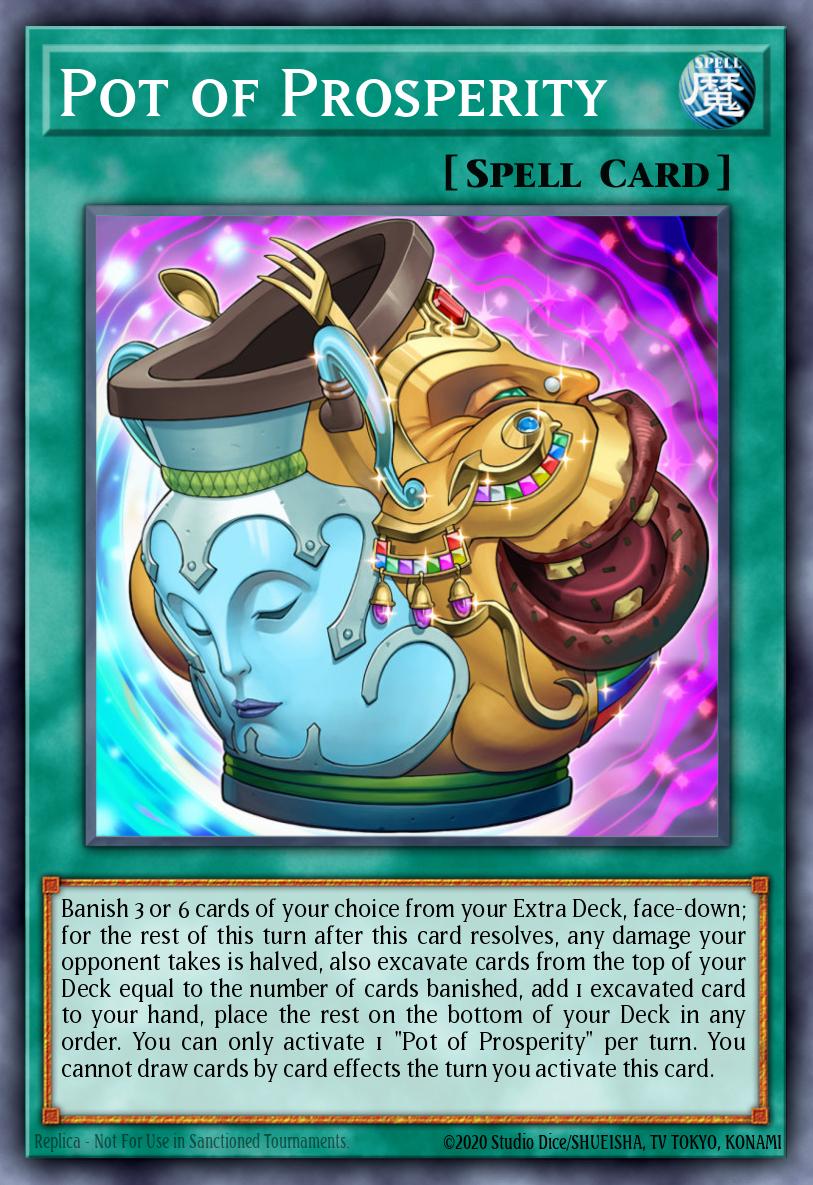
In most duels, Horus has never used 5 monsters from the extra deck. However, you cannot use Pot of Extravagance or Pot of Prosperity for this deck. The effects of these two card draw supports will block the ability to add resources from Imsety or Coach King Giantrainer in your deck.
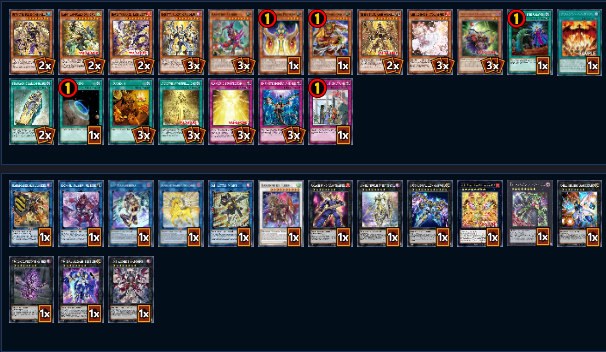
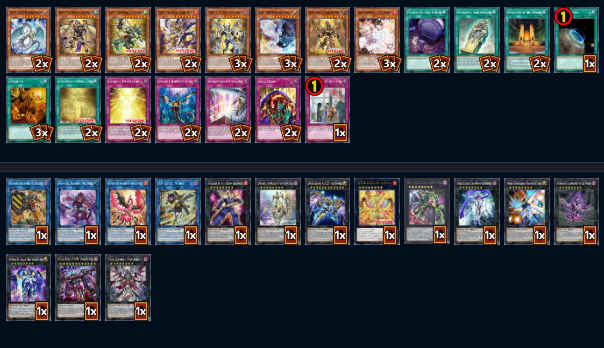
Conclusion
Part 1: Cards in the Horus card family.
Part 2: Analysis of the Horus card race.
Part 3: Pure Horus tactics.
tcg
752
5
 FIRE
FIRE 8
8Horus the Black Flame Deity
ATK:
3000
DEF:
1800
If you control a "Horus" monster and "King's Sarcophagus": You can reveal this card in your hand, then send 1 card from your hand or field to the GY; send 1 card on the field to the GY. If a face-up "Horus" monster(s) you control, except "Horus the Black Flame Deity", or a face-up "King's Sarcophagus" you control, leaves the field by an opponent's card effect (except during the Damage Step): You can Special Summon this card from your hand, then you can send all other monsters on the field to the GY. You can only use each effect of "Horus the Black Flame Deity" once per turn.
 DARK
8
DARK
8Imsety, Glory of Horus
ATK:
3000
DEF:
1800
If you control "King's Sarcophagus", you can Special Summon this card (from your GY). You can only Special Summon "Imsety, Glory of Horus" once per turn this way. You can only use each of the following effects of "Imsety, Glory of Horus" once per turn. You can send 2 cards from your hand to the GY, including this card; add 1 "King's Sarcophagus" from your Deck to your hand, then you can draw 1 card. If another card(s) you control leaves the field by an opponent's card effect, while this card is in your Monster Zone (except during the Damage Step): You can send 1 card on the field to the GY.
DARK
Dingirsu, the Orcust of the Evening Star
ATK:
2600
DEF:
2100
2 Level 8 monsters You can only Special Summon "Dingirsu, the Orcust of the Evening Star(s)" once per turn. You can also Xyz Summon this card by using an "Orcust" Link Monster you control as material. If a card(s) you control would be destroyed by battle or card effect, you can detach 1 material from this card instead. If this card is Special Summoned: You can activate 1 of these effects; ● Send 1 card your opponent controls to the GY. ● Attach 1 of your banished Machine monsters to this card as material.
 EARTH
4
EARTH
4Mudora the Sword Oracle
ATK:
1500
DEF:
1800
You can discard 1 other EARTH Fairy monster; Special Summon this card from your hand, then you can place 1 "Gravekeeper's Trap" from your Deck face-up in your Spell & Trap Zone. (Quick Effect): You can banish this card from your field or GY, then target up to 3 cards in any GY(s), or up to 5 if "Exchange of the Spirit" is on your field or in your GY; shuffle them into the Deck. You can only use each effect of "Mudora the Sword Oracle" once per turn.

 Trap
Trap Continuous
There Can Be Only One
Each player can only control 1 monster of each Type. If a player controls 2 or more monsters of the same Type, they must send some to the GY so they control no more than 1 monster of that Type.
DARK
2Vision Resonator
ATK:
400
DEF:
400
If a Level 5 or higher DARK monster is on the field, you can Special Summon this card (from your hand). You can only Special Summon "Vision Resonator" once per turn this way. If this card is sent to the GY: You can add 1 Spell/Trap that mentions "Red Dragon Archfiend" from your Deck to your hand. You can only use this effect of "Vision Resonator" once per turn.
 LIGHT
LIGHTNumber 90: Galaxy-Eyes Photon Lord
ATK:
2500
DEF:
3000
2 Level 8 monsters If this card has a "Photon" card as material, it cannot be destroyed by card effects. You can only use each of the following effects of "Number 90: Galaxy-Eyes Photon Lord" once per turn. ● When an opponent's monster activates its effect (Quick Effect): You can detach 1 material from this card; negate that monster's effect, and if the detached material was a "Galaxy" card, destroy that card. ● During your opponent's turn (Quick Effect): You can take 1 "Photon" or "Galaxy" card from your Deck, and either add it to your hand or attach it to this card as material.
DARKS:P Little Knight
ATK:
1600
LINK-2
Link Arrow:
 Left
Left
 Right
Right
2 Effect Monsters If this card is Link Summoned using a Fusion, Synchro, Xyz, or Link Monster as material: You can target 1 card on the field or in either GY; banish it, also your monsters cannot attack directly this turn. When your opponent activates a card or effect (Quick Effect): You can target 2 face-up monsters on the field, including a monster you control; banish both until the End Phase. You can only use each effect of "S:P Little Knight" once per turn.

 WIND
8
WIND
8Hapi, Guidance of Horus
ATK:
2400
DEF:
1600
If you control "King's Sarcophagus", you can Special Summon this card (from your GY). You can only Special Summon "Hapi, Guidance of Horus" once per turn this way. If another card(s) you control leaves the field by an opponent's card effect, while this card is in your Monster Zone (except during the Damage Step): You can target 2 cards that are banished and/or in the GYs; either add both to the hand or shuffle both into the Deck. You can only use this effect of "Hapi, Guidance of Horus" once per turn.
LIGHTGalaxy-Eyes Full Armor Photon Dragon
ATK:
4000
DEF:
3500
3 Level 8 monsters You can also Xyz Summon this card by using a "Galaxy-Eyes" Xyz Monster you control as material, except "Galaxy-Eyes Full Armor Photon Dragon". (Transfer its materials to this card.) Once per turn: You can target up to 2 Equip Cards equipped to this card; attach them to this card as material. Once per turn: You can detach 1 material from this card, then target 1 face-up card your opponent controls; destroy it.
FIREKnightmare Phoenix
ATK:
1900
LINK-2
Link Arrow:
 Top
Top
Right
2 monsters with different names If this card is Link Summoned: You can discard 1 card, then target 1 Spell/Trap your opponent controls; destroy it, then, if this card was co-linked when this effect was activated, you can draw 1 card. You can only use this effect of "Knightmare Phoenix" once per turn. Co-linked monsters you control cannot be destroyed by battle.
Trap
ContinuousCanopic Protector
Once per Chain, when your opponent activates a card or effect: You can Special Summon 1 "Horus" monster from your hand or GY, but for the rest of this turn, you cannot Special Summon monsters with the same original name by the effect of "Canopic Protector". If this card is sent from the hand or field to the GY: You can Set this card, but banish it when it leaves the field. You can only use this effect of "Canopic Protector" once per turn.
DARK
2Blackwing - Sharnga the Waning Moon
ATK:
500
DEF:
500
If a monster with 2000 or more ATK is on the field, you can Special Summon this card (from your hand). You can only Special Summon "Blackwing - Sharnga the Waning Moon" once per turn this way. If you control a "Blackwing" Synchro Monster (Quick Effect): You can banish this card from your GY, then target 1 face-up card your opponent controls; destroy it. You can only use this effect of "Blackwing - Sharnga the Waning Moon" once per Duel.
FIREGarunix Eternity, Hyang of the Fire Kings
ATK:
3000
DEF:
2000
2+ Level 8 monsters If this card is Xyz Summoned: You can destroy all other monsters on the field. You can detach 1 material from this card, then target 1 Spell/Trap on the field; destroy it, and if you do, this card gains 500 ATK. If this card is destroyed while it has material: You can Special Summon "Fire King" monsters from your GY, up to the number of materials this card had. You can only use each effect of "Garunix Eternity, Hyang of the Fire Kings" once per turn.
DARKKnightmare Unicorn
ATK:
2200
LINK-3
Link Arrow:
Left
 Bottom
Right
2+ monsters with different names If this card is Link Summoned: You can discard 1 card, then target 1 card on the field; shuffle it into the Deck, then, if this card was co-linked when this effect was activated, you can draw 1 card. You can only use this effect of "Knightmare Unicorn" once per turn. While any co-linked "Knightmare" monsters are on the field, for your normal draw in your Draw Phase, draw 1 card for each different card name among those co-linked "Knightmare" monsters, instead of drawing just 1 card.
 Spell
Spell Normal
Foolish Burial Goods
Send 1 Spell/Trap from your Deck to the GY. You can only activate 1 "Foolish Burial Goods" per turn.
LIGHTNumber 38: Hope Harbinger Dragon Titanic Galaxy
ATK:
3000
DEF:
2500
2 Level 8 monsters Once per turn, when a Spell Card or effect is activated on the field (Quick Effect): You can negate that effect, and if you do, attach that card to this card as material. When an opponent's monster declares an attack: You can detach 1 material from this card; change the attack target to this card and perform damage calculation. If a face-up Xyz Monster(s) you control is destroyed by battle or card effect: You can target 1 face-up Xyz Monster you control; it gains ATK equal to 1 of those destroyed monster's original ATK.
FIRECoach King Giantrainer
ATK:
2800
DEF:
2000
3 Level 8 monsters You can detach 1 Xyz Material from this card; draw 1 card and show it, then if it was a monster, inflict 800 damage to your opponent. You cannot conduct your Battle Phase the turn you activate this effect. You can only use this effect of "Coach King Giantrainer" up to thrice per turn.
EARTH
8Qebehsenuef, Protection of Horus
ATK:
2500
DEF:
2000
If you control "King's Sarcophagus", you can Special Summon this card (from your GY). You can only Special Summon "Qebehsenuef, Protection of Horus" once per turn this way. If another card(s) you control leaves the field by an opponent's card effect, while this card is in your Monster Zone (except during the Damage Step): You can activate this effect; this turn, your opponent's monsters cannot target "Horus" monsters for attacks, also your opponent cannot target "Horus" monsters on the field with card effects. You can only use this effect of "Qebehsenuef, Protection of Horus" once per turn.
Trap
NormalRainbow Bridge of Salvation
If there are 2 or more different Monster Types among the Level 10 or higher monsters on the field: Shuffle all cards except this one from both players' hands, fields, and GYs into the Deck, then each player draws 5 cards. You can banish this card from your GY; add 1 "Crystal Beast" monster and 1 Field Spell from your Deck to your hand. You can only apply each effect of "Rainbow Bridge of Salvation" once per Duel.
WIND
10Baronne de Fleur
ATK:
3000
DEF:
2400
1 Tuner + 1+ non-Tuner monsters Once per turn: You can target 1 card on the field; destroy it. Once while face-up on the field, when a card or effect is activated (Quick Effect): You can negate the activation, and if you do, destroy that card. You can only use the previous effect of "Baronne de Fleur" once per turn. Once per turn, during the Standby Phase: You can target 1 Level 9 or lower monster in your GY; return this card to the Extra Deck, and if you do, Special Summon that monster.
Spell Field
FieldWalls of the Imperial Tomb
This card's name becomes "King's Sarcophagus" while in the Field Zone. During your Main Phase: You can add 1 "Horus" monster from your Deck to your hand, then place 1 card from your hand on the bottom of the Deck. You can only use this effect of "Walls of the Imperial Tomb" once per turn. If you activate the effect of "Horus the Black Flame Deity": You can draw 1 card.
Spell
ContinuousCrimson Gaia
During your Main Phase: You can add 1 "Red Dragon Archfiend" or 1 card that mentions it from your Deck or GY to your hand, except "Crimson Gaia". When your "Red Dragon Archfiend" declares an attack: You can change all monsters your opponent controls to face-down Defense Position. If a monster(s) on the field is destroyed by battle or card effect: You can Special Summon 1 "Red Dragon Archfiend" from your GY. You can only use each effect of "Crimson Gaia" once per turn.
DARKBarricadeborg Blocker
ATK:
1000
LINK-2
Link Arrow:
Left
Bottom
2 monsters with different names If this card is Link Summoned: You can discard 1 card; during the End Phase of this turn, add 1 Continuous or Field Spell from your GY to your hand. You can only use this effect of "Barricadeborg Blocker" once per turn. Face-up Spells you control cannot be destroyed by your opponent's card effects.
 WATER
8
WATER
8Duamutef, Blessing of Horus
ATK:
0
DEF:
0
If you control "King's Sarcophagus", you can Special Summon this card (from your GY). You can only Special Summon "Duamutef, Blessing of Horus" once per turn this way. Gains 1200 ATK/DEF for each "Horus" monster you control. If another card(s) you control leaves the field by an opponent's card effect, while this card is in your Monster Zone (except during the Damage Step): You can draw cards equal to the number of monsters with different names in your Main Monster Zone. You can only use this effect of "Duamutef, Blessing of Horus" once per turn.
Spell
NormalPot of Extravagance
At the start of your Main Phase 1: Banish 3 or 6 random face-down cards from your Extra Deck, face-down; draw 1 card for every 3 cards banished. For the rest of this turn after this card resolves, you cannot draw any cards by card effects.
WATER
2Deep Sea Diva
ATK:
200
DEF:
400
When this card is Normal Summoned: You can Special Summon 1 Level 3 or lower Sea Serpent monster from your Deck.
EARTH
7Kashtira Fenrir
ATK:
2400
DEF:
2400
If you control no monsters, you can Special Summon this card (from your hand). You can only use each of the following effects of "Kashtira Fenrir" once per turn. During your Main Phase: You can add 1 "Kashtira" monster from your Deck to your hand. When this card declares an attack, or if your opponent activates a monster effect (except during the Damage Step): You can target 1 face-up card your opponent controls; banish it, face-down.
 LIGHT
8
LIGHT
8Light and Darkness Dragon
ATK:
2800
DEF:
2400
Cannot be Special Summoned. While face-up on the field, this card is also DARK-Attribute. Once per Chain, during either player's turn, when a Spell Card, Trap Card, or monster effect is activated: This card loses exactly 500 ATK and DEF and that activation is negated. When this card is destroyed and sent to the Graveyard: Target 1 monster in your Graveyard (if possible); destroy all cards you control, also Special Summon that monster (if any).
FIRE
8Lava Golem
ATK:
3000
DEF:
2500
Cannot be Normal Summoned/Set. Must first be Special Summoned (from your hand) to your opponent's field by Tributing 2 monsters they control. You cannot Normal Summon/Set the turn you Special Summon this card. Once per turn, during your Standby Phase: Take 1000 damage.
Spell
NormalPot of Prosperity
Banish 3 or 6 cards of your choice from your Extra Deck, face-down; for the rest of this turn after this card resolves, any damage your opponent takes is halved, also excavate cards from the top of your Deck equal to the number of cards banished, add 1 excavated card to your hand, place the rest on the bottom of your Deck in any order. You can only activate 1 "Pot of Prosperity" per turn. You cannot draw cards by card effects the turn you activate this card.
WIND
4Crystal Beast Cobalt Eagle
ATK:
1400
DEF:
800
Once per turn: You can target 1 face-up "Crystal Beast" card you control; return that target to the top of the Deck. If this face-up card is destroyed while it is in a Monster Card Zone, you can place it face-up in your Spell & Trap Card Zone as a Continuous Spell Card, instead of sending it to the Graveyard.
DARKNumber 97: Draglubion
ATK:
3000
DEF:
3000
2 Level 8 monsters Your opponent cannot target this card with card effects. You can detach 1 material from this card; take 2 Dragon "Number" monsters with different names from your Extra Deck and/or GY, except "Number 97: Draglubion", Special Summon 1 of them and attach the other to it as material, also for the rest of this turn you cannot Special Summon other monsters, or declare an attack, except with that Special Summoned monster. You can only use this effect of "Number 97: Draglubion" once per turn.
DARK
10Blackwing Full Armor Master
ATK:
3000
DEF:
3000
1 "Blackwing" Tuner + 1+ non-Tuner monsters Unaffected by other cards' effects. Each time a monster your opponent controls activates its effect, place 1 Wedge Counter on that opponent's monster (max. 1) after that effect resolves. Once per turn: You can target 1 monster your opponent controls with a Wedge Counter; take control of it. Once per turn, during your End Phase: You can destroy all monsters on the field that have a Wedge Counter.
DARKI:P Masquerena
ATK:
800
LINK-2
Link Arrow:
 Bottom-Left
 Bottom-Right
2 non-Link Monsters During your opponent's Main Phase, you can (Quick Effect): Immediately after this effect resolves, Link Summon 1 Link Monster using materials you control, including this card. You can only use this effect of "I:P Masquerena" once per turn. A Link Monster that used this card as material cannot be destroyed by your opponent's card effects.
EARTHDonner, Dagger Fur Hire
ATK:
1600
LINK-2
Link Arrow:
Bottom
Bottom-Right
2 monsters with different Types You can target 1 monster "Fur Hire" you control and 1 monster your opponent controls; destroy them. You can Tribute 1 monster; Special Summon 1 monster "Fur Hire" from your hand or GY with a different original name than the Tributed monster, then, if you Tributed a Link Monster to activate this effect, you can Special Summon 1 more such monster. You can only use 1 "Donner, Dagger Fur Hire" effect per turn, and only once that turn.
Spell
ContinuousKing's Sarcophagus
"Horus" monsters you control cannot be destroyed by card effects that do not target them. You can send 1 card from your hand to the GY; send 1 "Horus" monster from your Deck to the GY. You can only use this effect of "King's Sarcophagus" up to four times per turn. Once per turn, at the start of the Damage Step, if your "Horus" monster battles an opponent's monster: You can send that opponent's monster to the GY.
Spell
FieldMausoleum of the Emperor
During any Main Phase: The turn player can pay 1000 LP x the number of monsters normally needed for the Tribute Summon of a monster (max. 2000); that player Normal Summons/Sets that monster without Tributing. (This is their one Normal Summon/Set for that turn. This is not a Tribute Summon.)
LIGHT
8Crystal Beast Rainbow Dragon
ATK:
3000
DEF:
0
If this face-up card is destroyed in a Monster Zone, you can place it face-up in your Spell & Trap Zone as a Continuous Spell, instead of sending it to the GY. You can only use each of the following effects of "Crystal Beast Rainbow Dragon" once per turn. When an attack is declared involving a "Crystal Beast" monster: You can Special Summon this card from your hand. You can banish this Continuous Spell; Special Summon 1 Level 4 or lower "Crystal Beast" monster from your Deck, but negate its effects (if any), and if you do, add 1 "Ultimate Crystal" monster from your Deck to your hand.
EARTH
4Keldo the Sacred Protector
ATK:
1200
DEF:
1600
You can discard 1 other EARTH Fairy monster; Special Summon this card from your hand, then add 1 "Exchange of the Spirit" or 1 card that mentions it from your Deck to your hand. (Quick Effect): You can banish this card from your field or GY, then target up to 3 cards in any GY(s), or up to 5 if "Exchange of the Spirit" is on your field or in your GY; shuffle them into the Deck. You can only use each effect of "Keldo the Sacred Protector" once per turn.
Menu
https://ygovietnam.com/